Technologies
Elden Ring Nightreign Beginner’s Guide: Team Strategy, Level Goals and Survival Tips
So you want to kill a Nightlord?
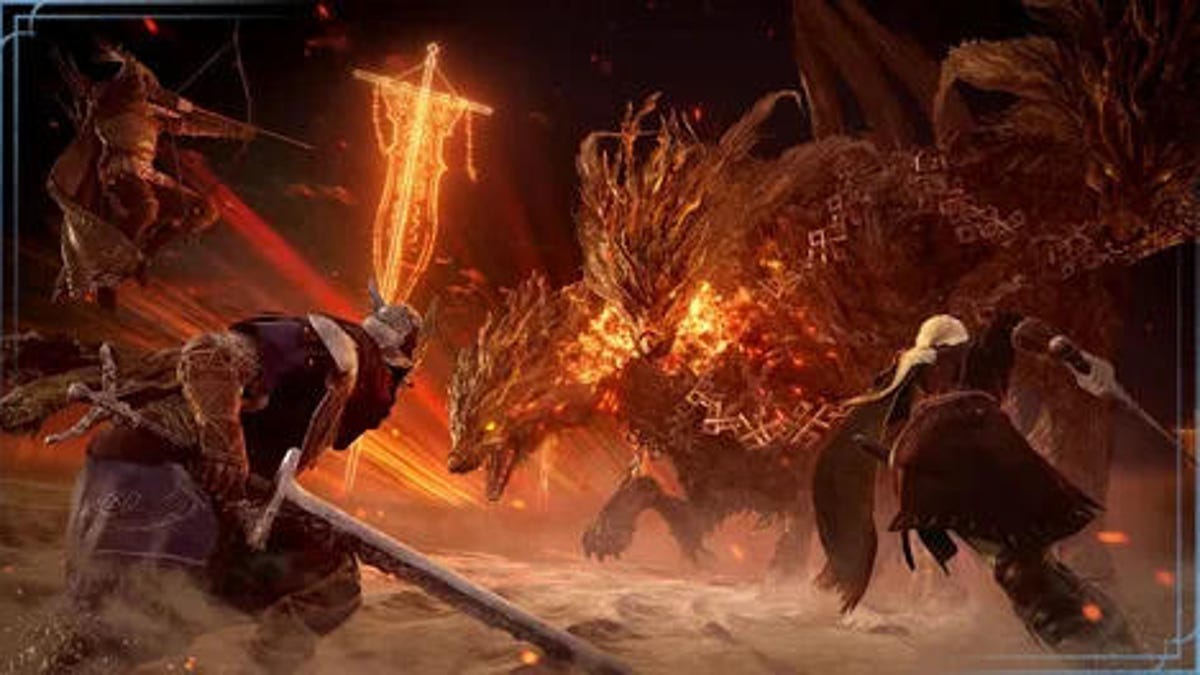
Elden Ring Nightreign is FromSoftware’s new multiplayer spin-off of 2022’s popular action-RPG Elden Ring, and it will make even the most hard-core fans completely overwhelmed at first. Luckily, there are some tips to help Nightfarers survive the night and triumph over the Nightlord.
In Elden Ring Nightreign, players team up or go solo on runs to take down a Nightlord, a daunting boss waiting for them at the end of two in-game days of fighting enemies and getting stronger, which requires fast thinking and quick reflexes to take down. While it carries the Elden Ring name, Nightreign plays so differently, as the name of the game is speed rather than the slow exploration of other FromSoftware titles. It’s this change of pace that will throw veteran players off, but if you follow some of these tips, you and your team will be prepared to survive the night.
Team chemistry is key
Putting a good team together is what will ultimately lead to a successful run. A team should be made up of someone who can tank (Wylder, Raider, Guardian) and a mix of the other characters. One big help is going to have one team member play a ranged character (Ironeye, Recluse) who can act as a reviver to pick up characters who fall in battle, as they need to be attacked in order to heal them (or at least having another player carry a ranged weapon to perform the same). Being able to do this from a distance can be very useful in runs.
Another part of team chemistry is having someone to strategize where to go on the fly. A point person to lay out where your team will go instead of everyone chiming in will help move the runs along without having to wait around to figure out where to go next.
If possible, go for flasks first, then bosses
Every character starts out with three flasks for healing, but there are more available. They can be found in churches scattered on the map, usually in a bright orange color. Having more than three flasks is going to be a tremendous help, so they should be prioritized. Ideally, you’ll want to head to the nearest church while clearing out camps on the way. Once you have two additional flasks, then focus on bosses. If a church is too far away, fight through camps full of enemies on the way to the church to level up while heading there.
Pick up all the weapons
An interesting mechanic in Nightreign is that each weapon found in a run has a passive bonus, and those bonuses stack up as long as you have them in your bag. That’s six weapons with six buffs, and that will be a big help for your character. Also, don’t worry if you pick up a weapon that’s not intended for your character. A melee brute like the Raider could find a magic wand that has a certain buff that works well for them. Shields, for example, offer some good buffs even though you may not want to equip them. Another idea is if a ranged weapon like a bow drops, consider picking it up if you’re a melee character as a way to revive teammates from a distance when needed.
Look for the best route
Routing is so important for a good run. You want to try to clear out the various dungeons, castles, mines and camps available to gain levels and better equipment. Since you have a set amount of time before the storm circle closes in, start on the outer parts first and slowly make your way in. Eventually, you’ll get the timing down to clear out camps right before the circle closes to get the last bit of runes to level up your character.
Pay attention to your surroundings, you might miss some help
Found all throughout the map are tiny patches of glowing flowers, fire butterflies and so on that provide some quick buffs, like finding more runes or getting rid of status ailments or healing you. One thing to definitely keep an eye out for is scarabs. These little critters — hovering over a glowing ball and emitting a bell-tinkling sound — will typically drop talismans that can be equipped to provide permanent offensive or defensive buffs to your character equivalent to what you’d get when beating a boss.
Use consumables
It never fails that players will want to hold onto their consumables, but ignore that feeling. If you’re fighting a boss, use all the consumables you have. The consumables you can find in a run are very useful, and there are a lot of them all around the map.
Don’t be afraid to run away
While the storm circle doesn’t seem to take much damage when you’re stuck in it, do not tempt fate. You need to stay out of the storm. If you’re in the middle of clearing out a camp, and the storm is on top of you, there’s a point where it’s time to cut and run. This is especially important to remember in a mine or an underground dungeon where the only exit likely takes you right into the storm. Until you get the timing of the storm down just right, don’t try to do too much too close to the storm — and if you do venture beneath the surface, keep checking the map to know when the circle starts closing.
One thing to keep note of, bosses that you might have started fighting and had to run away on say day 1, they still will be around on day 2. Not only that, they will not heal themselves once you run away. This means they’re easy pickings as they are already weaker, and your team is stronger.
Realize when to ignore trash mobs and items
When you drop onto the map, your team is very likely going to be in a random spot, and you’ll see some low-level enemies nearby. You should definitely take down all these weaker enemies to get yourself to level 3. There will also be random items scattered around the map. Feel free to get these early on, but once you get to level 3, it’s time to focus. In Nightrein, you need more levels, better equipment and buffs, which won’t be found on weak enemies or the items around them. Ignore them completely once you get high enough, as you will not have extra time to take them down in your quest for stronger boss enemies and powerful upgrades.
Shoot for level 12
It can’t be stressed enough how important it is to be at the right level when fighting a Nightlord. One level could be the difference between an easy win and an utter defeat. A good rule of thumb is to shoot to be at least level 4 by the end of day 1, level 8 by the end of day 2 and level 12 when taking on the Nightlord. While you can beat the bosses at levels lower than those suggested, the fights will go much easier the higher your levels are.
Spend a little time exploring and training at Roundtable Hold
Roundtable Hold is not just a hub to buy relics, do some training and interact with characters. As you progress, there will be new content to find in the area. New Nightfarers, for example, will unlock once you get certain items and interact with other NPCs. This is especially true after a successful run, as there will be more to learn when exploring Roundtable Hold.
Head out on your own
To have a successful run, each player on the team needs to understand their character’s abilities, how to properly equip themselves and learn the pattern of certain bosses. That’s hard to do during a match as your time is limited, and the group you’re with wants to keep running. This is why doing a few solo runs on your own can help get your footing with the game. To start a solo run, head to the table at the Roundtable Hold, click on it, and go to options. At the bottom of the options, there’s a selection to have a single-player run or a multiplayer run. Make sure that it’s single-player and start by yourself. Keep in mind, this is going to be very difficult to do a solo run, but you want to use this time to develop an understanding of the game’s mechanics and your character.
Expect the unexpected
The last bit of advice is to expect the unexpected. There are random events that can happen throughout the game, from a group of enemies teleported right on top of you, additional bosses showing up after a boss battle, or even the Nightlords popping up as day 1 bosses. You always need to be prepared because things can change in a split second, and your match could be over.
Elden Ring Nightreign launches on May 30 for PC, PS5, PS4, Xbox Series X/S and Xbox One consoles for $40. Owning the original Elden Ring is not required to play this game.
Technologies
Ring Finally Goes Wire-Free for Its Latest 4K Video Doorbells
The launch of battery-powered versions of the company’s powerful AI doorbells has been highly anticipated.

Security company Ring on Wednesday announced a significant expansion of its video doorbell line, notably battery-powered versions of both its 4K and 2K models, priced from $80.
Both Amazon’s Ring and Google Nest debuted high-resolution video doorbells with new AI features in the fall of 2025. But they were wired only, and in my tests, I kept thinking, «I sure wish there were battery models available.»
Wireless video doorbells are far better for most front doors than models that require connecting to your existing doorbell wiring, which is often poorly positioned for a security camera. Mine, for example, is located on a wall beside my door that’s useless for any kind of video views, no matter how you angle a lens.
«Enhancing image quality in battery-powered doorbells means customers can enjoy reliable performance with the flexibility to install devices in a way that suits their space, whether renting or living in homes without existing wiring,» a Ring spokesperson said.
At first, I wondered whether the higher 4K resolutions and more advanced AI features would use too much power to support batteries. If so, Ring is the first to fix that issue with this suite of doorbells, including these models available for preorder right now:
- Ring Battery Doorbell Pro — $250: This model offers up to 4K resolution and 10x zoom, and Ring says it features a redesigned internal architecture to support battery power.
- Ring Battery Doorbell Plus (2nd-gen) — $180: This model includes a quick-release battery pack along with 2K video.
- Ring Battery Doorbell (2nd-gen) — $100: This video doorbell includes 2K video, a 6x zoom and what Ring calls a «streamlined, rechargeable design,» which means you take the entire video doorbell to charge it, not just the battery — a design I greatly prefer, since Ring’s battery packs can get fiddly.
There’s also a new version of a Ring wired doorbell with 2K resolution, starting at $80. It wouldn’t be Ring without a plethora of doorbell devices to confuse newcomers, which is why I have a guide specifically for Ring video doorbells that will need some updating once I finish testing these new models.
Resolution plus an intelligence upgrade
Ring’s ordinary subscriptions of the Ring Protect plan give you cloud video storage and intelligent alerts for people, packages and vehicles, which are important but not really advanced AI. But spring for the $20-per-month Ring AI Pro cam, and this new generation of cameras opens up other capabilities.
Ring’s AI features include AI video descriptions, so if you get an alert, you can also get a summary of what the doorbell saw, including people and activities. A similar feature lets you search your video history with specific terms, such as «bike,» «truck» and so on. You also get the beta version of Ring’s Familiar Faces feature, which can ID logged faces of people who approach.
If these AI features make you uneasy and you’d rather protect your privacy, the best option is to avoid a subscription altogether or choose a lower-tier plan that gives you cloud storage without AI.
I also have a guide on how to turn off Ring’s detection and data-sharing features that might make you nervous, so you can keep what you like while ditching what you don’t.
Technologies
Today’s NYT Mini Crossword Answers for Thursday, March 26
Here are the answers for The New York Times Mini Crossword for March 26.

Looking for the most recent Mini Crossword answer? Click here for today’s Mini Crossword hints, as well as our daily answers and hints for The New York Times Wordle, Strands, Connections and Connections: Sports Edition puzzles.
Baseball is back! You’ll see baseball images patterned throughout today’s Mini Crossword grid, and when you solve the puzzle, they’ll spell out a certain word. Play ball! Er, read on for all the answers. And if you could use some hints and guidance for daily solving, check out our Mini Crossword tips.
If you’re looking for today’s Wordle, Connections, Connections: Sports Edition and Strands answers, you can visit CNET’s NYT puzzle hints page.
Read more: Tips and Tricks for Solving The New York Times Mini Crossword
Let’s get to those Mini Crossword clues and answers.
Mini across clues and answers
1A clue: Degrees for boardroom execs
Answer: MBAS
5A clue: «___ want for Christmas …»
Answer: ALLI
6A clue: What Hamlet holds while giving his «Alas, poor Yorick!» speech
Answer: SKULL
7A clue: Wild, as an animal
Answer: FERAL
8A clue: Sphere
Answer: ORB
Mini down clues and answers
1D clue: Word after «match» or «mischief»
Answer: MAKER
2D clue: Bit of writing on a book jacket
Answer: BLURB
3D clue: Penne ___ vodka
Answer: ALLA
4D clue: Window ledge
Answer: SILL
6D clue: Bay Area airport, for short
Answer: SFO
Technologies
McDonald’s KPop Demon Hunter Meals Include Bright Purple Nugget Sauce
The Derpy McFlurry mixes popping boba pearls and berry sauce into a soft-serve dessert.

McDonald’s has seen success with themed combo meals, including its holiday Grinch Meal. Now, the fast-food chain is capitalizing on Netflix’s Oscar-winning animated film, KPop Demon Hunters, with new upcoming menu items and both a breakfast meal and a lunch/dinner offering. Let’s hope you like the color purple.
The HUNTR/X Meal, named for the K-pop girl group in the movie, is a 10-piece chicken McNuggets meal that includes a medium drink and three special menu items.
Ramyeon McShaker fries come with a small bag of soy, garlic, sesame and spice seasoning, along with regular McDonald’s french fries. You sprinkle the seasoning into the provided bag, dump in the fries, shake it all up and eat.
The meal includes two new sauces for the fries and nuggets. Hunter sauce is a sweet chili sauce mixing notes of chili, garlic and pepper. But my favorite item on this new menu is Demon sauce, a bold mustard sauce with some heat and a bold purple color. There’s just not enough dark purple food out there.
There’s also a new dessert, the Derpy McFlurry, which blends creamy vanilla soft serve with berry-flavored popping boba pearls, served with a swirl of wild berry sauce. McDonald’s named it for the supernatural feline, Derpy Tiger, from the movie.
If breakfast is your bag, the new morning meal is the Saja Boys Breakfast Meal, named for the movie’s boy band.
It includes a Spicy Saja McMuffin sandwich, which is a sausage McMuffin with egg and a spicy Saja sauce, hash browns and a small drink.
Both meals come with a photocard for one of the bands and a Derpy card. The Derpy card includes a QR code you can scan to unlock online content about the film.
The full KPop Demon Hunters menu should be available at participating McDonald’s beginning March 31.
The McDonald’s Grinch meal (and its accompanying patterned socks) sold out quickly, so KPop Demon Hunters fans may want to mark their calendars and nab a meal when they are released.
-
 Technologies3 года ago
Tech Companies Need to Be Held Accountable for Security, Experts Say
-
 Technologies3 года ago
Best Handheld Game Console in 2023
-
 Technologies3 года ago
Tighten Up Your VR Game With the Best Head Straps for Quest 2
-
 Technologies4 года ago
Black Friday 2021: The best deals on TVs, headphones, kitchenware, and more
-
 Technologies5 лет ago
Google to require vaccinations as Silicon Valley rethinks return-to-office policies
-
 Technologies5 лет ago
Verum, Wickr and Threema: next generation secured messengers
-
 Technologies4 года ago
Olivia Harlan Dekker for Verum Messenger
-
 Technologies4 года ago
The number of Сrypto Bank customers increased by 10% in five days