Technologies
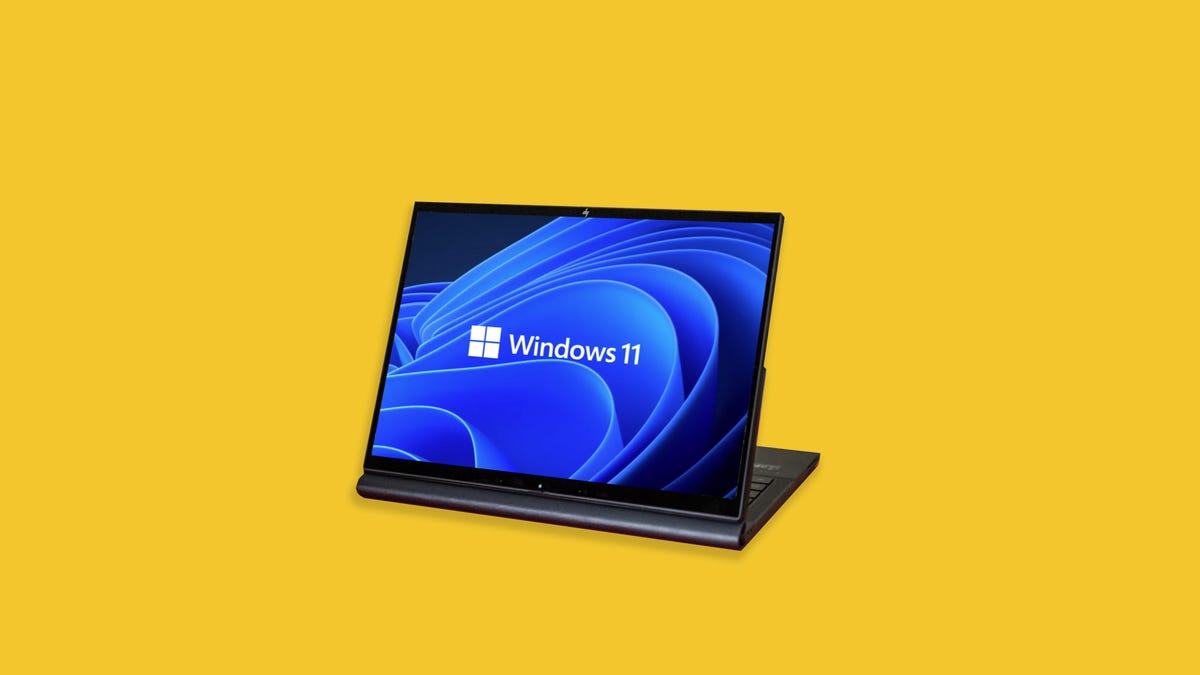
All the Ways to Take Screenshots on Windows 10 and 11
The snipping tool and print screen are just two ways to take screenshots on your PC.
Having an extra copy of things like plane tickets or receipts for online purchases is a good idea in case a ticket app doesn’t work at your gate or you want to return an item. Taking a screenshot is an easy way to ensure you have extra copies of these important documents. Whether you have Windows 10 or Windows 11, there are a few easy ways to take screenshots of all (or part) of your screen.
Here’s how to use built-in tools and other shortcuts for taking screenshots in Windows 10 and Windows 11, so you can decide which you like best.
Snip & Sketch
The Snip & Sketch tool is easier to access, share and annotate screenshots than the old Snipping Tool. It can now capture a screenshot of a window on your desktop, a surprising omission when the app was first introduced that kept us on Team Snipping Tool until recently.

The easiest way to call up Snip & Sketch is with the keyboard shortcut Windows key + Shift + S. You can also find the Snip & Sketch tool listed in the alphabetical list of apps accessed from the Start button as well as in the notification panel where it’s listed as Screen snip. Or you can just search for it if you don’t commit the keyboard shortcut to memory. (If you’re a frequent screenshot taker, we recommend pinning the app to the taskbar.)
Either the keyboard shortcut or the notification button will dim your screen and open a tiny menu at the top of your screen that lets you choose which type of screenshot you want to take: rectangular, freeform, window or full-screen. Once you take your screenshot, it will be saved to your clipboard and show up momentarily as a notification in the lower-right corner of your screen. Click the notification to open the screenshot in the Snip & Sketch app to annotate, save or share it. (If you miss the notification, open the notification panel and you’ll see it sitting there.)
If you open Snip & Sketch from the Start menu or by searching for it, it will open the Snip & Sketch window instead of the small panel at the top of the screen. From here, you need to click the New button in the upper left to initiate a screen capture and open the small panel. It’s an extra step to proceed this way, but it also lets you delay a screenshot. Click the down-arrow button next to the New button to delay a snip for 3 or 10 seconds.
Snipping Tool
The Snipping Tool has been around since Windows Vista. Windows has warned for a couple years that the Snipping Tool is going away, but it’s still kicking around in Windows 11. The Snipping Tool has been delisted from the list of apps in the Start menu, but you can still easily access it via the search bar.
Click the New button to begin the screenshot process. The default snip type is rectangular, but you can also take free-form, full-screen and window snips.
Snipping Tool does not automatically save your screenshots — you will need to manually save them in the tool before you exit — and it does automatically copy your captures to the clipboard.
Print Screen
To capture your entire screen, tap the Print Screen (sometimes labeled PrtScn) key. Your screenshot won’t be saved as a file, but it will be copied to the clipboard. You’ll need to open an image editing tool (such as Microsoft Paint), paste the screenshot into the editor and save the file from there.
You can also set the PrtScn button to open the Snip & Sketch tool by going to Settings > Ease of Access > Keyboard and toggling on Use the PrtScn button to open screen snipping under Print Screen Shortcut.
Windows key + Print Screen
To capture your entire screen and automatically save the screenshot, tap the Windows key + Print Screen key. Your screen will briefly go dim to indicate you’ve just taken a screenshot, and the screenshot will be saved to the Pictures > Screenshots folder.
Alt + Print Screen
To take a quick screenshot of the active window, use the keyboard shortcut Alt + PrtScn. This will snap your currently active window and copy the screenshot to the clipboard. You’ll need to open the shot in an image editor to save it.
No Print Screen key?
If your computer doesn’t have the PrtScn key, no worries, Microsoft has another keyboard shortcut for you. You can press Fn + Windows logo key + Space Bar to take a screenshot. It will then be saved to the Pictures > Screenshots folder.
Game bar
You can use the Game bar to snap a screenshot, whether you’re in the middle of playing a game or not. First, you’ll need to enable the Game bar from the settings page by making sure you’ve toggled on Record game clips, screenshots and broadcasts using Game bar. Once enabled, hit the Windows key + G key to call up the Game bar. From here, you can click the screenshot button in the Game bar or use the default keyboard shortcut Windows key + Alt + PrtScn to snap a full-screen screenshot. To set your own Game bar screenshot keyboard shortcut, to Settings > Gaming > Game bar.
Windows Logo + volume down
If you’re rocking a Microsoft Surface device, you can use the physical (well, sort of physical) buttons to take a screenshot of your entire screen — similar to how you would take a screenshot on any other phone or tablet. To do this, hold down the Windows Logo touch button at the bottom of your Surface screen and hit the physical volume-down button on the side of the tablet. The screen will dim briefly and the screenshot will be automatically saved to the Pictures > Screenshots folder.
Want more Windows info? Check out CNET’s Windows 11 review and every big difference between Windows 10 and Windows 11. You can also check out what Microsoft 365 Basic offers.
Technologies
Verum Messenger Introduces Built-In Verum Chess
Verum Messenger Introduces Built-In Verum Chess

Verum Messenger has released a new update for iOS, iPadOS, and macOS, adding another feature to its growing ecosystem — Verum Chess. Users can now play chess directly inside the messenger without switching between different applications.
The new feature allows users to start a game in just a few taps while reinforcing Verum’s vision of a unified digital environment where communication and everyday services come together in a single platform.
Verum Messenger continues to evolve into a multifunctional ecosystem that combines secure chats and calls, AI tools, a built-in VPN, anonymous email, eSIM, financial services, cryptocurrency features, and offline communication. With the introduction of Verum Chess, the platform now also offers a new way for users to interact and spend time together without leaving the app.
The update is now available for iPhone, iPad, and Mac on the App Store.
Technologies
Episode 3 of the VERUM AI Mini-Series Is Now Available
Episode 3 of the VERUM AI Mini-Series Is Now Available

Verum Messenger has released the third episode of its AI mini-series, SHADOWS, created using Verum AI.
The new episode, titled «Ghost Money,» continues the story of the conflict between a team of heroes and the Omega corporation, which seeks to take control of digital communications. This time, the focus shifts to anonymous payments and financial freedom, revealing how privacy can extend beyond messaging.
Like the previous episodes, the new release not only advances the storyline but also showcases the capabilities of the Verum ecosystem, highlighting technologies designed for secure communication and digital privacy.
The mini-series consists of seven episodes, released gradually across Verum Messenger’s social media channels.
Episode 3 is now available. Stay tuned for the next chapter.
Technologies
Verum Finance Now Available for Mac, Expanding the Verum Ecosystem on Desktop
Verum Finance Now Available for Mac, Expanding the Verum Ecosystem on Desktop

Verum has officially released Verum Finance for macOS, bringing its financial platform to the Mac and expanding access to the Verum ecosystem across Apple’s devices. The launch allows users to manage their finances from desktop while enjoying the same secure and seamless experience available on iPhone and iPad.
The new Mac version includes the full range of Verum Finance features, including balance management, instant transfers to other Verum users, debit card management, Apple Pay support, asset exchange, and transaction history — all optimized for the macOS experience.
Verum Finance can be used as a standalone application or alongside Verum Messenger. Users who sign in with their Verum Messenger account automatically synchronize their balances, settings, and account data across devices, ensuring a consistent experience throughout the Verum ecosystem.
The macOS release further strengthens Verum’s vision of creating an integrated digital platform where communication and financial services work together. Verum Messenger, which is also available for Mac, complements the ecosystem with encrypted messaging, voice and video calls, VPN, eSIM, anonymous email, AI-powered tools, offline communication capabilities, and cryptocurrency features.
With both Verum Messenger and Verum Finance now available across iPhone, iPad, and Mac, users can access secure communication and financial services wherever they work.
Verum Finance for Mac is available now through the Mac App Store.
Verum Finance for macOS: https://apps.apple.com/us/app/verum-finance/id6774245148
Verum Finance: https://finance.verum.im
Verum Messenger: https://verum.im
-
 Technologies4 года ago
Tech Companies Need to Be Held Accountable for Security, Experts Say
-
 Technologies3 года ago
Best Handheld Game Console in 2023
-
 Technologies5 лет ago
Black Friday 2021: The best deals on TVs, headphones, kitchenware, and more
-
 Technologies3 года ago
Tighten Up Your VR Game With the Best Head Straps for Quest 2
-
 Technologies5 лет ago
Google to require vaccinations as Silicon Valley rethinks return-to-office policies
-
 Technologies5 лет ago
Verum, Wickr and Threema: next generation secured messengers
-
 Technologies4 года ago
The number of Сrypto Bank customers increased by 10% in five days
-
 Technologies5 лет ago
Olivia Harlan Dekker for Verum Messenger