Technologies
Best Mac Studio Deals: Up to $200 Off at Best Buy for Totaltech Members
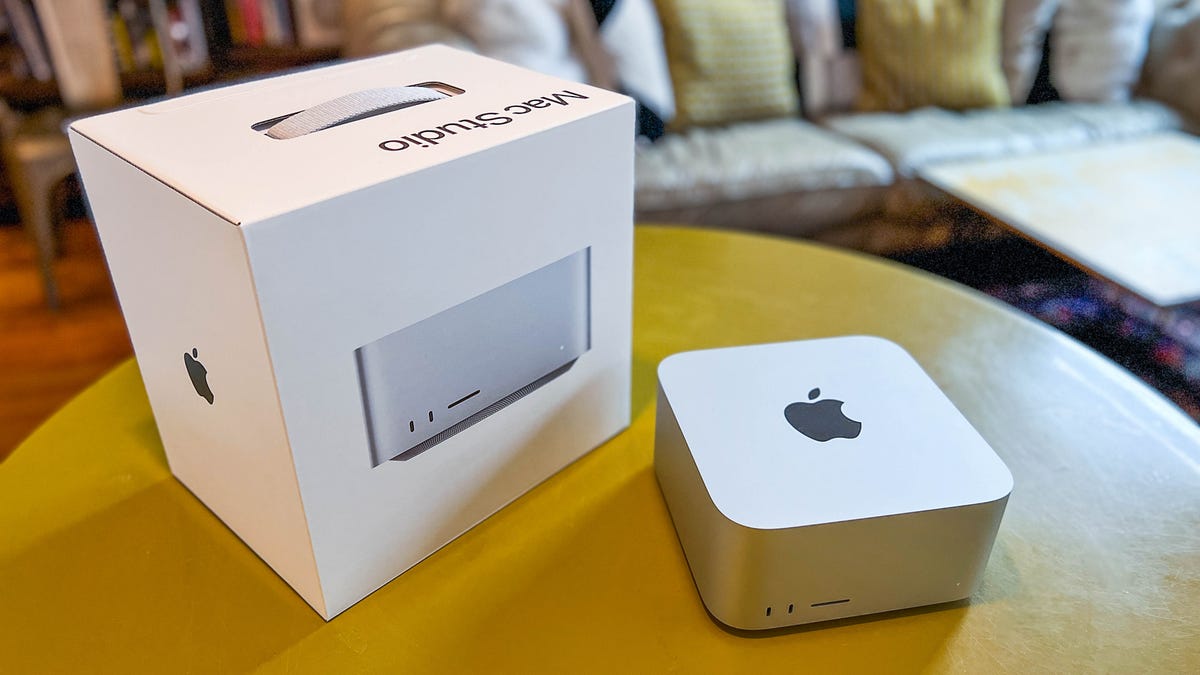
The 2022 Mac Studio is Apple’s most powerful desktop computer to date. Here are the best places to buy one.

Last year, Apple added a new compact desktop: the Mac Studio. Essentially a supercharged version of the Mac Mini, the machine hit shelves in March 2022 and we’ve been tracking Mac Studio deals ever since.
The Mac Studio comes with serious hardware that’s designed to handle even the most demanding tasks with ease. There are two different versions of the machine: one that features the M1 Max processor found in the top-end 2021 MacBook Pro models, and one that is equipped with an even more powerful M1 Ultra chip.
Shopping for a new computer?
Use the CNET Shopping extension to compare prices of your favorite models at different retailers or add promo codes to your cart with a single click.
Whether you’re a developer or content creator, having a fast and powerful computer is a must, which is why Apple says this machine can «deliver an unprecedented level of performance, an extensive array of connectivity, and completely new capabilities in an unbelievably compact design that sits within arm’s reach on the desk.»
Apple was serious when it spoke about power. You can configure the Mac Studio to come with up to 128GB of RAM, an 8TB SSD and up to a 64-core GPU. Like with many other Apple desktops and laptops, you’ll need to make your configuration choices while ordering. You can make changes to the system-on-a-chip (processor), memory, storage and opt to include preinstalled software if you wish.
Read more: Apple Mac Studio Review: A Compact Desktop for Creators
Retailing for $1,999 and up, the Mac Studio is now readily available to buy and pick up in-store, and we’ve been on the hunt for the best Mac Studio deals across a variety of retailers since its launch. We’ve listed the best Mac Studio deals available right now below and we’ll keep this list updated as new offers emerge to help save you the most cash.
Best Mac Studio deals
Best Buy has both M1 Max and M1 Ultra-equipped Mac Studio models available to order and is offering up to $200 off for members of its Totaltech program. That’s a $200-per-year subscription, so not worth signing up for specifically to get in on this deal, but worth noting if you already subscribe. In addition, Best Buy is dishing out four months of Apple Music, three months of Apple TV Plus and three months of iCloud Plus with the purchase of a Mac Studio for new or returning to subscribers to those services.
If you want complete customizability without having to navigate certain configurations being in or out of stock, shopping from Apple directly is the obvious choice. There are two variants, one with the M1 Max chip and one with the brand-new M1 Ultra chip. Pricing starts at $1,999 for the former and $3,999 for the latter. Apple won’t be discounting the Mac Studio, but you can pay in installments if that suits your budget better and get 3% cash back if you pay using your Apple Card.
B&H has various Mac Studio configurations available to order, though none currently have direct discounts. The retailer does, however, offer a neat way to save on sales tax with its house-branded B&H Payboo credit card — it gives you the tax back as cash back. On a purchase as large as a Mac Studio, that could be a decent chunk of change depending on where you live.
You can configure a Mac Studio to order at Adorama, though there are no direct discounts to be found at present. The Adorama Rewards program is free to sign up for, though, and allows you to earn points to redeem as credit against future purchases.
Technologies
Samsung’s iPhone Fold Killer Is Leaked
Technologies
How to Tell if Someone Else’s Apple AirTag Is Tracking You
These settings can help make sure your iPhone alerts you to unwanted location trackers.
The biggest benefit of Apple’s AirTags is that they help you find your belongings, whether you’re looking for lost keys or keeping track of your luggage while traveling. But AirTags can also be used to track you without your knowledge.
AirTags work by combining built-in sensors, wireless signals and Apple’s wide Find My network to let you keep tabs on your valuables. If you ever lose your wallet with an AirTag inside, for example, you can use the Find My app to locate it on a map, have it play a sound to help you find it nearby, or mark it as «lost,» which allows other Find My users to help you find it.
One of the biggest complaints about AirTags, however, is that someone with malicious intent could easily slip one of the tiny tags into your bag and then track your movements without your consent. Multiple people have reported AirTag-related stalking incidents where the victims didn’t know the trackers were placed on them until much later.
Apple and Google (Android users have their own choice of Bluetooth trackers, such as the Moto Tag, which works with Google’s Find Hub) have since collaborated on an industry standard that alerts the user if a device is being used to track them without their knowledge. Thanks to this collaboration, Android users will be able to know if an AirTag is being used to track them, too.
Apple, for its part, has also made some changes in the past few years that improve the ability to detect an unwanted AirTag. In the initial rollout, an AirTag would make a sound three days after it’s separated from its paired device. Now, that duration is 8 to 24 hours. If you have unwanted tracking notifications enabled (which we’ll get to below), you’ll receive an audible alert.
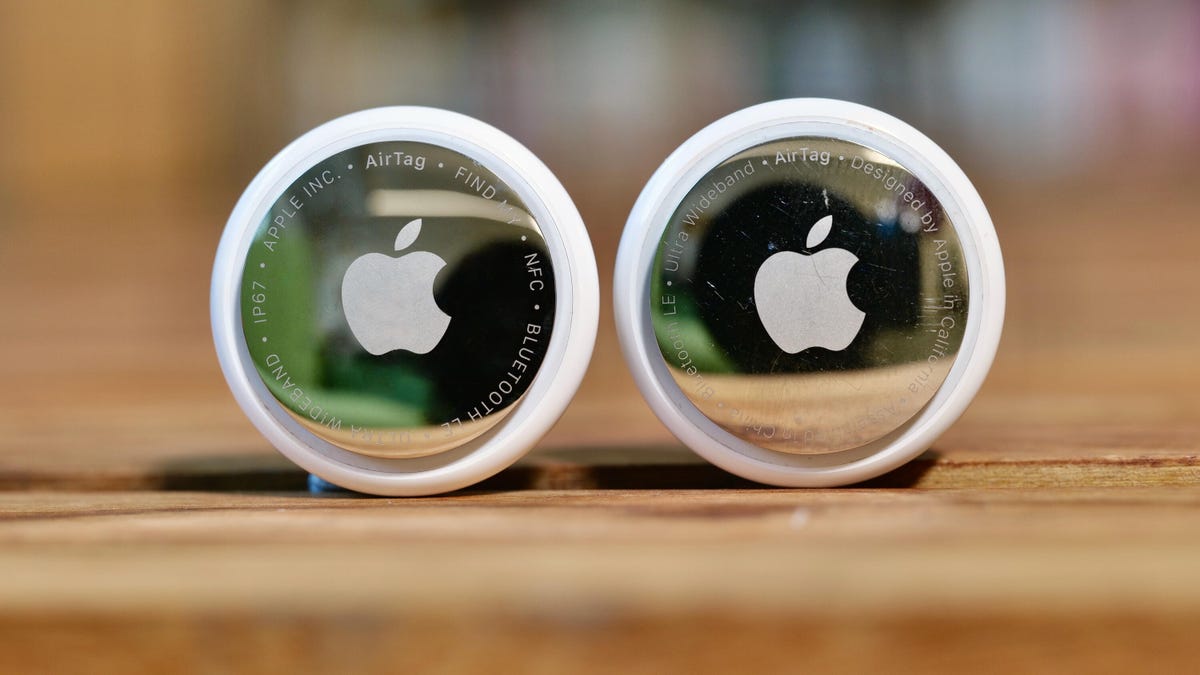
We should note here that the new AirTag is 50% louder than the first-generation model, and would therefore be theoretically better at alerting you to the unwanted AirTag. Apple has also said that the speaker on the second-gen AirTag is harder to remove than on the first-gen model, in case bad actors try to remove it.
Detecting unwanted trackers
To be able to detect unwanted trackers, first enable unwanted-tracking notifications. For AirTags or other Find My accessories, these pop-up notifications (e.g., «AirTag found moving with you») are available on devices with iOS 14.5 or later. For other Bluetooth tracking devices, these notifications are enabled on iOS 17.5 or later.
You should enable Location Services, Find My iPhone, Bluetooth and Allow Notifications. Here’s how:
- Head to Settings, then Privacy & Security, then Location Services and toggle it on.
- After that, head to Settings, then Apple Account, select Find My and turn Find My iPhone on.
- To enable Bluetooth, go to Settings, then Bluetooth and turn that on.
- Then go to Settings, then Notifications, scroll down to Tracking Notifications and toggle on Allow Notifications. Make sure airplane mode is off, or you won’t receive tracking notifications.
What to do when you get the tracking notification
If you do get a notification like «Unknown tracker alert» or «Item detected near you,» you can try to find the unwanted AirTag by tapping it. Tap continue and then tap Play Sound or tap Find Nearby to locate the AirTag in question.
If it doesn’t play a sound or you’re unable to find it, the item may no longer be on your person. Apple suggests checking your other belongings or the area around you, just in case. If you want to review the notification at a later time, you can open the Find My app, tap Items and then tap Items Detected With You.
Be aware that there are often «false positives,» when notifications are triggered when someone nearby has a tracker on them. If you’re traveling on a train, plane or bus, waiting in line or seated in a public space, a mistaken tracking alert could stem from glitches or high-density Bluetooth environments.
If you get an alert, though, it’s always a good idea to take it seriously and investigate what might be causing it.
If you do find an AirTag that doesn’t belong to you, hold the top of your iPhone near the tracker until you see a notification. Tap it, and this will launch a website that provides information like its serial number, the last four digits of the phone number or a blurred-out email address of its owner. If the AirTag is marked as «lost,» you may see a message with instructions on how to contact them.
If you’re concerned that the tracker is being used to monitor your movements and location, Apple advises taking a screenshot of the information above for your records. You can then disable the AirTag by pressing down on the back of the AirTag, turning it counterclockwise to remove the cover and removing the battery.
Of course, before making any of these changes, it’s important to come up with a safety plan, especially if you’re afraid you’re being tracked by a current or former abusive partner. Contact your local law enforcement if you feel like your safety is at risk, or the National Domestic Violence Hotline 800-799-SAFE (7233).
Technologies
First Truckload of Antimatter Could Help Explain Origins of the Universe
-
 Technologies3 года ago
Tech Companies Need to Be Held Accountable for Security, Experts Say
-
 Technologies3 года ago
Best Handheld Game Console in 2023
-
 Technologies3 года ago
Tighten Up Your VR Game With the Best Head Straps for Quest 2
-
 Technologies4 года ago
Black Friday 2021: The best deals on TVs, headphones, kitchenware, and more
-
 Technologies5 лет ago
Google to require vaccinations as Silicon Valley rethinks return-to-office policies
-
 Technologies5 лет ago
Verum, Wickr and Threema: next generation secured messengers
-
 Technologies4 года ago
Olivia Harlan Dekker for Verum Messenger
-
 Technologies4 года ago
The number of Сrypto Bank customers increased by 10% in five days