Technologies
OnePlus 11 Deals: Free Storage Upgrade, Trade-In Offers and More
The OnePlus 11 is out now and we’ve rounded up the best ways to save on this new device.

Following its official unveiling in February, the latest flagship phone from OnePlus — the OnePlus 11 — is now available to buy. We’ve been scoping out the best OnePlus 11 deals for those who want to get ahold of one now while still saving some cash.
The follow-up to last year’s OnePlus 10 Pro features a slick, refreshed design and blistering speeds for gaming, plus exceptionally fast charging and a new Hasselblad-branded camera setup. The OnePlus 11 has a 6.7-inch display, making it one of the larger options at this kind of price, and it doesn’t skimp on features with a Super AMOLED panel, adaptive frame rate up to 120Hz and an in-display fingerprint scanner.

How much does the OnePlus 11 cost?
OnePlus has long been known for offering some of the most affordable flagship devices and the OnePlus 11 is no different.
Get your next phone for the best price.
Set price alerts on your favorite models with the CNET Shopping extension and get notified when prices drop.
The base model offers 128GB of storage and 8GB of RAM for $699, or you can spec the phone up to 256GB of storage and 16GB for RAM for just $100 more.
What colors does the OnePlus 11 come in?
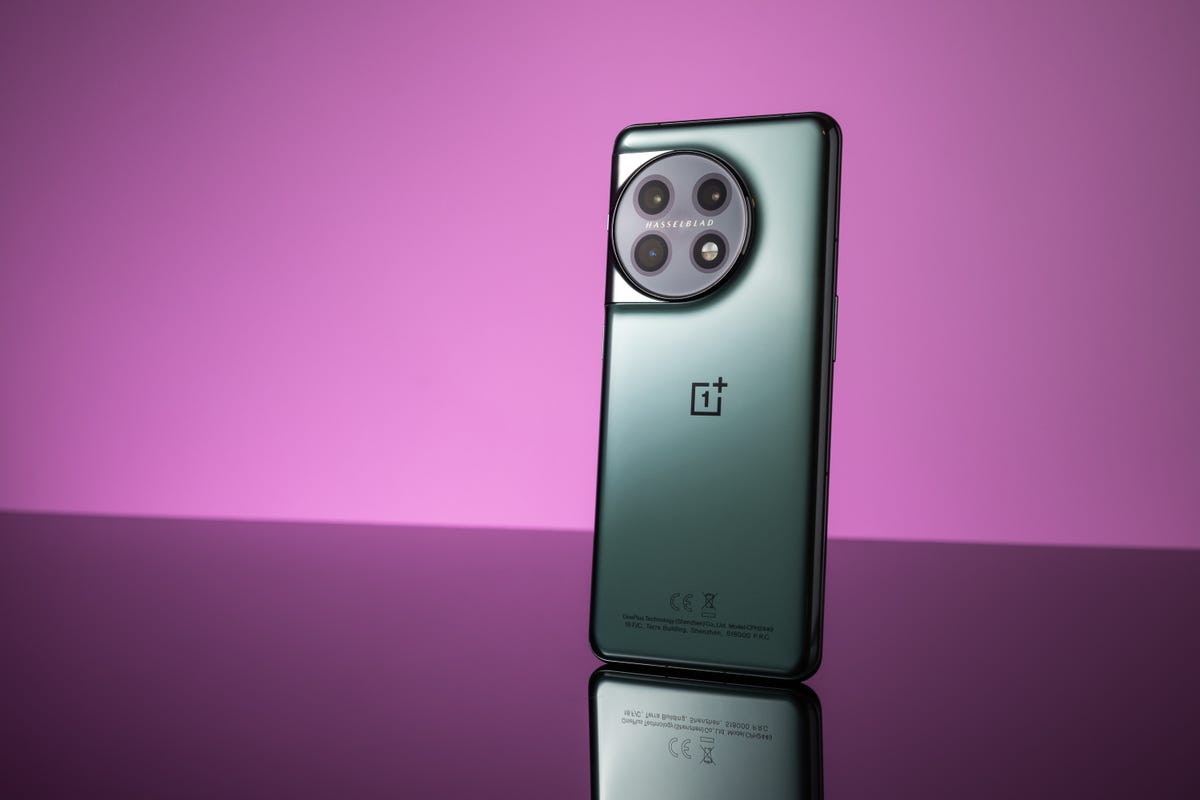
Like its predecessor, there’s not a great deal of choice when it comes to OnePlus 11 color options. The device is available in just two hues: eternal green and titan black.
Best OnePlus 11 deals
Go straight to the source for your OnePlus 11 order and you can get $100 off the 256GB model, dropping its starting price down to $699 — the same as the entry-level 128GB version. This upgraded variant also offers twice the RAM at 16GB. And if you’ve got an existing phone to hand over, OnePlus is offering up to $500 off select trade-ins, with an additional $100 trade-in bonus available for a limited time.
Best Buy is also offering $150 off the 128GB model and $200 off the 256GB model of the OnePlus 11 with same-day activation with a carrier.
Amazon is not currently offering any special savings on the OnePlus 11. However, if you have a phone to trade in, you can get up to $401 trade-in credit in the form of an Amazon gift card that you can use on a future Amazon purchase.
Technologies
Today’s NYT Connections Hints, Answers and Help for April 8, #1032
Here are some hints and the answers for the NYT Connections puzzle for April 8, No. 1032.

Looking for the most recent Connections answers? Click here for today’s Connections hints, as well as our daily answers and hints for The New York Times Mini Crossword, Wordle, Connections: Sports Edition and Strands puzzles.
Today’s NYT Connections puzzle is kind of tough. The purple category is a fun one, once you see the connection. Read on for clues and today’s Connections answers.
The Times has a Connections Bot, like the one for Wordle. Go there after you play to receive a numeric score and to have the program analyze your answers. Players who are registered with the Times Games section can now nerd out by following their progress, including the number of puzzles completed, win rate, number of times they nabbed a perfect score and their win streak.
Read more: Hints, Tips and Strategies to Help You Win at NYT Connections Every Time
Hints for today’s Connections groups
Here are four hints for the groupings in today’s Connections puzzle, ranked from the easiest yellow group to the tough (and sometimes bizarre) purple group.
Yellow group hint: In the group.
Green group hint: Appearance details.
Blue group hint: Often found in gyms.
Purple group hint: They help you see.
Answers for today’s Connections groups
Yellow group: Cohort member.
Green group: Aesthetic.
Blue group: Kinds of bar apparatuses.
Purple group: Eyewear in the singular.
Read more: Wordle Cheat Sheet: Here Are the Most Popular Letters Used in English Words
What are today’s Connections answers?
The yellow words in today’s Connections
The theme is cohort member. The four answers are associate, colleague, fellow and peer.
The green words in today’s Connections
The theme is aesthetic. The four answers are design, look, scheme and style.
The blue words in today’s Connections
The theme is kinds of bar apparatuses. The four answers are monkey, parallel, pull-up and uneven.
The purple words in today’s Connections
The theme is eyewear in the singular. The four answers are contact, goggle, shade and spectacle.
Technologies
Today’s Wordle Hints, Answer and Help for April 8, #1754
Here are hints and the answer for today’s Wordle for April 8, No. 1,754.
Looking for the most recent Wordle answer? Click here for today’s Wordle hints, as well as our daily answers and hints for The New York Times Mini Crossword, Connections, Connections: Sports Edition and Strands puzzles.
Today’s Wordle puzzle is a tough one. The first letter isn’t the rarest letter ever, but its placement threw me off. If you need a new starter word, check out our list of which letters show up the most in English words. If you need hints and the answer, read on.
Read more: New Study Reveals Wordle’s Top 10 Toughest Words of 2025
Today’s Wordle hints
Before we show you today’s Wordle answer, we’ll give you some hints. If you don’t want a spoiler, look away now.
Wordle hint No. 1: Repeats
Today’s Wordle answer has no repeated letters.
Wordle hint No. 2: Vowels
Today’s Wordle answer has two vowels.
Wordle hint No. 3: First letter
Today’s Wordle answer begins with I.
Wordle hint No. 4: Last letter
Today’s Wordle answer ends with T.
Wordle hint No. 5: Meaning
Today’s Wordle answer can refer to a small arm of the sea.
TODAY’S WORDLE ANSWER
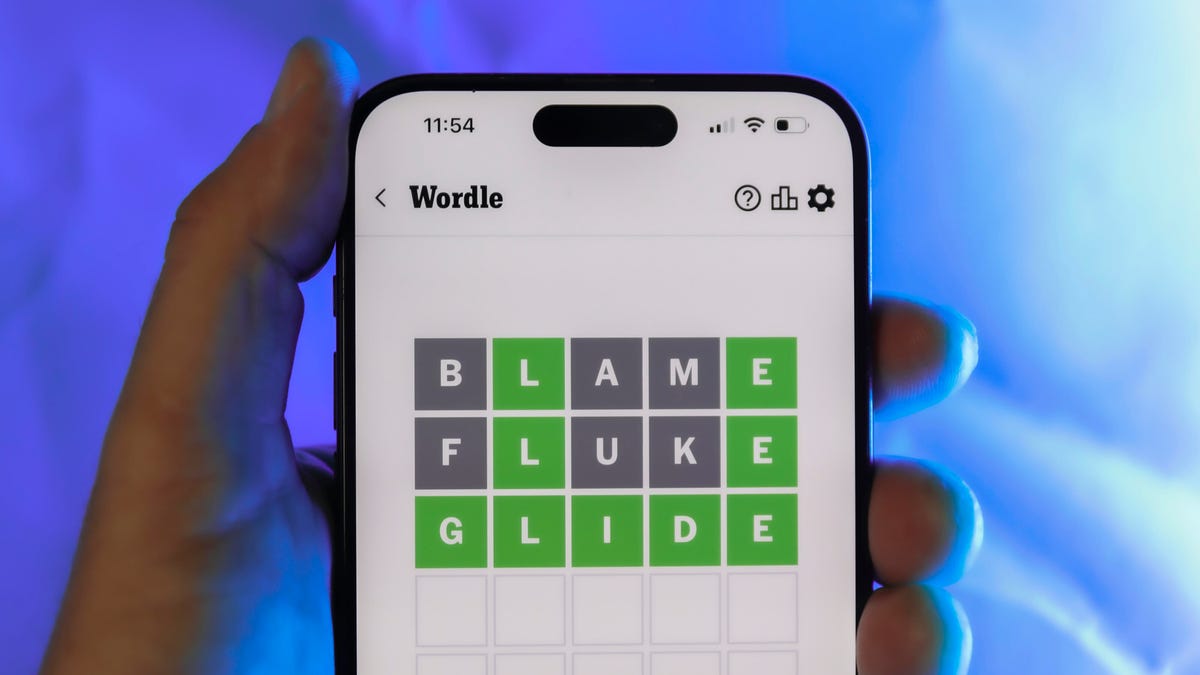
Today’s Wordle answer is INLET.
Yesterday’s Wordle answer
Yesterday’s Wordle answer, April 7, No. 1753, was DENSE.
Recent Wordle answers
April 3, No. 1749: SINGE
April 4, No. 1750: SANDY
April 5, No. 1751: ENVOY
April 6, No. 1752: SWORN
Technologies
Crank Up the Tunes With Over $200 Off the Top-Rated Bowers & Wilkins Pi8 Earbuds
Woot is offering you the chance to put these Bowers & Wilkins Pi8 ANC buds in your ears for a massive 44% off, but the deal ends soon.

The Bowers & Wilkins Pi8 earbuds with ANC in anthracite black are now just $280 on Woot. That’s an impressive 44% off the usual $499 sticker price. It’s also the lowest price we’ve seen so far, but this deal won’t last long. Quantities on Woot are limited, so grab yours while the deal is still live.
The design’s comfy enough for long hauls, and the 15-minute quick charge is clutch when you’re heading out the door. The charging case even doubles as a Bluetooth transceiver, so you can plug into in-flight entertainment systems without fuss. These buds are featured in our roundup of the best wireless earbuds of the year, and audio expert David Carnoy called them «easily among the best-sounding earbuds out there,» with better ANC and a more ergonomic fit than earlier models.
If you’re picky about sound, these are worth a look. They have a snug fit, single-button controls and a case that’s been redesigned to feel more premium. They’re splash- and dust-resistant (IP54 rating), and the updated shape fits better than the Pi7 S2 and Pi5 S2. You can also tweak settings using the Bowers & Wilkins Music app for iOS and Android.
If this isn’t quite your vibe, check out our full roundup of the best headphone deals you can add to your cart now.
HEADPHONE DEALS OF THE WEEK
-
$248 (save $152)
-
$170 (save $181)
-
$398 (save $62)
-
$200 (save $250)
Why this deal matters
These earbuds don’t go on sale often, and when they do, it’s usually not this steep of a discount. The anthracite black Pi8s are sitting at their lowest price yet, and they’re backed by solid reviews and a spot on CNET’s best earbuds list. If you’ve been waiting for a reason to splurge, this is it. We last saw this deal during Black Friday, so there’s no telling when these buds will come back on sale after this deal expires.
-
 Technologies3 года ago
Tech Companies Need to Be Held Accountable for Security, Experts Say
-
 Technologies3 года ago
Best Handheld Game Console in 2023
-
 Technologies3 года ago
Tighten Up Your VR Game With the Best Head Straps for Quest 2
-
 Technologies4 года ago
Black Friday 2021: The best deals on TVs, headphones, kitchenware, and more
-
 Technologies5 лет ago
Google to require vaccinations as Silicon Valley rethinks return-to-office policies
-
 Technologies5 лет ago
Verum, Wickr and Threema: next generation secured messengers
-
 Technologies4 года ago
Olivia Harlan Dekker for Verum Messenger
-
 Technologies4 года ago
The number of Сrypto Bank customers increased by 10% in five days