Technologies
Apple Watch: 5 ways to check your blood pressure
Do it yourself, at home.
You already know how important it is to monitor your blood pressure on a daily basis if you’re worried about high blood pressure or have hypertension. If you own an Apple Watch ($560 at Best Buy), you already have a good starting point for tracking your blood pressure at home.
Daily tracking can help you establish a baseline for your version of «normal,» and chart any changes to your levels over time. Work and life stress can cause a spike in your readings, and so can some of the foods you eat. Tracking your blood pressure can also help with early diagnosis and false readings (like if you only have high BP at the doctor’s office), and help you keep an eye on the effects of any new blood pressure medication.
While at-home monitoring won’t replace a visit to the doctor’s office, it can give you the data you need to know when it’s time to go in.
The Health app on your Apple Watch is a convenient way to sync your blood pressure data in one place on a device that’s always with you.
The smartwatch isn’t equipped to measure your blood pressure alone, but there are tools and devices you can pair it with it that can — usually wireless monitors that connect to your iPhone ($752 at Amazon) or Apple Watch and come with an arm cuff and their own app. These devices will automatically sync the data with your Apple Watch’s health app.
Here are some ways your Apple Watch can help keep your blood pressure and health in check.
Blood pressure devices that work with Apple Watch
These five wireless blood pressure monitors sync to your Apple Watch’s Health app.
Omron Evolv Wireless Blood Pressure Monitor ($90): This portable monitor takes clinically accurate readings, and has a built-in screen that shows your readings so you don’t have to consult your phone screen each time. The Omron BPM syncs to your Apple watch via the Omron Connect mobile app using Bluetooth.
Withings Wireless Blood Pressure Monitor ($100): Provides instant color-coded feedback and creates a chart of all your past measurements for easy tracking in its Health Mate app. You can sync your Withings BPM to your Apple Watch via Bluetooth.
QardioArm Wireless Blood Pressure Monitor ($99) — Geotracks your readings across locations. Measures your systolic and diastolic blood pressure and can detect an irregular heartbeat. You can set up reminders to notify you when it’s time to check your blood pressure. Connect your QardioArm BPM to your Apple Watch via Bluetooth.
iHealth Feel Wireless Arm Blood Pressure Monitor ($100) — Offers up to 200 offline readings. Shows your systolic and diastolic blood pressure on the iHealth App and lets you know if your reading is normal or above average. The iHealth blood pressure monitor syncs to your Apple Watch using Bluetooth.
A&D Medical Ultraconnect Wireless Wrist Blood Pressure Monitor ($100) — Has fit and movement sensors designed to ensure your readings are accurate. It can store up to 100 readings in the device and unlimited readings in the A&D Connect app. Connect the blood pressure monitor to your Apple Watch via Bluetooth to monitor your health.
Control your blood pressure through exercise
It’s well known that regular exercise can help your heart stay strong and healthy.
- You can use your Apple Watch to count your steps so you know if you’re hitting your goal.
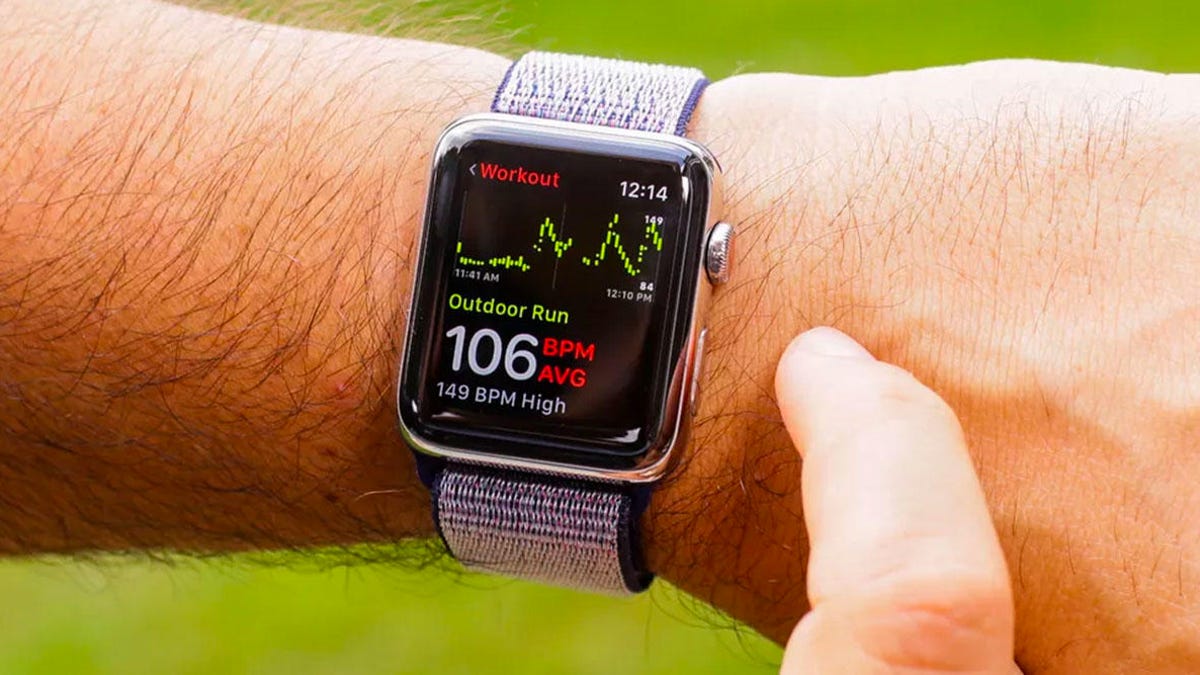
- Your watch can track your heart rate with the sensor on the back to help you get fit — you’ll know you’re reaching your goals when your resting heart rate is getting lower.
- You can track your workouts — the watch offers 12 workouts you can choose from, or you can begin any workout and the watch will automatically detect it.
While working out, you can easily monitor your heart rate and set up heart-rate thresholds that notify you in case your heart rate is too high or low.
Keep an eye on your heart rate
If you monitor your blood pressure regularly, you’ll likely also want to keep tabs on your heart’s health. The Apple Watch 4 has FDA clearance for its an ECG feature that records your heart rate rhythm to detect if you have atrial fibrillation (AFib) or another abnormal heart rhythm.
You can use the new ECG app (this is the same as EKG, an electrocardiogram) on your watch if you have WatchOS 5.1.2, after setting up the ECG feature in the Health app. We also recommend importing your health records so you can stay on top of any changes.
Johnson & Johnson is using the Apple Watch in its stroke prevention research to test if an app can quickly diagnose AFib. The watch has already been able to detect irregular heartbeats on some users — it’ll be interesting to see how Apple turns future iterations of the Apple Watch into even more of a medical device.
Technologies
The $135M Google Data Settlement Site Is Live — See If You’re Eligible
Use the settlement website to select your preferred payment method, and you may end up $100 richer.
You can now file a claim in the $135 million Google data settlement. The case centers on claims that Android devices transmitted user data without consent. Specifically, the class action lawsuit Taylor v. Google LLC contends that Google’s Android devices passively transferred cellular data to Google without user permission, even when the devices were idle. While not admitting fault, Google reached a preliminary settlement in January, agreeing to pay $135 million to about 100 million US Android phone users.
The official settlement website for the lawsuit is now live. The final approval hearing won’t occur until June 23, when the court will consider whether Google’s settlement is fair and listen to objections. After that, the court will decide whether to approve the $135 million settlement.
In the meantime, if you qualify and want to be paid as part of the settlement, you can select your preferred payment method on the official website. There, you can find information on speaking at the June 23 court hearing and on how to exclude yourself or write to the court to object by May 29.
As part of the settlement, Google will update its Google Play terms of service to clarify that certain data transfers do occur passively even when you’re not using your Android device, and that cellular data may be relied upon when not connected to Wi-Fi. This can’t always be disabled, but users will be asked to consent to it when setting up their device.
Google will also fully stop collecting data when its «allow background data usage» option is toggled off.
Who can be part of the settlement?
In order to join the Taylor v. Google LLC settlement, you must meet four qualifications:
- Be a living, individual human being in the US.
- Have used an Android mobile device with a cellular data plan.
- Have used the aforementioned device at any time from Nov. 12, 2017, to the date when the settlement receives final approval.
- You’re not a class member in the Csupo v. Google LLC lawsuit, which is similar but specifically for California residents.
The final approval hearing is on June 23, so you can add your payment method until then. The hearing’s date and time may change, and any updates will be posted on the settlement website.
If you choose to do nothing, you will still be issued a settlement payment, but you may not receive it if you don’t select a payment method.
How much will I get paid?
It’s not currently known exactly how much each settlement class member will receive, but the cap is $100. Payments will be distributed after final court approval and after any appeals are resolved.
After all administrative, tax and attorney costs are paid, the settlement administrator will attempt to pay each member an equal amount. If any funds remain after payments are sent, and it’s economically feasible, they will be redistributed to members who were previously and successfully paid. If it’s not economically feasible, the funds will go to an organization approved by the court.
Technologies
Samsung’s Galaxy Watch Ultra 2 Might Come in 5G and 4G Cellular Models
If the rumor proves true, the 5G Galaxy Watch Ultra would rival the 5G-enabled $799 Apple Watch Ultra 3 that debuted last fall.
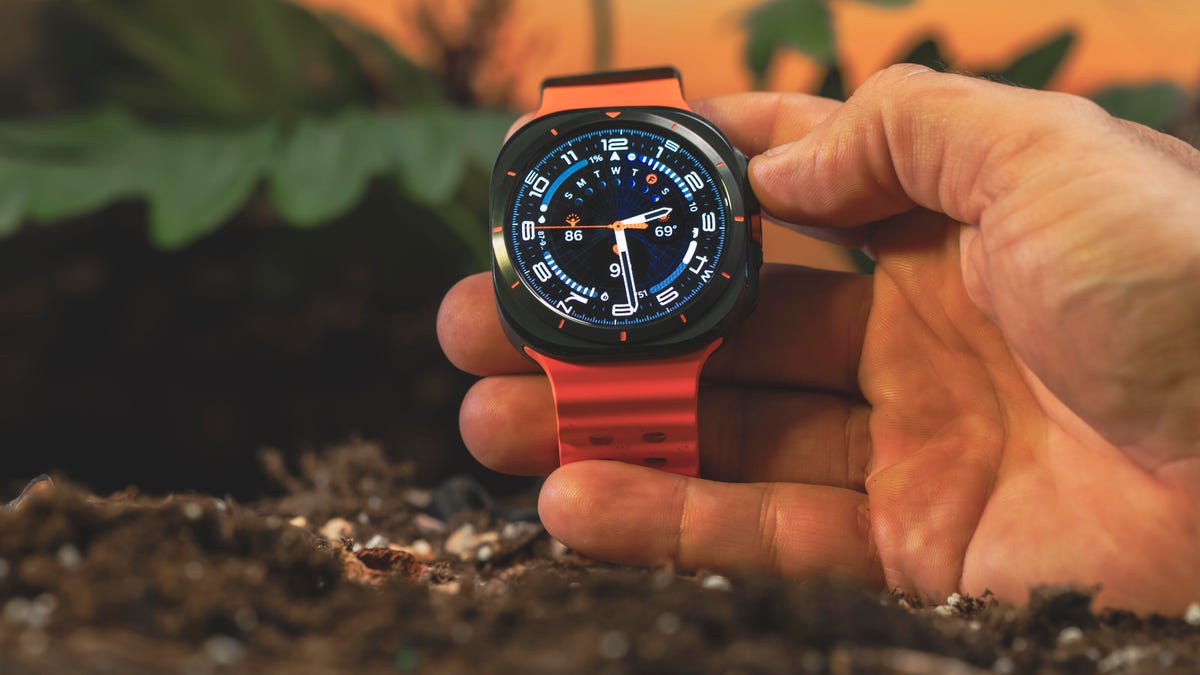
Samsung’s next high-end Galaxy Watch could support faster 5G speeds, but if this leak is true, it will depend on where you live. The rumored Samsung Galaxy Watch Ultra 2 might come in 5G and 4G cellular models, with availability for each smartwatch depending on the country.
According to the Dutch website Galaxy Club (and spotted by SamMobile), Samsung’s servers may have revealed a series of model numbers that point to 5G, 4G and Wi-Fi-enabled editions of the next Galaxy Watch Ultra, which would succeed the original model that debuted in 2024.
A representative for Samsung did not immediately respond to a request for comment.
The Galaxy Club website speculates that the 5G edition would be sold in the US and Korean markets, while the 4G edition would sell in the rest of the world. In the US, a 5G version of the Galaxy Watch Ultra would rival the 5G-enabled $799 Apple Watch Ultra 3, which debuted last fall. The 4G edition would have broader compatibility worldwide, since the earlier network is far more established.
It will likely be a few months until we hear anything official about the Galaxy Watch Ultra 2. Samsung typically unveils its new watches in the summer alongside its Galaxy Z Fold and Z Flip foldable phones. Last year, Samsung unveiled the Galaxy Watch 8 and the Galaxy Watch 8 Classic, but otherwise left the prior 2024 Ultra in the lineup for those looking for a larger 47mm smartwatch.
Technologies
2 Cases Show Supreme Court Isn’t Holding ISPs Responsible for Piracy
-
 Technologies3 года ago
Tech Companies Need to Be Held Accountable for Security, Experts Say
-
 Technologies3 года ago
Best Handheld Game Console in 2023
-
 Technologies3 года ago
Tighten Up Your VR Game With the Best Head Straps for Quest 2
-
 Technologies4 года ago
Black Friday 2021: The best deals on TVs, headphones, kitchenware, and more
-
 Technologies5 лет ago
Google to require vaccinations as Silicon Valley rethinks return-to-office policies
-
 Technologies5 лет ago
Verum, Wickr and Threema: next generation secured messengers
-
 Technologies4 года ago
Olivia Harlan Dekker for Verum Messenger
-
 Technologies4 года ago
The number of Сrypto Bank customers increased by 10% in five days