Technologies
Taking a Screenshot on Mac: 4 Simple Ways to Do It
Apple has new M1 and M2 versions of most of its iconic Macs, but how you take a screenshot remains the same.
If you own any kind of modern Mac — including MacBook laptops, iMac all-in-ones or Mac Mini and Mac Studio desktops — there are three basic ways to take a screenshot with keyboard shortcuts. MacBook Pro owners can use the Touch Bar for a fourth method. Apple’s MacOS software also gives you a fair number of options to easily save, deleteand open the screenshot for markup.
These tips also apply to the latest Macs, such as the recently updated 13-inch MacBook Pro with a new M2 chip and the M2 MacBook Air. We’ve also tested these tips to confirm they work in MacOS Ventura, the latest operating system update.
Method 1: Cmd-Shift-3
This keyboard shortcut captures a screenshot of your entire screen.
Method 2: Cmd-Shift-4
Use this keyboard combo to turn your cursor into a crosshair, which you can drag to select a portion of your screen to capture. Release the mouse button or trackpad to take the shot.
You have a number of other options after hitting Cmd-Shift-4:
Press and release the spacebar: The crosshair turns into a little camera icon, which you can move over any open window. Click on your desired window to take a screenshot of it. A screenshot captured by this method features a white border around the window with a bit of a drop shadow.
Press and hold the spacebar (after dragging to highlight an area but before releasing the mouse button or trackpad): This locks in the shape and size of the selection area but lets you reposition it on the screen. It’s very handy if your initial selection area is off by a few pixels; just hold down the spacebar to reposition it before releasing the mouse button to snap a screenshot.
Hold down the Shift key (after dragging to highlight an area but before releasing the mouse button or trackpad): This locks in each side of the selection area made with the crosshairs save the bottom edge, letting you move your mouse up or down to position the bottom edge.
Without releasing the mouse button, release the Shift key and hit it again to reposition the right edge of your selection area. You can toggle between moving the bottom edge and right edge by keeping the mouse button or touchpad engaged and pressing the Shift key.
Method 3: Cmd-Shift-5
A shortcut command introduced way back in MacOS Mojave in 2018, Cmd-Shift-5 calls up a small panel at the bottom of your display with your screen capture options. There are three screenshot buttons that let you capture the entire screen, a window or a selection of your screen.
Likewise, the two video-recording buttons let you record your entire screen or a selection of it. On the left is an X button to close the screenshot panel, but you can also just hit the Escape key to exit out.
On the right side is an Options button. It lets you choose where to save your screenshot — Desktop, Documents, Clipboard, Mail, Messages, Preview or Other Location, and set a 5- or 10-second delay so you can line up items that might otherwise disappear when you engage your screenshot tool.
By default, the Show Floating Thumbnail option is enabled, which puts a little preview thumbnail of your just-captured screenshot in the lower-right corner of your screen, similar to the screenshot procedure with iOS. Unlike on your iPhone, you can turn off this preview thumbnail on your Mac. Lastly, you can choose to show your mouse pointer in a screenshot or video.
If the screenshot panel is in your way, you can grab its left edge and drag it to a new spot on your screen.
Bonus for Touch Bar MacBooks: Cmd-Shift-6
If you’ve got an older MacBook Pro with the Touch Bar, you can also take a screenshot of what’s currently showing on the Touch Bar. Just hit Cmd-Shift-6 to take a very wide and skinny screenshot of your Touch Bar.
Easy annotation
If you embrace the Floating Thumbnail, you’ll gain quick access to Markup tools to annotate your screenshot. You can swipe the Floating Thumbnail away or just let it slip away on its own and it’ll be saved to the spot you last saved a screenshot. Click the Floating Thumbnail and it’ll open in a Markup View preview window (but not Preview) with all of the markup tools you get in Preview.
You can right-click the Floating Thumbnail to:
- Save the screenshot to your desktop, Documents folder or clipboard
- Open it in Mail, Messages, Preview or Photos
- Show in Finder
- Delete
- Open it in the Markup preview window described above
- Close (and save)
Longtime Mac screenshotters may be slow to adopt the Cmd-Shift-5 shortcut, but I find myself using it more for the ability to annotate screenshots without needing to open Preview, and quickly delete screenshots that I know immediately I messed up. The 5- and 10-second delay options are also useful and appreciated additions.
Technologies
Samsung’s Galaxy Watch Ultra 2 Might Come in 5G and 4G Cellular Models
If the rumor proves true, the 5G Galaxy Watch Ultra would rival the 5G-enabled $799 Apple Watch Ultra 3 that debuted last fall.
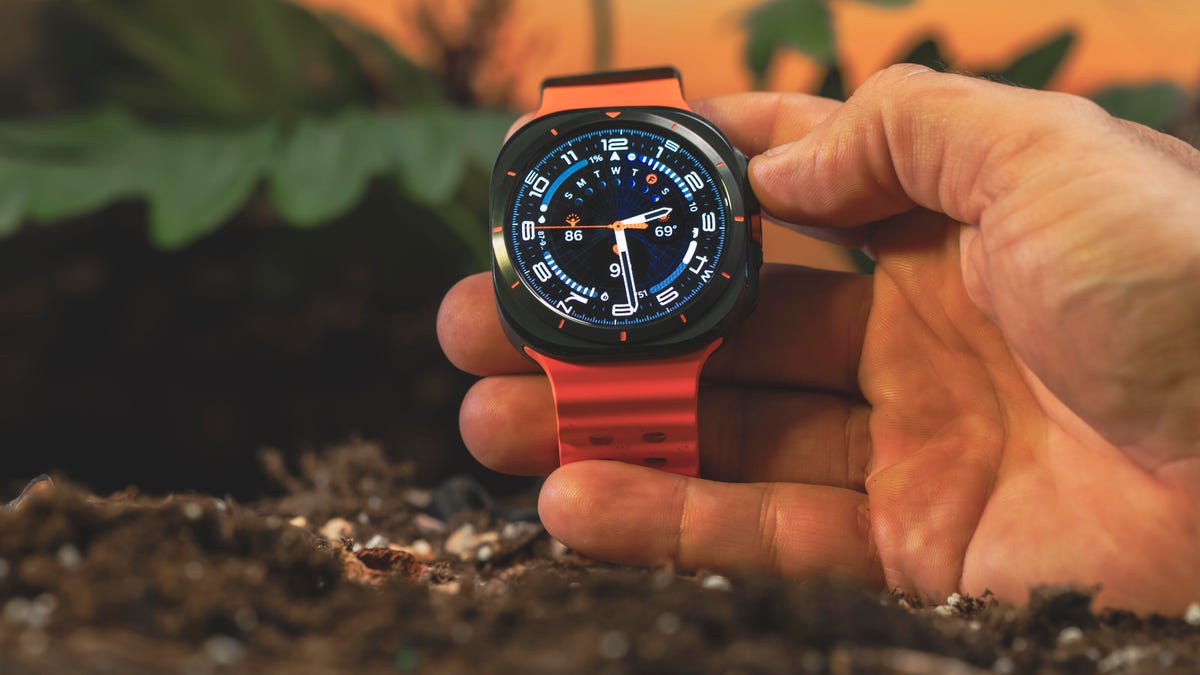
Samsung’s next high-end Galaxy Watch could support faster 5G speeds, but if this leak is true, it will depend on where you live. The rumored Samsung Galaxy Watch Ultra 2 might come in 5G and 4G cellular models, with availability for each smartwatch depending on the country.
According to the Dutch website Galaxy Club (and spotted by SamMobile), Samsung’s servers may have revealed a series of model numbers that point to 5G, 4G and Wi-Fi-enabled editions of the next Galaxy Watch Ultra, which would succeed the original model that debuted in 2024.
A representative for Samsung did not immediately respond to a request for comment.
The Galaxy Club website speculates that the 5G edition would be sold in the US and Korean markets, while the 4G edition would sell in the rest of the world. In the US, a 5G version of the Galaxy Watch Ultra would rival the 5G-enabled $799 Apple Watch Ultra 3, which debuted last fall. The 4G edition would have broader compatibility worldwide, since the earlier network is far more established.
It will likely be a few months until we hear anything official about the Galaxy Watch Ultra 2. Samsung typically unveils its new watches in the summer alongside its Galaxy Z Fold and Z Flip foldable phones. Last year, Samsung unveiled the Galaxy Watch 8 and the Galaxy Watch 8 Classic, but otherwise left the prior 2024 Ultra in the lineup for those looking for a larger 47mm smartwatch.
Technologies
2 Cases Show Supreme Court Isn’t Holding ISPs Responsible for Piracy
Technologies
Today’s NYT Connections Hints, Answers and Help for April 8, #1032
Here are some hints and the answers for the NYT Connections puzzle for April 8, No. 1032.
Looking for the most recent Connections answers? Click here for today’s Connections hints, as well as our daily answers and hints for The New York Times Mini Crossword, Wordle, Connections: Sports Edition and Strands puzzles.
Today’s NYT Connections puzzle is kind of tough. The purple category is a fun one, once you see the connection. Read on for clues and today’s Connections answers.
The Times has a Connections Bot, like the one for Wordle. Go there after you play to receive a numeric score and to have the program analyze your answers. Players who are registered with the Times Games section can now nerd out by following their progress, including the number of puzzles completed, win rate, number of times they nabbed a perfect score and their win streak.
Read more: Hints, Tips and Strategies to Help You Win at NYT Connections Every Time
Hints for today’s Connections groups
Here are four hints for the groupings in today’s Connections puzzle, ranked from the easiest yellow group to the tough (and sometimes bizarre) purple group.
Yellow group hint: In the group.
Green group hint: Appearance details.
Blue group hint: Often found in gyms.
Purple group hint: They help you see.
Answers for today’s Connections groups
Yellow group: Cohort member.
Green group: Aesthetic.
Blue group: Kinds of bar apparatuses.
Purple group: Eyewear in the singular.
Read more: Wordle Cheat Sheet: Here Are the Most Popular Letters Used in English Words
What are today’s Connections answers?
The yellow words in today’s Connections
The theme is cohort member. The four answers are associate, colleague, fellow and peer.
The green words in today’s Connections
The theme is aesthetic. The four answers are design, look, scheme and style.
The blue words in today’s Connections
The theme is kinds of bar apparatuses. The four answers are monkey, parallel, pull-up and uneven.
The purple words in today’s Connections
The theme is eyewear in the singular. The four answers are contact, goggle, shade and spectacle.
-
 Technologies3 года ago
Tech Companies Need to Be Held Accountable for Security, Experts Say
-
 Technologies3 года ago
Best Handheld Game Console in 2023
-
 Technologies3 года ago
Tighten Up Your VR Game With the Best Head Straps for Quest 2
-
 Technologies4 года ago
Black Friday 2021: The best deals on TVs, headphones, kitchenware, and more
-
 Technologies5 лет ago
Google to require vaccinations as Silicon Valley rethinks return-to-office policies
-
 Technologies5 лет ago
Verum, Wickr and Threema: next generation secured messengers
-
 Technologies4 года ago
Olivia Harlan Dekker for Verum Messenger
-
 Technologies4 года ago
The number of Сrypto Bank customers increased by 10% in five days