Technologies
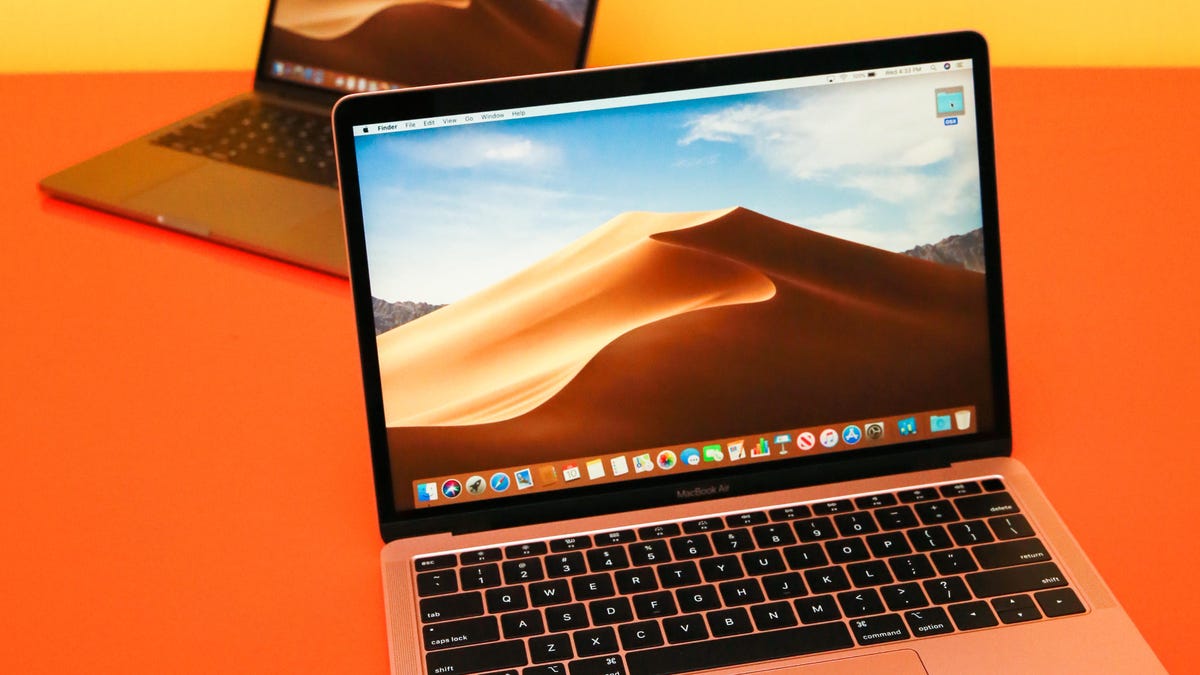
Can’t Choose Between Windows and MacOS? You Don’t Have To
Two operating systems — one computer.
When you’re purchasing a new computer, you’ll most likely choose one of the two most popular operating systems out there: Windows or MacOS. And that can be a difficult decision to make because while you like the privacy features on one, you might really want the proprietary software from the other.
What if you didn’t have to choose?
As long as you have an Intel-based Mac with enough storage and the correct Windows 10 ISO file, you can run Windows on your Apple computer in less than an hour. From then on, anytime you boot up your Mac, you can choose to run either Windows 10 or the latest MacOS. Here’s how.
While you’re here, check out these 17 essential MacBook settings you need to try and 6 time-saving Mac keyboard shortcuts more people should use.
Here’s what you need before you start
To successfully run Windows 10 on your Mac computer, here’s what you need to have:
- An Intel-based Mac computer (if your computer is on this list, it’s not supported).
- 64GB or more free storage space on your startup disk.
- A power connection (if you’re on a laptop).
If you’re unsure whether your computer is Intel-based, click on the Apple logo on the menu bar, and then go into About This Mac. If you see the words Processor, followed by the name of an Intel processor, like «2.6GHz 6-Core Intel Core i7,» then you have an Intel-based Mac.
Before you start, though, it’s wise to back up your disk with Time Machine before partitioning just in case something goes wrong.
1. Download the Windows 10 ISO File
Windows 11 isn’t currently compatible with Boot Camp Assistant on MacOS. So, you’ll need to download Windows 10 instead. You can download a free disc image, also known as an ISO file, of Windows 10 from the official Windows website.
1. On your Mac, go to this Windows software download page.
2. Click on Select Edition, and choose Windows 10 (multi-edition ISO).
3. Hit Confirm, and wait for your request to be verified.
4. Once that finishes, choose your language and click on Confirm.
5. Finally, click on 64-bit Download to download the Windows 10 ISO file.
The Windows 10 ISO file is nearly 6GB, so depending on your internet connection and speed, it could take up to 30 minutes to finish downloading. After the ISO file is done, leave it in your downloads, and move on to the next step.
2. Run Boot Camp Assistant
The software you’ll use to run Windows 10 on your Mac is Boot Camp Assistant, which comes factory-installed on your Mac. Boot Camp Assistant is made specifically for installing Windows operating systems on your computer, and fortunately the setup process is pretty straightforward.
1. Launch Boot Camp Assistant on your Mac, and click Continue.
2. Click on Choose a Windows 10 ISO file, and upload the Windows 10 ISO file you downloaded in the previous step.
3. Drag the bar to choose a size for your Windows partition disk (42GB is the minimum).
4. Click Install, and wait roughly 10 minutes for the partition to be created.
Once the Windows partition is finished, your laptop will restart.
3. Install Windows on your Mac
Your computer will boot up, but instead of showing you the Apple logo you’re accustomed to, you should instead see the blue Windows logo appear. Here’s what you need to do next:
1. Go through the Windows setup.
2. Enter a product key if you have one. If not, you can continue without one.
Even without a product key, you’ll be able to access Windows on your Mac, so don’t worry. During the installation, you’ll see window files copied, features and updates installed and more. This should take another 10 minutes.
4. Set up Windows on a Mac
Your Mac will restart. But this time you’ll be asked to set up Windows, just as you would on a Windows computer. You can use Cortana and your voice to complete the setup, but you’re also welcome to use your keyboard, mouse and trackpad.
1. Choose your language, keyboard layout, Wi-Fi and more to begin.
2. If you have a Windows account, log in with your credentials.
3. Windows will boot up on your Mac. You’ll be asked to create a passcode and/or PIN to enter your computer. Do that to protect your account.
5. Install Boot Camp on Windows
Finally, the last thing you’ll need to do is install and update Boot Camp on Windows. That will let you make any additional changes to your partition or fix any issues while you’re running Windows. When you access Windows for the first time, you should receive a notification to install Boot Camp. This will take 10 minutes to install, but it’s the last thing you need to do before you can use Windows without any issues.
6. Use Windows on your Mac
Feel free to use Windows how you want. Windows 10’s default web browser is Microsoft Edge, but you can use it to download Chrome or anything else to surf the internet. You can then download files and install software you would only be able to install on a Windows-powered computer — like Paint.NET and certain games from Steam — but on your Mac.
7. Switch Between Windows and Mac
If you ever want to go back to MacOS from Windows, do the following:
1. Restart your computer.
2. As soon as the screen goes black, hold down the Option key for 5 seconds.
3. On the screen, you’ll then have the option to boot up MacOS or Windows.
4. Choose the partition you want to open.
Use this keyboard shortcut to switch between your disks as needed.
Technologies
The Fourth Episode of the VERUM AI Mini-Series Is Out
The Fourth Episode of the VERUM AI Mini-Series Is Out

Verum Messenger has released the fourth episode of its AI mini-series SHADOWS, created using Verum AI. The new episode, titled “No Borders,” continues the story of a team trying to stay out of the OMEGA corporation’s sight.
Following the events of the previous episodes, the team moves between cities and countries while OMEGA continues its search. The new episode puts particular emphasis on Verum Messenger’s capabilities that allow users to conceal their location.
“No Borders” is another chapter in a story about privacy, freedom of communication, and technologies that erase borders between people.
The VERUM AI mini-series consists of seven episodes, released gradually across Verum Messenger’s social media channels.
Episode 4 is now available. Stay tuned for the next chapter.
Technologies
Verum Messenger Introduces Built-In Verum Chess
Verum Messenger Introduces Built-In Verum Chess
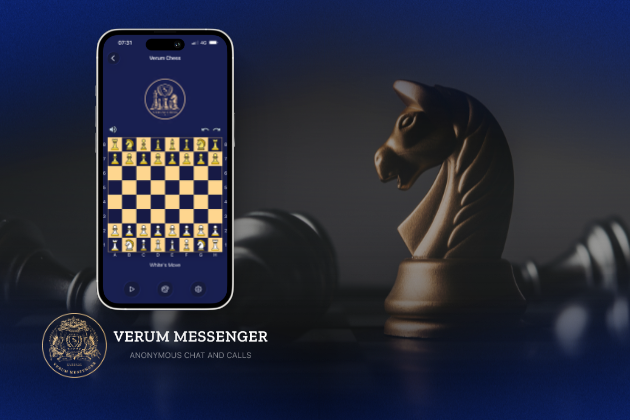
Verum Messenger has released a new update for iOS, iPadOS, and macOS, adding another feature to its growing ecosystem — Verum Chess. Users can now play chess directly inside the messenger without switching between different applications.
The new feature allows users to start a game in just a few taps while reinforcing Verum’s vision of a unified digital environment where communication and everyday services come together in a single platform.
Verum Messenger continues to evolve into a multifunctional ecosystem that combines secure chats and calls, AI tools, a built-in VPN, anonymous email, eSIM, financial services, cryptocurrency features, and offline communication. With the introduction of Verum Chess, the platform now also offers a new way for users to interact and spend time together without leaving the app.
The update is now available for iPhone, iPad, and Mac on the App Store.
Technologies
Episode 3 of the VERUM AI Mini-Series Is Now Available
Episode 3 of the VERUM AI Mini-Series Is Now Available

Verum Messenger has released the third episode of its AI mini-series, SHADOWS, created using Verum AI.
The new episode, titled «Ghost Money,» continues the story of the conflict between a team of heroes and the Omega corporation, which seeks to take control of digital communications. This time, the focus shifts to anonymous payments and financial freedom, revealing how privacy can extend beyond messaging.
Like the previous episodes, the new release not only advances the storyline but also showcases the capabilities of the Verum ecosystem, highlighting technologies designed for secure communication and digital privacy.
The mini-series consists of seven episodes, released gradually across Verum Messenger’s social media channels.
Episode 3 is now available. Stay tuned for the next chapter.
-
 Technologies4 года ago
Tech Companies Need to Be Held Accountable for Security, Experts Say
-
 Technologies3 года ago
Best Handheld Game Console in 2023
-
 Technologies5 лет ago
Black Friday 2021: The best deals on TVs, headphones, kitchenware, and more
-
 Technologies3 года ago
Tighten Up Your VR Game With the Best Head Straps for Quest 2
-
 Technologies5 лет ago
Google to require vaccinations as Silicon Valley rethinks return-to-office policies
-
 Technologies5 лет ago
Verum, Wickr and Threema: next generation secured messengers
-
 Technologies4 года ago
The number of Сrypto Bank customers increased by 10% in five days
-
 Technologies5 лет ago
Olivia Harlan Dekker for Verum Messenger