Technologies
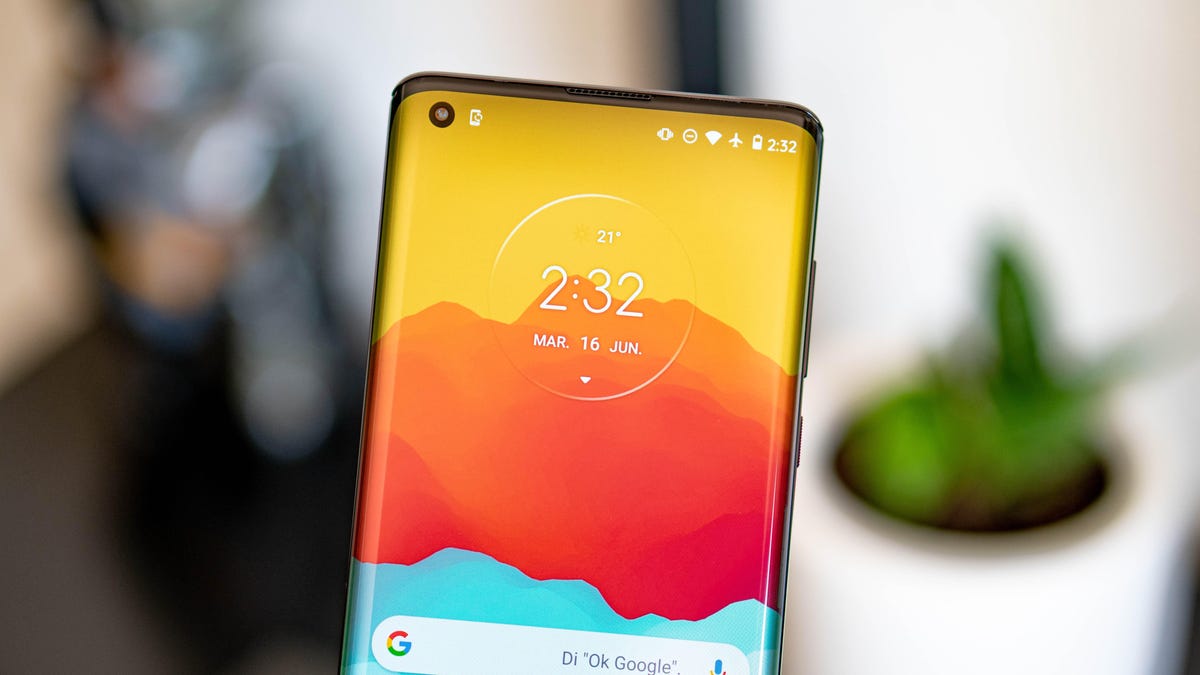
5 Tips and Tricks to Make Your Android Phone Feel New Again
It’s never too early to start spring cleaning your Android phone.
This story is part of 12 Days of Tips, helping you make the most of your tech, home and health during the holiday season.
Your Android phone is like your car — it requires regular maintenance so you can identify any major issues, prevent future problems and keep it running at its best.
To start, you can give the exterior of your phone a good clean, since you’re likely putting it close to your face every day. Dust, dirt and gunk can quickly collect in the charging ports and speakers, and it’s not only bad for your hygiene — it can also shorten your phone’s lifespan.
But the most important upkeep work is under the hood, and it includes changing phone settings you may never have touched before.
An investment of just a few minutes can turn your Android phone into something that looks and feels new — at least until you’re able to upgrade. Read on to find five simple tips for decluttering, reorganizing and customizing your Android phone to keep it in tip-top shape.
And if you’re interested in getting a completely new device, check out the best Android phones for this year.
Delete all of your forgotten apps
Take a few minutes to go through your home screen or app drawer and delete any and all apps you no longer use. Not only do those apps take up precious storage, but they potentially have access the personal information or permissions you approved when the app was first launched.
How you go about deleting an app can vary based on who makes your device, but I covered all the bases in this post. Give it a read if you don’t see an uninstall option after long-pressing on the app’s icon.
Eliminate old files to free up storage
After removing any old apps, free up more storage by going through the files saved on your Android phone. It’s far too easy to forget about all of the files you’ve randomly downloaded — like the takeout menu of the new place down the road or a GIF a friend sent. And those files add up. The quickest and easiest way to manage your phone’s storage is to use the Files app that comes preinstalled.
Actually, some phones use a variation of that same app. On Samsung, for example, it’s called My Files. On the Pixel lineup, it’s just Files. On the OnePlus 10 Pro, it’s File Manager — you get the point.
I recommend opening the app drawer on your phone and reaching for «files.» Odds are that will reveal whatever your phone-maker calls the app.
Start with checking the Downloads folder, where you can either delete the files you no longer want or move them somewhere like Google Drive.
Most file apps will also reveal any large files that are saved on your device. For instance, the OnePlus 10 Pro’s File Manager app has a dedicated section in the app for files that are taking up a lot of space.
Tweak home screen settings for a new look
One of the best parts of Android is how much you can customize the entire look of your phone. From installing app icon packs to completely replacing the launcher your phone uses, there are plenty of options to personalize your phone.
While you can definitely jump into tweaking launchers and installing app icons, start by digging into the home screen settings your phone already provides. I do this once in a while and it’s surprising how subtle tweaks to aspects like app layout can make it feel like an entirely new phone.
Long-press on a blank area of your home screen, then select Home settings (or some variation of that). That will open the options for your home screen, where you can customize various settings.
Settings like the size of the app grid. It may seem like a small change to go from a grid of 4×5 apps to 5×5, but that extra column can make a big difference (the same can be said about shrinking the grid).
This is also where you’ll find settings for things like swiping down on the home screen to view notifications instead of having to swipe from the top of the screen.
Go through the respective settings your phone has and experiment with your home screen setup.
Optimize your device settings
Speaking of settings, now is a good time to go through and change any settings that have been annoying you. I have a roundup of settings you’ll want to change and customize on any Android phone to get the most out of it.
For example, turning on dark mode not only makes the app look better, but it saves battery life. And yes, I even show you how to stop app icons from automatically appearing on your home screen.
Customize your privacy options
Before you take a break, do yourself and your Android phone one last favor — double-check your privacy settings.
Open the Settings app then tap Privacy > Permissions Manager. Go through each category to see which apps currently have access to which treasure trove of your personal data. Find an app you don’t want to have access to your location? Turn it off. The same goes for contacts, calendar or camera.
It doesn’t take long to go through each section, and even if it did, it’s well worth the effort.
Technologies
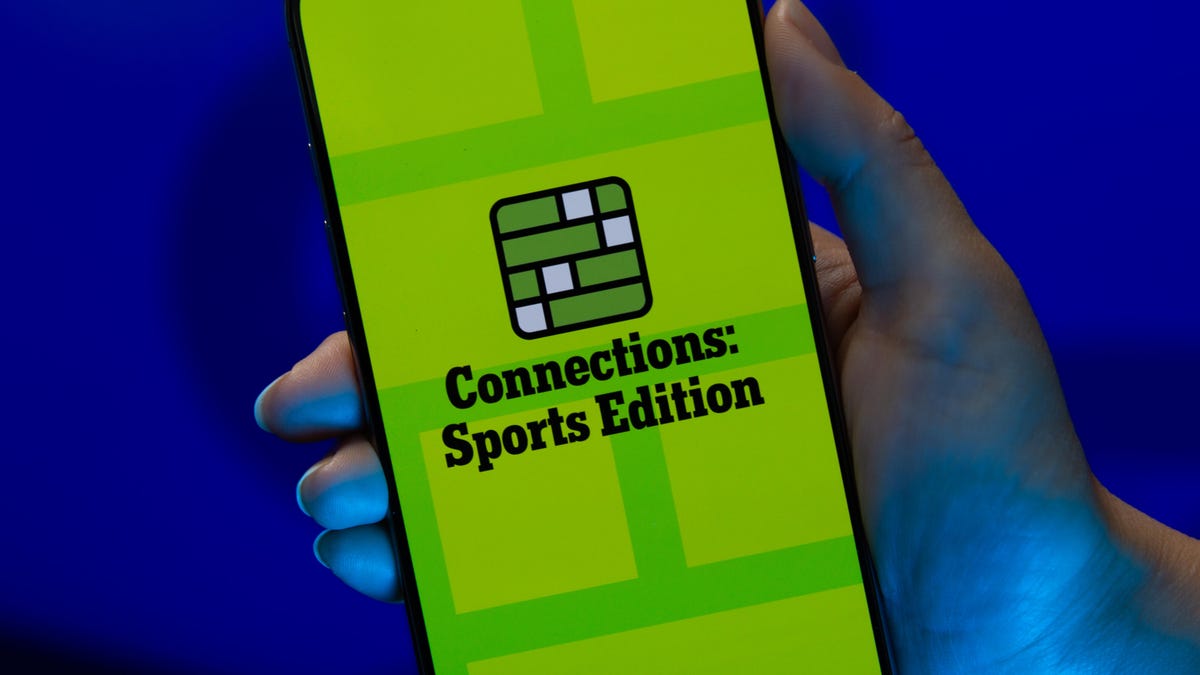
Today’s NYT Connections: Sports Edition Hints and Answers for April 8, #562
Here are hints and the answers for the NYT Connections: Sports Edition puzzle for April 8 No. 562.
Looking for the most recent regular Connections answers? Click here for today’s Connections hints, as well as our daily answers and hints for The New York Times Mini Crossword, Wordle and Strands puzzles.
Today’s Connections: Sports Edition is a tough one. If you’re struggling with today’s puzzle but still want to solve it, read on for hints and the answers.
Connections: Sports Edition is published by The Athletic, the subscription-based sports journalism site owned by The Times. It doesn’t appear in the NYT Games app, but it does in The Athletic’s own app. Or you can play it for free online.
Read more: NYT Connections: Sports Edition Puzzle Comes Out of Beta
Hints for today’s Connections: Sports Edition groups
Here are four hints for the groupings in today’s Connections: Sports Edition puzzle, ranked from the easiest yellow group to the tough (and sometimes bizarre) purple group.
Yellow group hint: Working out.
Green group hint: Cover your face.
Blue group hint: NFL players.
Purple group hint: Leap.
Answers for today’s Connections: Sports Edition groups
Yellow group: Exercises in singular form.
Green group: Sporting jobs that require masks.
Blue group: Hall of Fame defensive ends.
Purple group: ____ jump.
Read more: Wordle Cheat Sheet: Here Are the Most Popular Letters Used in English Words
What are today’s Connections: Sports Edition answers?
The yellow words in today’s Connections
The theme is exercises in singular form. The four answers are crunch, plank, situp and squat.
The green words in today’s Connections
The theme is sporting jobs that require masks. The four answers are catcher, fencer, football player and goaltender.
The blue words in today’s Connections
The theme is Hall of Fame defensive ends. The four answers are Dent, Peppers, Strahan and Youngblood.
The purple words in today’s Connections
The theme is ____ jump. The four answers are broad, high, long and triple.
Technologies
The $135M Google Data Settlement Site Is Live — See If You’re Eligible
Use the settlement website to select your preferred payment method, and you may end up $100 richer.
You can now file a claim in the $135 million Google data settlement. The case centers on claims that Android devices transmitted user data without consent. Specifically, the class action lawsuit Taylor v. Google LLC contends that Google’s Android devices passively transferred cellular data to Google without user permission, even when the devices were idle. While not admitting fault, Google reached a preliminary settlement in January, agreeing to pay $135 million to about 100 million US Android phone users.
The official settlement website for the lawsuit is now live. The final approval hearing won’t occur until June 23, when the court will consider whether Google’s settlement is fair and listen to objections. After that, the court will decide whether to approve the $135 million settlement.
In the meantime, if you qualify and want to be paid as part of the settlement, you can select your preferred payment method on the official website. There, you can find information on speaking at the June 23 court hearing and on how to exclude yourself or write to the court to object by May 29.
As part of the settlement, Google will update its Google Play terms of service to clarify that certain data transfers do occur passively even when you’re not using your Android device, and that cellular data may be relied upon when not connected to Wi-Fi. This can’t always be disabled, but users will be asked to consent to it when setting up their device.
Google will also fully stop collecting data when its «allow background data usage» option is toggled off.
Who can be part of the settlement?
In order to join the Taylor v. Google LLC settlement, you must meet four qualifications:
- Be a living, individual human being in the US.
- Have used an Android mobile device with a cellular data plan.
- Have used the aforementioned device at any time from Nov. 12, 2017, to the date when the settlement receives final approval.
- You’re not a class member in the Csupo v. Google LLC lawsuit, which is similar but specifically for California residents.
The final approval hearing is on June 23, so you can add your payment method until then. The hearing’s date and time may change, and any updates will be posted on the settlement website.
If you choose to do nothing, you will still be issued a settlement payment, but you may not receive it if you don’t select a payment method.
How much will I get paid?
It’s not currently known exactly how much each settlement class member will receive, but the cap is $100. Payments will be distributed after final court approval and after any appeals are resolved.
After all administrative, tax and attorney costs are paid, the settlement administrator will attempt to pay each member an equal amount. If any funds remain after payments are sent, and it’s economically feasible, they will be redistributed to members who were previously and successfully paid. If it’s not economically feasible, the funds will go to an organization approved by the court.
Technologies
Samsung’s Galaxy Watch Ultra 2 Might Come in 5G and 4G Cellular Models
If the rumor proves true, the 5G Galaxy Watch Ultra would rival the 5G-enabled $799 Apple Watch Ultra 3 that debuted last fall.
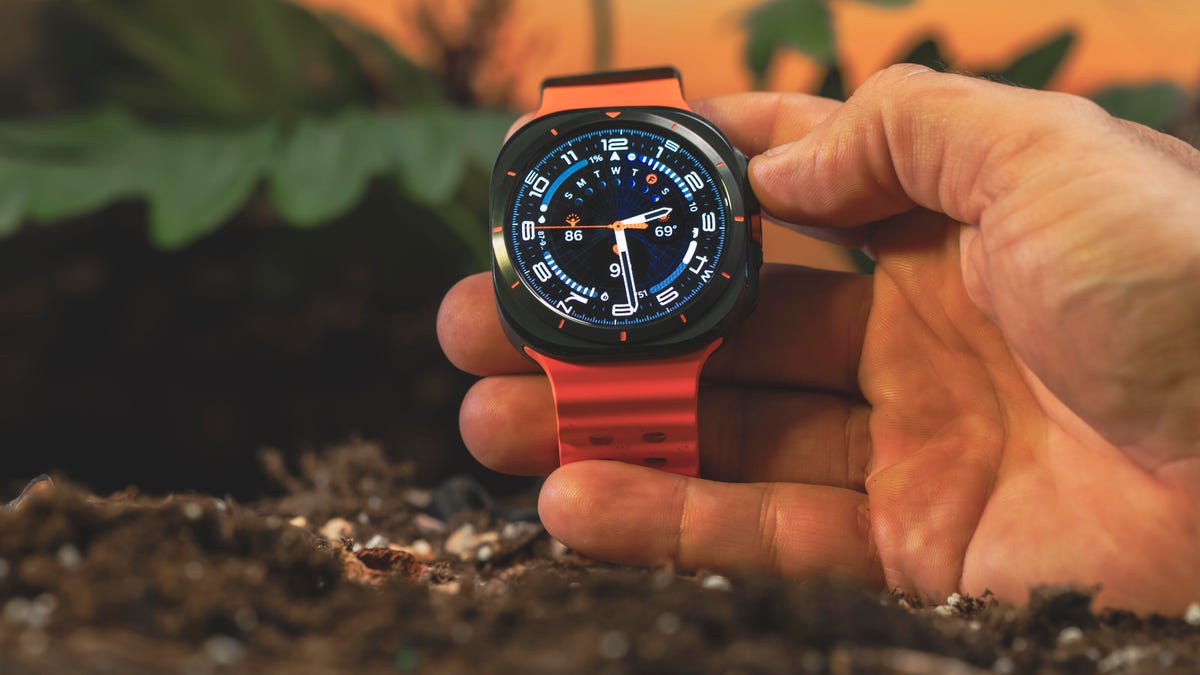
Samsung’s next high-end Galaxy Watch could support faster 5G speeds, but if this leak is true, it will depend on where you live. The rumored Samsung Galaxy Watch Ultra 2 might come in 5G and 4G cellular models, with availability for each smartwatch depending on the country.
According to the Dutch website Galaxy Club (and spotted by SamMobile), Samsung’s servers may have revealed a series of model numbers that point to 5G, 4G and Wi-Fi-enabled editions of the next Galaxy Watch Ultra, which would succeed the original model that debuted in 2024.
A representative for Samsung did not immediately respond to a request for comment.
The Galaxy Club website speculates that the 5G edition would be sold in the US and Korean markets, while the 4G edition would sell in the rest of the world. In the US, a 5G version of the Galaxy Watch Ultra would rival the 5G-enabled $799 Apple Watch Ultra 3, which debuted last fall. The 4G edition would have broader compatibility worldwide, since the earlier network is far more established.
It will likely be a few months until we hear anything official about the Galaxy Watch Ultra 2. Samsung typically unveils its new watches in the summer alongside its Galaxy Z Fold and Z Flip foldable phones. Last year, Samsung unveiled the Galaxy Watch 8 and the Galaxy Watch 8 Classic, but otherwise left the prior 2024 Ultra in the lineup for those looking for a larger 47mm smartwatch.
-
 Technologies3 года ago
Tech Companies Need to Be Held Accountable for Security, Experts Say
-
 Technologies3 года ago
Best Handheld Game Console in 2023
-
 Technologies3 года ago
Tighten Up Your VR Game With the Best Head Straps for Quest 2
-
 Technologies4 года ago
Black Friday 2021: The best deals on TVs, headphones, kitchenware, and more
-
 Technologies5 лет ago
Google to require vaccinations as Silicon Valley rethinks return-to-office policies
-
 Technologies5 лет ago
Verum, Wickr and Threema: next generation secured messengers
-
 Technologies4 года ago
Olivia Harlan Dekker for Verum Messenger
-
 Technologies4 года ago
The number of Сrypto Bank customers increased by 10% in five days