Technologies
Elden Ring Nightreign: 7 Tips to Beat the First Boss, the Nightlord Gladius
The Tricephalos boss is the real proving grounds of Elden Ring Nightreign, and many of the game’s features are hidden behind beating it.

Elden Ring Nightreign, the newest multiplayer action RPG from FromSoftware, tosses you into the thick of battle and sets you up to die to a familiar face in its tutorial (it’s Margit, and he still takes ages to bring his hammer down on your head).
But the real proving ground is the Tricephalos expedition that ends with the triple-headed dog boss, Gladius. It’s the first journey you’ll embark on in the game, putting your skills to the test as you learn the flow of the day and night cycle. Speed is key here, and you can’t spend a second lollygagging around in this version of The Lands Between.
There are key features locked behind the first boss: Most of the game’s other expeditions unlock after you beat the first one, new items unlock in the Small Jar Bazaar to advance your meta-progression and beating the first Nightlord aspect is a surefire way to unlock the first secret Nightfarer class.
If you’re having trouble overcoming the game’s first expedition, it’s probably because Nightreign is much faster-paced than other Souls games. But there are ways you can level the playing field and better prepare yourself for the fight against Gladius.
Shoot for level 12 as you farm runes
The level cap for a Nightfarer on an expedition is 15 — but you’ll hardly ever reach that level as you dash around the world farming runes and powers before the third night approaches. A much easier goal to shoot for is level 12 — which you can attain if you move quickly and prioritize clearing out camps and bosses.
Crucially, you generally don’t want to waste any precious runes on merchants you find during day one and two. If you purchase items, you might find yourself several thousand runes shy of eking out another level before the final boss. There’s a merchant available before the Nightlord fight in night three, so pack in as many levels as you can and then spend your leftover runes in that shop at the end.
Find a holy weapon before the final night
Each Nightlord aspect in Elden Ring Nightreign has an elemental weakness you can exploit — you can view these weaknesses from the expedition screen before you embark on your mission.
Gladius, the fiery dog awaiting you at the end of the Tricephalos expedition, is weak to holy damage. Hitting him with holy-imbued attacks creates additional stagger windows, giving the team more time to whale on the boss while one person strikes the critical hit.
You can consistently find weapons with elemental infusions by beating certain enemy camps and fortresses around the map. If the location has an icon for the elemental type next to it, you’ll be rewarded with a weapon that deals that type of elemental damage once you slay the final boss there.
Keep in mind that Nightreign has inherited Elden Ring’s icons for weapon affinities, and the elemental signifiers can be confusingly similar. The lightning affinity icon is a pale yellow blade stuck in the ground with crackling bolts around it, while the similar-looking sacred (holy) affinity icon is a more golden blade stuck in the ground with a circle.
Grab other weapons that you won’t use
While you’ll probably want to wield a holy weapon when you’re face-to-face with Gladius, it’s well worth it to stock up on other weapons as well. There’s no equipment load in Nightreign, so it’s purely beneficial to fill up all of your inventory slots during an expedition.
Melee-attacking Nightfarers could benefit from picking up a bow to revive their allies from afar, and ranged-attacking Nightfarers might be able to use a dagger in a pinch. More importantly, though, are the bonuses that extra weapons confer upon your character.
When you pick up a new weapon, you’ll see a list of passive bonuses underneath the weapon stats and art of war. These bonuses apply to your character even when you’re not wielding that particular weapon (with rare exception), so stocking up on armaments will snowball your power before the final fight.
Invest in fire and physical damage negation
The final boss of the first expedition is a fire-spewing cerberus, and he hits like a truck. Nightfarers who have dodge rolls and other abilities that provide generous invincibility frames will likely be able to avoid the hits in this boss fight, but it won’t be nearly as easy for tank characters to do so.
During the first two days of your run, you’ll still have the option to invest in passive abilities that will help mitigate some of the damage the boss can mete out, selecting dormant powers instead of weapons from certain boss rewards. Night bosses provide especially powerful passive buffs, so if you can snag fire or physical damage negation passives, it’ll help soften some of Gladius’ blows.
Stock up on flasks at churches around the map
Even if you take passives that help you tank Gladius’ attacks, you’ll inevitably end up taking a few hits. That damage adds up, and you’ll need to heal through it. You start with three flasks and get two more by beating the bosses during the first two nights, but managing a Nightlord with only five flasks can still be a bit tricky.
That’s why churches are so important to find during day one and two of a Nightreign expedition. They appear as golden, glowing structures on the minimap, so you won’t have a hard time plotting a course to these locations — they look just like the churches that you can get flask healing upgrades from in Elden Ring, too.
Each church will up your flask count by one. Walking into a Nightlord fight with eight flasks instead of five makes a massive difference, especially since that’s effectively nine more opportunities to heal across an entire squad of Nightfarers. Churches aren’t a distraction from rune farming: They’re an investment in your survival.
Watch out for Gladius’ massive chainsword attack
Nightlord Gladius loves fighting in melee distance and spewing fire, which gives ranged Nightfarers ample opportunity to lay into him with holy damage from afar. When the boss charges away from the fight rather than into the party of Nightfarers, you’ll know he’s up to no good.
One of the hardest hitting attacks in this boss fight has Gladius grab the chainsword off of his back with one of his heads, swinging it as the blade extends across the ground. Original Dark Souls players will probably get flashbacks to fighting Great Grey Wolf Sif, but Gladius isn’t a good boy at all.
This sweeping attack covers a massive area of the arena and Gladius can use it multiple times in a row. The good news is that it’s pretty easy to dodge through, if your character has a roll with decent invincibility frames. The hardest part is identifying when this move is about to be unleashed — so keep an eye on how far away from you Gladius is trying to fight.
When the boss splits up, don’t let your party follow suit
Once you beat Gladius down to half health, he adds a new move to his repertoire. The Nightlord will occasionally split into three fireballs that rocket across the arena — you’ll want to dodge roll through these — before turning around and returning to the party as three separate dogs.
These canines are no less fiery than the cerberus-form, and they’ll usually each target a single member of the party. Just because the dogs are split up doesn’t mean your team has to, though. Ranged Nightfarers like Ironeye or fragile glass cannons Nightfarers like Duchess and Recluse might have trouble once they’re singled out, so it’s best to group up and repel this phase of Gladius as a team.
Note that in its separated form, each dog takes damage for the full boss, so big attacks targeting an area like various Nightfarer ultimates (Ironeye and Raider especially) are potent here.
Once enough time passes, Gladius will fireball around the map once again and return in his cerberus form (unless you manage to defeat him before he switches phases once again). When he takes on his larger base form, you can revert to your original strategy to swiftly take down this very bad dog.
With Gladius defeated, a whole host of new expeditions will become available to you and your squad. Even though you’ve finally bested the real tutorial, you’ll probably benefit from our beginner guide as you set out on some of the more challenging Nightreign adventures. Good luck out there, Nightfarer.
Technologies
Ring’s Latest Feature Lets You Verify Shared Security Videos
With so many fake videos out there, the home-security company is adding a level of protection.

Popular home security brand Ring announced that videos shared from its devices can now be verified, so customers know they’re watching an authentic, unaltered video. Ring says the new verification process is similar to a security seal on a package or medicine bottle, indicating that no one has tampered with it.
The new feature is available starting Thursday, and it doesn’t matter which Ring device recorded the video. All videos downloaded directly from the Ring app are automatically verified and include a security seal for authenticity.
Don’t miss any of our unbiased tech content and lab-based reviews. Add CNET as a preferred Google source.
When someone sends you a Ring video, you can now visit Ring’s verification page, paste the video link, and determine immediately whether the video is verified. The website doesn’t send your video anywhere. It stays locally on your device, and all verification checks happen within your browser. The verification website only accepts MP4 files, the format Ring videos are saved.
Videos downloaded before December 2025 or edited videos cannot be verified. Ring says that even minor adjustments, such as shaving a couple of seconds off the beginning or end of a video, or even adjusting brightness levels, will render it unverifiable.
Technologies
Today’s NYT Strands Hints, Answers and Help for Jan. 23 #691
Here are hints and answers for the NYT Strands puzzle for Jan. 23, No. 691.
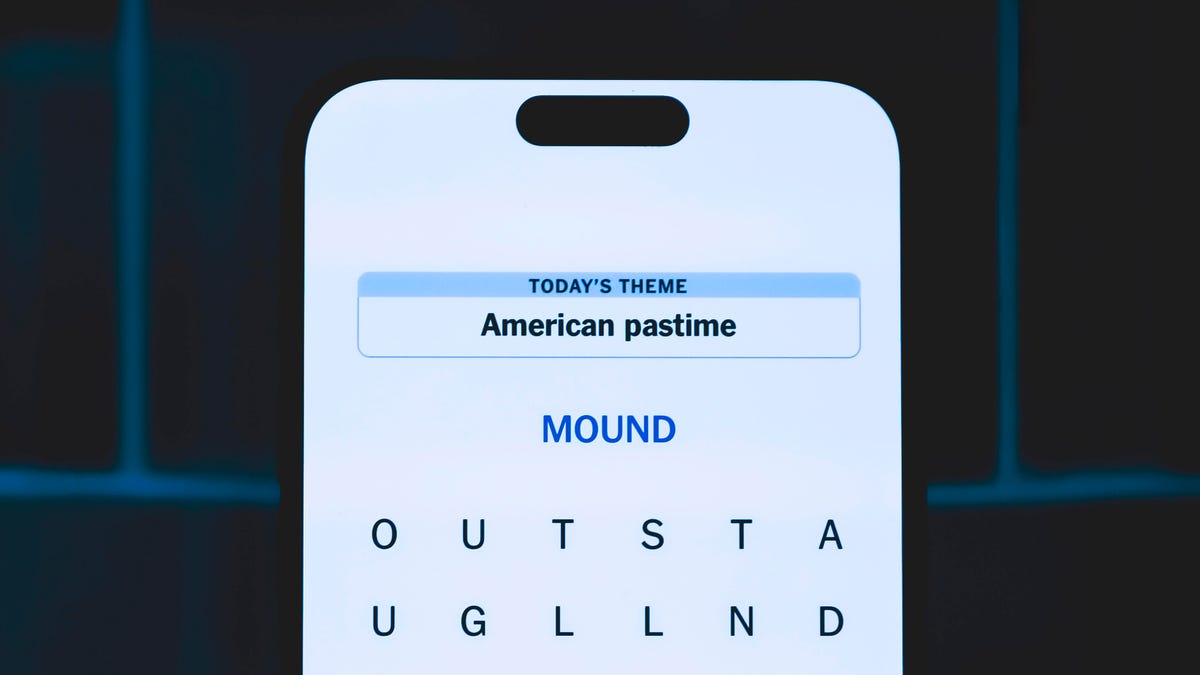
Looking for the most recent Strands answer? Click here for our daily Strands hints, as well as our daily answers and hints for The New York Times Mini Crossword, Wordle, Connections and Connections: Sports Edition puzzles.
Today’s NYT Strands puzzle might be the toughest of the week. Some of the answers are hard to guess and challenging to unscramble, so if you need hints and answers, read on.
I go into depth about the rules for Strands in this story.
If you’re looking for today’s Wordle, Connections and Mini Crossword answers, you can visit CNET’s NYT puzzle hints page.
Read more: NYT Connections Turns 1: These Are the 5 Toughest Puzzles So Far
Hint for today’s Strands puzzle
Today’s Strands theme is: None the wiser.
If that doesn’t help you, here’s a clue: I believe you!
Clue words to unlock in-game hints
Your goal is to find hidden words that fit the puzzle’s theme. If you’re stuck, find any words you can. Every time you find three words of four letters or more, Strands will reveal one of the theme words. These are the words I used to get those hints but any words of four or more letters that you find will work:
- RUDE, VINE, VINES, SCAN, SCAR, SCARE, LOST, LOSS, LESS, LESSER, BILL, BILE, GULL, RUED
Answers for today’s Strands puzzle
These are the answers that tie into the theme. The goal of the puzzle is to find them all, including the spangram, a theme word that reaches from one side of the puzzle to the other. When you have all of them (I originally thought there were always eight but learned that the number can vary), every letter on the board will be used. Here are the nonspangram answers:
- NAIVE, CALLOW, ARTLESS, GULLIBLE, CREDULOUS
Today’s Strands spangram
Today’s Strands spangram is BORNYESTERDAY. To find it, start with the B that’s three letters to the right on the bottom row, and wind up and then down.
Don’t miss any of our unbiased tech content and lab-based reviews. Add CNET as a preferred Google source.
Technologies
Today’s NYT Connections: Sports Edition Hints and Answers for Jan. 23, #487
Here are hints and the answers for the NYT Connections: Sports Edition puzzle for Jan. 23, No. 487.

Looking for the most recent regular Connections answers? Click here for today’s Connections hints, as well as our daily answers and hints for The New York Times Mini Crossword, Wordle and Strands puzzles.
Today’s Connections: Sports Edition reminds players that people’s names can look like regular words. Also, did you spot the SpongeBob SquarePants reference when the grid showed both SANDY and CHEEKS? If you’re struggling with today’s puzzle but still want to solve it, read on for hints and the answers.
Connections: Sports Edition is published by The Athletic, the subscription-based sports journalism site owned by The Times. It doesn’t appear in the NYT Games app, but it does in The Athletic’s own app. Or you can play it for free online.
Read more: NYT Connections: Sports Edition Puzzle Comes Out of Beta
Hints for today’s Connections: Sports Edition groups
Here are four hints for the groupings in today’s Connections: Sports Edition puzzle, ranked from the easiest yellow group to the tough (and sometimes bizarre) purple group.
Yellow group hint: What’s your role?
Green group hint: Where teams shoot hoops.
Blue group hint: Iconic baseball players.
Purple group hint: Philadelphia.
Answers for today’s Connections: Sports Edition groups
Yellow group: Members of a staff.
Green group: Words used in NBA venue names.
Blue group: Hall of Fame pitchers, familiarly.
Purple group: 76ers head coaches.
Read more: Wordle Cheat Sheet: Here Are the Most Popular Letters Used in English Words
What are today’s Connections: Sports Edition answers?
The yellow words in today’s Connections
The theme is members of a staff. The four answers are coach, manager, scout and trainer.
The green words in today’s Connections
The theme is words used in NBA venue names. The four answers are arena, dome, forum and garden.
The blue words in today’s Connections
The theme is Hall of Fame pitchers, familiarly. The four answers are Catfish, Rollie, Sandy and Satchel.
The purple words in today’s Connections
The theme is 76ers head coaches. The four answers are Brown, Cheeks, Nurse and Rivers.
Don’t miss any of our unbiased tech content and lab-based reviews. Add CNET as a preferred Google source.
-

 Technologies3 года ago
Tech Companies Need to Be Held Accountable for Security, Experts Say
-

 Technologies3 года ago
Best Handheld Game Console in 2023
-

 Technologies3 года ago
Tighten Up Your VR Game With the Best Head Straps for Quest 2
-

 Technologies4 года ago
Black Friday 2021: The best deals on TVs, headphones, kitchenware, and more
-

 Technologies4 года ago
Google to require vaccinations as Silicon Valley rethinks return-to-office policies
-

 Technologies5 лет ago
Verum, Wickr and Threema: next generation secured messengers
-

 Technologies4 года ago
Olivia Harlan Dekker for Verum Messenger
-

 Technologies4 года ago
iPhone 13 event: How to watch Apple’s big announcement tomorrow
