Technologies
Moto G Play (2023) Review: Low Price, Low on Function
The essentials-only Motorola phone cuts to the bone in order to hit its $170 price.
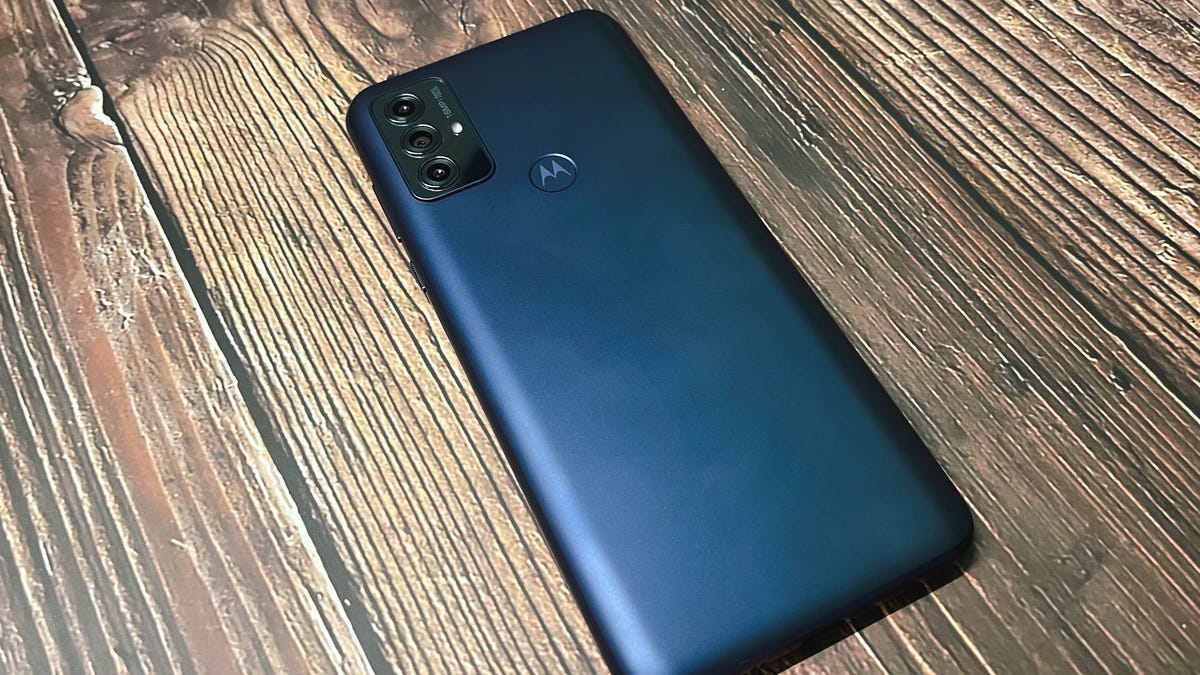
The Moto G Play for 2023 costs $170 (or even less at Amazon), making it one of the cheapest new phones you can get right now, and without the bloatware or wireless carrier restrictions we sometimes see on lower-priced devices. With a decent set of specs for the price — including a triple camera system with a 16-megapixel main camera, a 6.5-inch display with a 90Hz refresh rate and a 5,000-mAh battery that provides nearly three days of battery life — this should have been an attractive option for anyone looking for a decent, no-frills phone.
However, this phone has a number of performance issues that make it frustrating to use. And on top of that, Motorola chose to drop one of its best Moto gestures: twisting the phone to quickly open its camera. While some might consider these gestures a gimmick, they have been a signature element of Motorola’s phones for nearly a decade. Other gestures like «chop to turn on flashlight» are still here, making the absence of the camera gesture even more glaring.
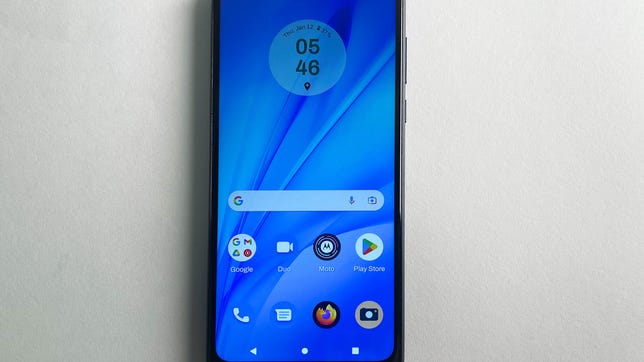
Despite these important drawbacks, the 2023 Moto G Play does have some positive attributes. The battery life is great, the software is a fairly clean version of Android 12 and you’ll find rare ports like a headphone jack and microSD card slot for storage expansion. But the phone will only get one major software update to Android 13, which is less than I’d like to see but typical for this price range, as well as three years of security updates.
Yet every perk I list comes with another problem, which is important to consider if you’re tempted by the Moto G Play because of its low price.
Moto G Play (2023)
Like
- Long battery life
- Clean version of Android 12
- Three years of security updates
Don’t Like
- Frequent lag, issues loading software
- Questionable refresh rate
- No «twist to open camera» gesture
Moto G Play design and performance
The Moto G Play looks nice for a phone that costs just $170. The Navy Blue color of its plastic body provides a hint of personality, while the phone’s low-resolution 720p display includes a screen cutout for the 5-megapixel front-facing camera. The fingerprint sensor is located in my favorite spot on an Android phone — the back.
But the problems begin once you start using the phone. The phone’s MediaTek Helio G37 processor and 3GB of RAM weren’t powerful enough to juggle multiple apps easily. In some cases, it wouldn’t even load certain apps. This was particularly bizarre considering it loaded a 3D game like Crazy Taxi (admittedly an oldie but still a goodie), but couldn’t run other modern 2D games like Exploding Kittens. With the phone’s tiny 32GB of storage, I’m lucky to even fit a couple games onto the Moto G Play, although there is a microSD card slot for storage expansion.
Geekbench V.5.0 single-core
Note:
Longer bars indicate better performance
Geekbench V.5.0 multicore
Note:
Longer bars indicate better performance
Email, news and video-streaming apps fared better in terms of performance, but not by much. Even though the Moto G Play touts a 90Hz refresh rate, which should smooth out animations, there is a lot of noticeable lag. I couldn’t even tell when the refresh rate reached 90Hz. The Settings menu lets you choose between «Auto» and «60 Hz,» with the former dynamically changing the refresh rate based on what you are doing. Having an auto setting does make sense, but a lot of the cheaper Android phones I’ve used also include the option to set the phone to a consistent 90Hz, alongside a 60Hz option for preserving battery life.
This brings me back to the phone’s 5,000-mAh battery — a bright spot considering it easily lasted two days on a full charge during my testing. I think it’s possible for the battery to make it to a third day, mostly because of how underpowered this device is. I typically got around three hours of screen time per day on the device during my testing, which included streaming, shooting photos and trying to play games for this review.
During a more active session on the phone, in which I streamed 22 minutes of a TV show at 100% brightness and then took a 24-minute video call, the battery dropped from 59% to 46%. On less active days, in which the phone was used primarily for listening to music while commuting, reading news articles and light texting, I could end the day with just over 50% remaining.
Charging times for the phone are generally less impressive than battery life. With the included 10-watt charger, it typically took just over an hour to charge from zero to 50%. Getting to 100% would take just over 2 hours, 30 minutes. When I tested charging speeds with my 18-watt charger, the results were slightly faster. The phone would get from zero to 66% after an hour and finish charging just past the two-hour mark.
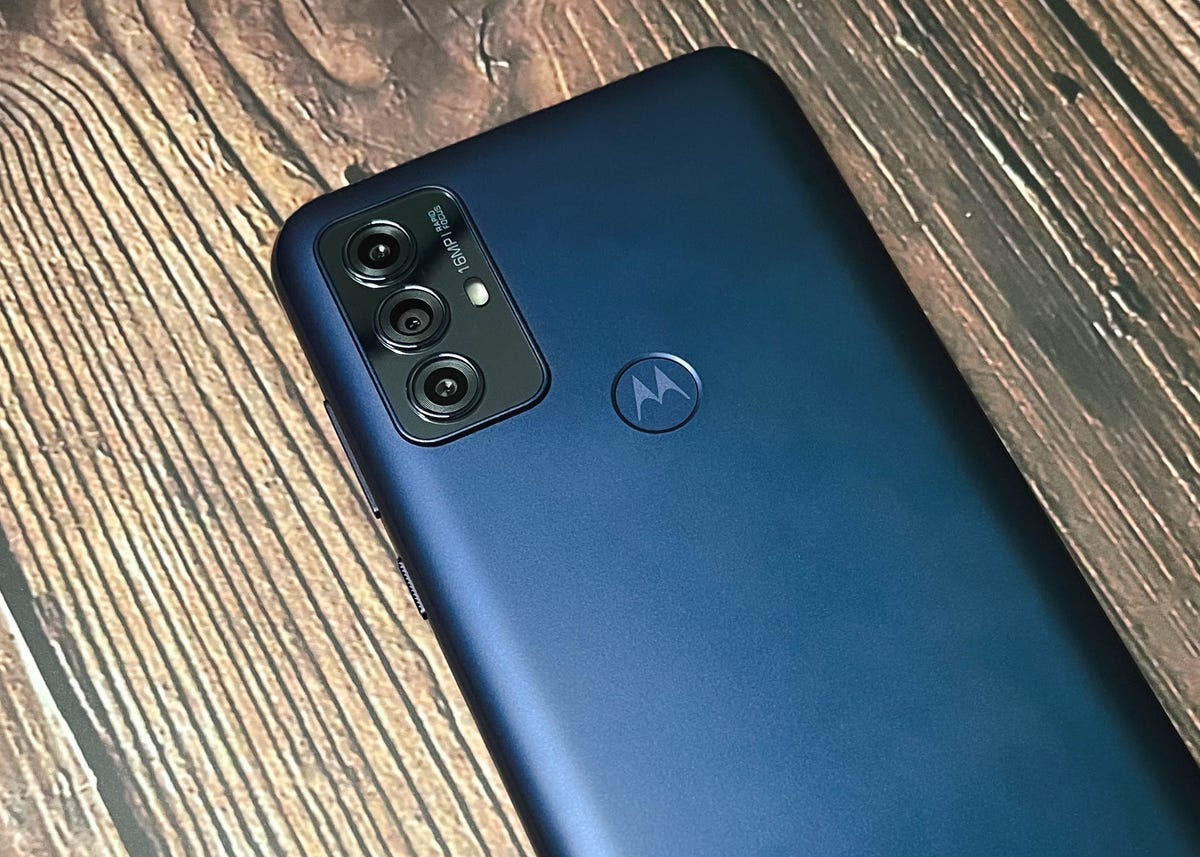
The Moto G Play has three cameras, anchored by a 16-megapixel main camera.
Mike Sorrentino/CNETMoto G Play cameras
The Moto G Play has a triple-camera system anchored by a main 16-megapixel camera, which is accompanied by a 2-megapixel macro camera and a 2-megapixel depth sensor. But photos are consistently fuzzy, whether I took them indoors, outdoors, in bright environments or in the dark.

A foggy day in New York, taken on the Moto G Play.
Mike Sorrentino/CNETWhile it was nice to see Portrait mode on a phone at this price, I can barely see much of a bokeh effect in my photos. This is especially true when using the 5-megapixel front-facing camera, in which my photos looked consistently muddy.

My friend took a photo of me at the Taco Bell in Times Square using Portrait Mode, but it’s challenging to see if it made a difference.
Mike Sorrentino/CNET
The Moto G Play’s front-facing camera had a tough time keeping me in focus, even in a restaurant with decent lighting.
Mike Sorrentino/CNETI took the Moto G Play with me to Taco Bell — because yes, I’m going to go eat cheap food while reviewing a cheap phone. I had my friend take photos of me using the phone’s Portrait setting. You can sort of see a light blurring effect in the background, but it’s hard to perceive.
In another selfie taken at a restaurant with better lighting than the Taco Bell, I found the selfie camera to have a tough time keeping me in focus.
And when taking photos of my friend’s dog Daisy, the rear cameras struggled to capture much detail of her fur, even when she sat still. In the best of conditions, the phone’s cameras struggle to take sharp photos.

Daisy the dog sat relatively still for this photo, but the Moto G Play’s camera captures minimal detail.
Mike Sorrentino/CNETI compared the photos taken on the Moto G Play against the same images taken on the $160 Samsung Galaxy A03S, and found the picture quality to be roughly comparable for simple static shots. When shooting a bookshelf at CNET’s office, the Moto G Play got slightly more detail of the book covers than the Galaxy A03S, with the latter phone’s image appearing a bit darker.
However, when it comes to a photo with lots of detail and color, such as with this plant wall, the Moto G Play struggles to discern between the different shades of green. Meanwhile the Galaxy A03S performs much better with discerning the darker green shades from the lighter ones, making for a dramatically different photo.
Neither phone’s camera performs especially well, which is a common theme among phones that cost under $200. For me, this places the Moto G Play’s camera photos squarely into the category of being acceptable for group chats, but not much else. It’s going to take a lot of really good lighting and steady hands in order to make the most of these cameras, and that’s more effort than most people are going to want to make.
There are better options, even when you want to save money
Even when you’re looking for the cheapest possible phone, your device still needs to run most apps without issue and take decent-looking photos. I wouldn’t expect a phone that costs less than $200 to run Fortnite at the highest graphics settings, but I am expecting to use apps with minimal lag. While phones at this price are also typically lighter on features, the perks that are available should bring noticeable value to the experience. The Moto G Play’s Portrait mode and high refresh rate don’t succeed in this regard.
Instead of buying the Moto G Play at $170, you’re probably better off saving $10 and getting the $160 Samsung Galaxy A03S. While that phone also has unimpressive cameras, it was at least able to multitask more easily.
Although I haven’t reviewed it yet, you might also consider the $199 Samsung Galaxy A14 5G, since it has 64GB of storage and 5G connectivity. Later this year, a number of TCL 40 phones will arrive in the US, which will include 5G and 128GB of storage for under $200. Those devices might be worth waiting for if you aren’t in dire need of a cheap phone right now.
Moto G Play (2023) vs. Samsung Galaxy A03S, TCL Stylus 5G, OnePlus Nord N300 5G
| Moto G Play (2023) | Samsung Galaxy A03S | TCL Stylus 5G | OnePlus Nord N300 5G | |
|---|---|---|---|---|
| Display size, type resolution, refresh rate | 6.5-inch IPS TFT LCD; 1,600×720 pixels; 90Hz refresh rate | 6.5-inch LCD; 1,600×720 pixels | 6.81-inch; 2,400×1,080 pixels | 6.56-inch IPS LCD display; 720p resolution; 90Hz refresh rate |
| Pixel density | 269ppi | 269ppi | 395ppi | 269ppi |
| Dimensions (inches) | 6.58 x 2.95 x 0.36 in | 6.5 x 2.9 x 0.3 in | 6.67 x 3.01 x 0.35 in | 6.4 x 2.9 x 0.3 in |
| Dimensions (millimeters) | 167 x 77 x 9.4 mm | 165.8 x 75.9 x 9.1 mm | 169.6 x 76.5 x 8.9 mm | 163.8 x 75.1 x 7.99 mm |
| Weight (ounces, grams) | 203 g (7.16 oz) | 202g (7.13 oz) | 213g (7.51 oz) | 190g (6.7 oz) |
| Mobile software | Android 12 | Android 11 | Android 12 | Android 12 |
| Camera | 16-megapixel (main), 2-megapixel (macro), 2-megapixel (depth sensor) | 13-megapixel (main), 2-megapixel (depth), 2-megapixel (macro) | 50-megapixel (main), 5-megapixel (wide), 2-megapixel (macro), 2-megapixel (depth sensor) | 48-megapixel (main), 2-megapixel (depth lens) |
| Front-facing camera | 5-megapixel | 5-megapixel | 13-megapixel | 16-megapixel |
| Video capture | 720p at 30 fps | 1080p at 30fps | 1080p at 30fps | 1080p at 30fps |
| Processor | MediaTek Helio G37 | Octa-core processor | MediaTek Dimensity 700 5G | MediaTek Dimensity 810 |
| RAM, storage | 3GB + 32GB | 3GB/32GB | 4GB/128GB | 4GB/64GB |
| Expandable storage | Up to 512GB | Up to 1TB | Up to 2TB | Up to 1TB |
| Battery, charger | 5,000 mAh; 10W charging | 5,000mAh; charger not included, does not support wireless charging | 4,000mAh; 18W charging | 5,000mAh; 33W charging |
| Fingerprint sensor | Rear | Side | Side | Side |
| Connector | USB-C | USB-C | USB-C | USB-C |
| Headphone jack | Yes | Yes | Yes | Yes |
| Special features | 3-day battery life, Moto Gestures, Auto Smile Capture, Portait Mode | Stylus with built-in storage, producitivity software, NxtVision HDR mode | Dual speakers, NFC, Face Unlock, HDR, Portrait, Face retouching | |
| Price off-contract (USD) | $170 | $160 | $258 | $228 |
Technologies
Today’s NYT Mini Crossword Answers for Wednesday, April 8
Here are the answers for The New York Times Mini Crossword for April 8.
Looking for the most recent Mini Crossword answer? Click here for today’s Mini Crossword hints, as well as our daily answers and hints for The New York Times Wordle, Strands, Connections and Connections: Sports Edition puzzles.
Need some help with today’s Mini Crossword? Hint: It uses a lot of the letter Z for some reason. Read on for all the answers. And if you could use some hints and guidance for daily solving, check out our Mini Crossword tips.
If you’re looking for today’s Wordle, Connections, Connections: Sports Edition and Strands answers, you can visit CNET’s NYT puzzle hints page.
Read more: Tips and Tricks for Solving The New York Times Mini Crossword
Let’s get to those Mini Crossword clues and answers.
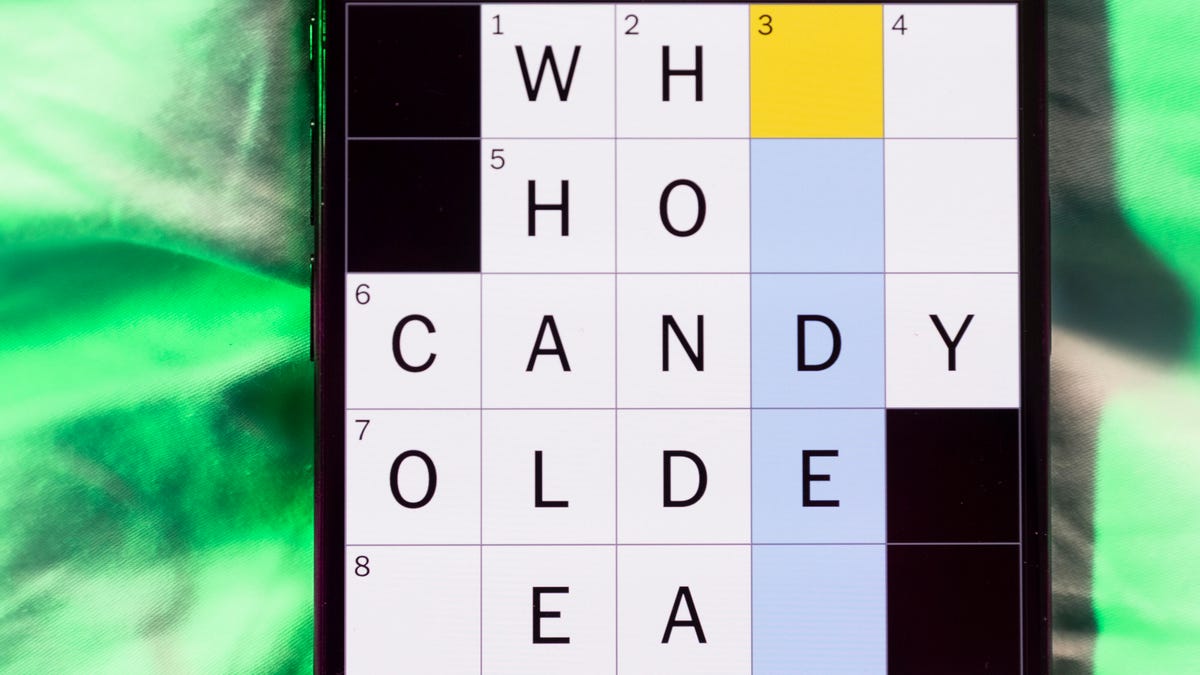
Mini across clues and answers
1A clue: ___-Carlton (hotel chain)
Answer: RITZ
5A clue: Span of the alphabet
Answer: ATOZ
6A clue: Cable channel with an out-of-this-world name
Answer: STARZ
7A clue: Takes care of, as a squeaky wheel
Answer: OILS
8A clue: Toy on a string
Answer: YOYO
Mini down clues and answers
1D clue: When a post receives far more negative comments than likes, in social media slang
Answer: RATIO
2D clue: World’s leading wine producer
Answer: ITALY
3D clue: Middle of the human body
Answer: TORSO
4D clue: Sleeping sound
Answer: ZZZ
6D clue: Tofu base
Answer: SOY
Technologies
Today’s NYT Connections: Sports Edition Hints and Answers for April 8, #562
Here are hints and the answers for the NYT Connections: Sports Edition puzzle for April 8 No. 562.
Looking for the most recent regular Connections answers? Click here for today’s Connections hints, as well as our daily answers and hints for The New York Times Mini Crossword, Wordle and Strands puzzles.
Today’s Connections: Sports Edition is a tough one. If you’re struggling with today’s puzzle but still want to solve it, read on for hints and the answers.
Connections: Sports Edition is published by The Athletic, the subscription-based sports journalism site owned by The Times. It doesn’t appear in the NYT Games app, but it does in The Athletic’s own app. Or you can play it for free online.
Read more: NYT Connections: Sports Edition Puzzle Comes Out of Beta
Hints for today’s Connections: Sports Edition groups
Here are four hints for the groupings in today’s Connections: Sports Edition puzzle, ranked from the easiest yellow group to the tough (and sometimes bizarre) purple group.
Yellow group hint: Working out.
Green group hint: Cover your face.
Blue group hint: NFL players.
Purple group hint: Leap.
Answers for today’s Connections: Sports Edition groups
Yellow group: Exercises in singular form.
Green group: Sporting jobs that require masks.
Blue group: Hall of Fame defensive ends.
Purple group: ____ jump.
Read more: Wordle Cheat Sheet: Here Are the Most Popular Letters Used in English Words
What are today’s Connections: Sports Edition answers?
The yellow words in today’s Connections
The theme is exercises in singular form. The four answers are crunch, plank, situp and squat.
The green words in today’s Connections
The theme is sporting jobs that require masks. The four answers are catcher, fencer, football player and goaltender.
The blue words in today’s Connections
The theme is Hall of Fame defensive ends. The four answers are Dent, Peppers, Strahan and Youngblood.
The purple words in today’s Connections
The theme is ____ jump. The four answers are broad, high, long and triple.
Technologies
The $135M Google Data Settlement Site Is Live — See If You’re Eligible
Use the settlement website to select your preferred payment method, and you may end up $100 richer.
You can now file a claim in the $135 million Google data settlement. The case centers on claims that Android devices transmitted user data without consent. Specifically, the class action lawsuit Taylor v. Google LLC contends that Google’s Android devices passively transferred cellular data to Google without user permission, even when the devices were idle. While not admitting fault, Google reached a preliminary settlement in January, agreeing to pay $135 million to about 100 million US Android phone users.
The official settlement website for the lawsuit is now live. The final approval hearing won’t occur until June 23, when the court will consider whether Google’s settlement is fair and listen to objections. After that, the court will decide whether to approve the $135 million settlement.
In the meantime, if you qualify and want to be paid as part of the settlement, you can select your preferred payment method on the official website. There, you can find information on speaking at the June 23 court hearing and on how to exclude yourself or write to the court to object by May 29.
As part of the settlement, Google will update its Google Play terms of service to clarify that certain data transfers do occur passively even when you’re not using your Android device, and that cellular data may be relied upon when not connected to Wi-Fi. This can’t always be disabled, but users will be asked to consent to it when setting up their device.
Google will also fully stop collecting data when its «allow background data usage» option is toggled off.
Who can be part of the settlement?
In order to join the Taylor v. Google LLC settlement, you must meet four qualifications:
- Be a living, individual human being in the US.
- Have used an Android mobile device with a cellular data plan.
- Have used the aforementioned device at any time from Nov. 12, 2017, to the date when the settlement receives final approval.
- You’re not a class member in the Csupo v. Google LLC lawsuit, which is similar but specifically for California residents.
The final approval hearing is on June 23, so you can add your payment method until then. The hearing’s date and time may change, and any updates will be posted on the settlement website.
If you choose to do nothing, you will still be issued a settlement payment, but you may not receive it if you don’t select a payment method.
How much will I get paid?
It’s not currently known exactly how much each settlement class member will receive, but the cap is $100. Payments will be distributed after final court approval and after any appeals are resolved.
After all administrative, tax and attorney costs are paid, the settlement administrator will attempt to pay each member an equal amount. If any funds remain after payments are sent, and it’s economically feasible, they will be redistributed to members who were previously and successfully paid. If it’s not economically feasible, the funds will go to an organization approved by the court.
-
 Technologies3 года ago
Tech Companies Need to Be Held Accountable for Security, Experts Say
-
 Technologies3 года ago
Best Handheld Game Console in 2023
-
 Technologies3 года ago
Tighten Up Your VR Game With the Best Head Straps for Quest 2
-
 Technologies4 года ago
Black Friday 2021: The best deals on TVs, headphones, kitchenware, and more
-
 Technologies5 лет ago
Google to require vaccinations as Silicon Valley rethinks return-to-office policies
-
 Technologies5 лет ago
Verum, Wickr and Threema: next generation secured messengers
-
 Technologies4 года ago
Olivia Harlan Dekker for Verum Messenger
-
 Technologies4 года ago
The number of Сrypto Bank customers increased by 10% in five days