Technologies
It’s Time to Clear Out Your Google Drive and Gmail
Save money on storage by following these simple steps.
Google Drive and Gmail are packed with some of Google’s most popular services. You even get a combined 15GB of storage space for free to use for all those services — which can fill up fast. Google will notify you when you’re close to that limit and ask if you want to buy more storage. Google’s storage plans start at $2 a month so you might be tempted to pay, but you don’t have to. There are other, free ways to manage your digital space.
Here’s how to free up Google Drive and Gmail space on desktop and mobile so you don’t have to pay for additional storage. We recommend doing this on desktop, as you’ll have an easier time sorting through and managing files rather than doing it on your mobile device.
Delete large files first
If you only want to delete a few items from Google Drive and Gmail to free up space, you can sort each service by file size and delete one or two large files instead of a few dozen smaller items.
Here’s how to delete files by size in Google Drive on your desktop:
1. Log into your Google Drive account.
2. Once logged in, click Storage in the menu on the left side of the screen.
3. The Storage page should list your files from largest to smallest, but if not click Storage Used on the right side of the screen. The files should now be ordered from largest to smallest.
4. Click large files you want to delete to select them, then click either the trash bin in the top right of your screen or drag the large files to Trash on the left side of the screen.
5. Click Trash to go to the Trash menu.
6. Click Empty Trash in the top-right corner of your screen.
7. Click Delete forever and your files are gone.
You can do this in the Google Drive app, as well. Here’s how:
1. Open your Google Drive app and log into your account.
2. Tap Files in the bottom-right corner of the screen.
3. Tap Name underneath My Drive near the top of the screen.
4. Tap Storage Used. This will arrange your files from largest to smallest.
5. Tap the three dots (…) next to the item you want to delete.
6. Tap Remove.
7. Tap the hamburger icon in the top-left corner of the screen next to Search in Drive.
8. Tap Trash.
9. Tap the three dots (…) in the top-right corner of the screen.
10. Tap Empty trash.
Whether you need to make room, or just to keep your Gmail tidy, it’s easy to make room for storage in the service.
James Martin/CNETYou can also arrange and delete files by size in Gmail on the desktop. Here’s how:
1. Log into your Gmail account.
2. Type has:attachment larger:10MB into the search bar and hit Search. This will show you all emails that have attachments larger than 10 MB from largest to smallest. You can use this format to filter by other size files, not just 10 MBs.
3. Check the boxes to the left of each email you want to delete, then click the Trash icon in the top-right corner of the screen.
4. Click Trash on the left side of the screen to go to the Trash menu. If you don’t see Trash, click More and Trash should be in the expanded menu.
5. Once in Trash, click Empty trash now at the top of the screen.
Here’s how to arrange and delete files by size in the Gmail app:
1. Open your Gmail app and log into your account.
2. Type has:attachment larger:10MB into the search bar and hit Search. This will show you all emails that have attachments larger than 10MB, from largest to smallest. You can use this format to filter by other size files too, not just 10MBs.
3. Tap into the email you want to delete.
4. Tap the trash bin icon in the top-right corner of your screen.
5. Tap < in the top-left corner of your screen.
6. Tap the hamburger icon in the top-left corner of the screen next to Search in mail.
7. Tap Trash.
8. Tap Empty trash now.
Note that once a file goes to Trash, it will automatically delete after 30 days.
Empty your Gmail spam folder
It’s easy to forget about emptying your spam folder, and it can double the amount of data your Gmail account uses. Emptying your spam folder (or your social or promotions folders) is an easy way to make space.
Here’s how to empty your spam folder on your desktop:
1. Log into your Gmail account.
2. Once logged in, click Spam on the left side of the screen. If you don’t see Spam, click More, and Spam should be in the expanded menu.
3. In your Spam folder, click Delete all spam messages now.
Here’s how to empty your spam folder in the mobile app:
1. Open the Gmail app and log into your account.
2. Tap the hamburger icon in the top-left corner of the screen next to Search in mail.
3. Tap Spam.
4. Tap Delete all spam messages now or Empty spam now.

Don’t let spam bog your Gmail down.
Getty ImagesClean up your Google Photos
Google also includes Google Photos in the 15GB of free storage it gives its users. Photos and videos can take up more space than text-based files so it’s a good idea to go through and delete old photos and videos to make room.
Unfortunately, there’s no option to arrange your photos and videos from largest to smallest like in Google Drive and Gmail, so you will have to go through and delete items manually.
Here’s how to delete photos and videos from Google Photo on your desktop:
1. Open and log into Google Photos.
2. Scroll your mouse over photos and videos you want to delete and click the gray check mark icon in the top left corner of the photo or video.
3. Click the trash icon in the top right corner of the screen.
4. Click Move to trash.
5. Click Trash on the left side of the screen.
6. Click Empty trash near the top-right corner of your screen.
7. Click Empty trash again, and you’re set.
Here’s how to delete photos and videos from the Google Photo mobile app:
1. Open and log into Google Photos.
2. Tap the photo or video you want to delete.
3. Tap the trash icon in the bottom-right corner of the screen.
4. Tap Delete.
5. Tap Library in the bottom-right corner of the screen.
6. Tap Trash.
7. Tap the three dots (…) in the top-right corner of the screen.
8. Tap Empty trash.
9. Tap Delete.
If you don’t click or tap Empty trash on either platform, the photos and videos you’ve deleted will automatically delete after 60 days.
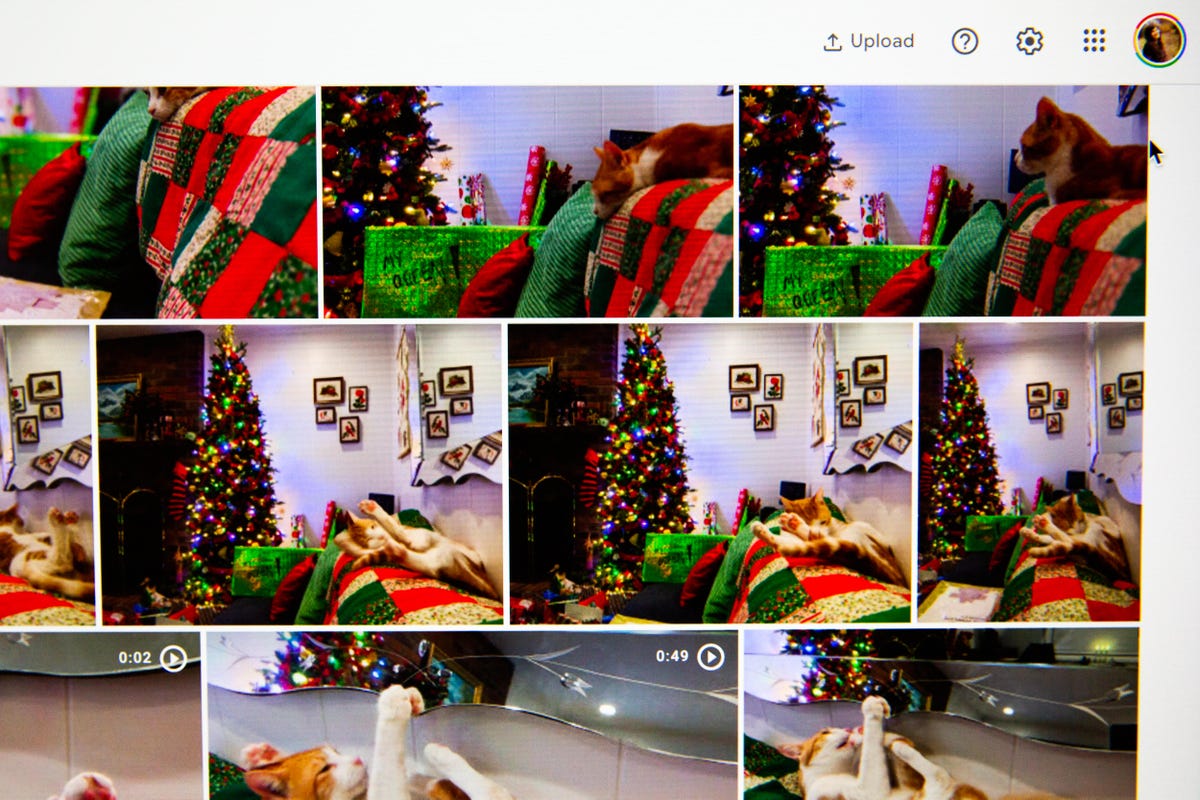
Photos and videos in Google Photos can take up a lot of storage.
Sarah Tew/CNETWhen all else fails, download your files
If your storage is still almost full and you can’t part with any more items from your Google Drive, Gmail or Google Photos, you can download your items and store them directly on your computer.
Here’s how to download your Google Drive files for storage on another hard drive.
1. Open and log into your Google Drive account on your desktop.
2. Select the files you want to download.
3. Click the three stacked dots in the upper-right corner of your screen.
4. Click Download.
5. Once the items are downloaded, feel free to delete them from your Google Drive.
You can also download your emails from Gmail. Here’s how:
1. Open and log into your Gmail account on your desktop.
2. Click and open an email you want to download.
3. Click the three stacked dots next to the date of the email.
4. Click Download message.
5. Once the emails are downloaded, you can delete them from your Gmail.
Here’s how to download photos and videos from Google Photos:
1. Open and log into your Gmail account on your desktop.
2. Click and open a photo or video you want to download.
3. Click the three stacked dots in the top-right corner of the screen.
4. Click Download.
5. Once the items are downloaded, you’re free to delete them from your Google Photos.
For more, check out these 10 Gmail tips and tools, nine Google Drive features you might have missed and five Google Photos features to try now.
Technologies
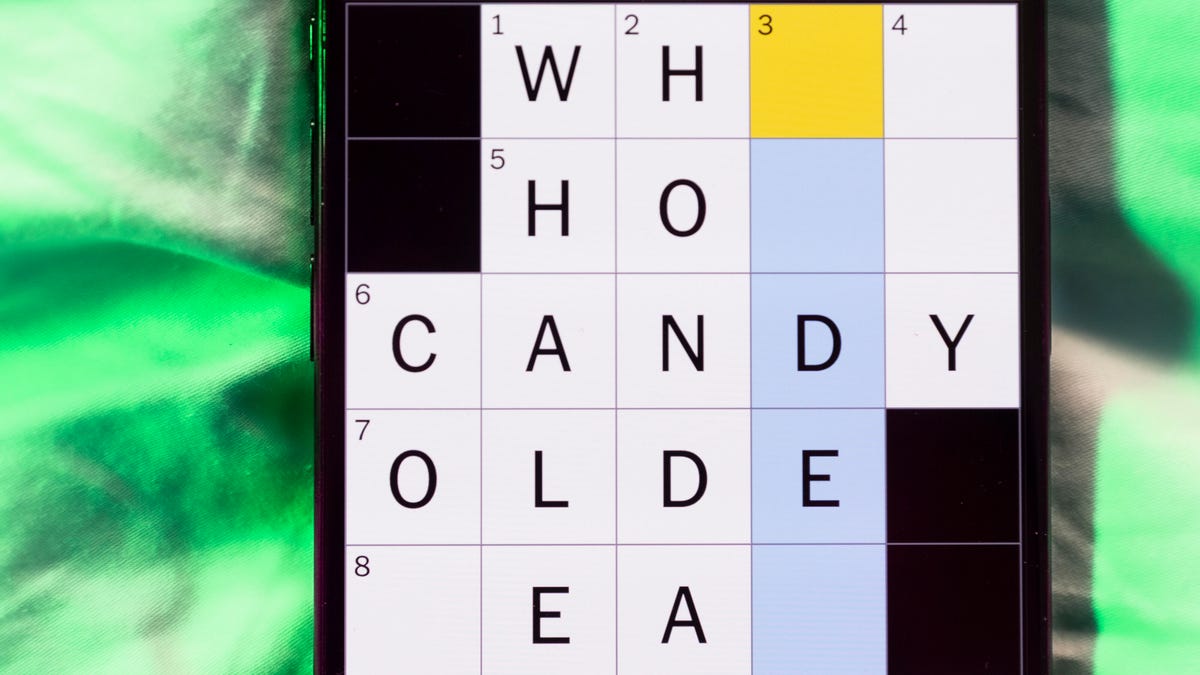
Today’s NYT Mini Crossword Answers for Tuesday, April 7
Here are the answers for The New York Times Mini Crossword for April 7.
Looking for the most recent Mini Crossword answer? Click here for today’s Mini Crossword hints, as well as our daily answers and hints for The New York Times Wordle, Strands, Connections and Connections: Sports Edition puzzles.
Need some help with today’s Mini Crossword? Read on for all the answers. And if you could use some hints and guidance for daily solving, check out our Mini Crossword tips.
If you’re looking for today’s Wordle, Connections, Connections: Sports Edition and Strands answers, you can visit CNET’s NYT puzzle hints page.
Read more: Tips and Tricks for Solving The New York Times Mini Crossword
Let’s get to those Mini Crossword clues and answers.
Mini across clues and answers
1A clue: Informative commercial, for short
Answer: PSA
4A clue: Something you trace to draw a Thanksgiving turkey
Answer: HAND
5A clue: ___ Johnson, former Prime Minister of the U.K.
Answer: BORIS
6A clue: Opposite of include
Answer: OMIT
7A clue: Crosses (out)
Answer: XES
Mini down clues and answers
1D clue: City with the Notre-Dame Cathedral
Answer: PARIS
2D clue: Bad mood
Answer: SNIT
3D clue: About eight minutes of the average half-hour sitcom
Answer: ADS
4D clue: Remote worker’s office, perhaps
Answer: HOME
5D clue: Word that can follow each group of circled letters (and hints at its shape)
Answer: BOX
Technologies
NASA’s Artemis II Breaks Record With Trip Around The Moon
Technologies
In Honor of the Artemis II Mission, Explore the Moon in Fortnite Now
You might not be able to see the moon the way the Artemis II team is, but there’s an educational Fortnite simulation that will get you onto the celestial body’s surface.
You may not be able to explore the vast majesty of space in the same way that the four-person crew of the Artemis II is, but you can still get an up-close-and-personal view of the moon… in Fortnite, at least.
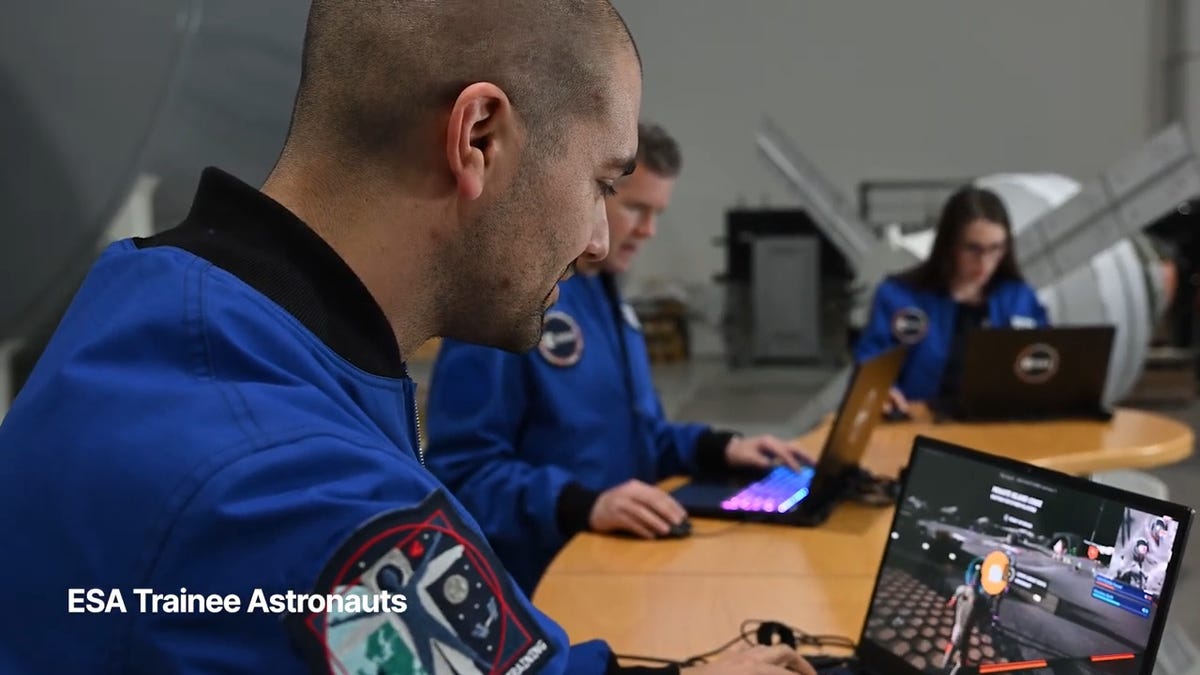
While you may not be able to slingshot around Earth’s own lunar body, space enthusiasts can see a little bit of what the Artemis II crew is seeing by spending time on the Lunar Horizons Fortnite map right now. The map is a creative collaboration between Fortnite’s creator, Epic Games, and the European Space Agency. Lunar Horizons was released in 2024 after extensive testing and play from ESA trainee astronauts.
If you’re looking to learn more about our own orbiting body, the Lunar Horizons map is an educational simulation of the surface of the moon’s South Pole.
It blends game mechanics with learning, as players get to build up their own sterile lunar habitat bases, interact with ESA astronauts and roll around with robotic rovers as they discover informative plaques that contain information about the moon and international space agencies. There are still dangers to navigate, too — a solar storm may strike when you least expect it.
If you’re interested in exploring the moon, we’ve got all the information you need to join in on the Fortnite fun below. And if you’re looking for a more serious livestream during this momentous human achievement, tune into NASA’s feed here.
How to join the Moon Fortnite island while you follow the Artemis II mission
The Lunar Horizons Fortnite map is a great educational simulation that shares details about ESA’s work and catalogs information about humanity’s lunar research.
These three simple steps will get you up and running (or more accurately, taking slow leaps and bounds) on the surface of the Lunar Horizons Fortnite map:
Download Fortnite
If you haven’t played Fortnite before, but you want to check out this limited-time event, you’ll have to download the game. If you’re on PC, you can download Fortnite for free from the Epic Games Store. Console players can navigate the PlayStation Store, Microsoft Store or Nintendo eShop in order to download Fortnite on their devices.
Navigate the in-game menus until you reach the Search button
Once you’re in the game, scroll down past the different official Fortnite game modes and the Discover tab until you find the Search button.
Input the Lunar Horizons island code
In the search bar, you can input a map’s name or its distinct search code in order to find it in the map directory. You can search for the Lunar Horizons map or input the code 3207-0960-6428 to explore this map in time.
Correction, 3:35 p.m. PT: This story initially was in error about the features available in the Lunar Horizons map. There is no Artemis II-specific mission in Fortnite. Rather, the Lunar Horizons map is an educational simulation of part of the moon’s surface.
-
 Technologies3 года ago
Tech Companies Need to Be Held Accountable for Security, Experts Say
-
 Technologies3 года ago
Best Handheld Game Console in 2023
-
 Technologies3 года ago
Tighten Up Your VR Game With the Best Head Straps for Quest 2
-
 Technologies4 года ago
Black Friday 2021: The best deals on TVs, headphones, kitchenware, and more
-
 Technologies5 лет ago
Google to require vaccinations as Silicon Valley rethinks return-to-office policies
-
 Technologies5 лет ago
Verum, Wickr and Threema: next generation secured messengers
-
 Technologies4 года ago
Olivia Harlan Dekker for Verum Messenger
-
 Technologies4 года ago
The number of Сrypto Bank customers increased by 10% in five days