Technologies
Galaxy S23 Phone Lineup: All the New Camera Features, Explained
Samsung’s Galaxy S23 line puts a lot of focus on its new cameras. Let’s explain what they do.

This story is part of Samsung Event, CNET’s collection of news, tips and advice around Samsung’s most popular products.
Samsung’s 2023 flagship lineup includes the Galaxy S23, Galaxy S23 Plus and Galaxy S23 Ultra, and their camera upgrades took up much of the conversation when the phones were unveiled at Samsung Unpacked last week. There are improvements across the line to the front-facing camera. The main camera on the $1,200 Ultra phone got an upgraded 200-megapixel sensor compared with the 108-megapixel one on last year’s Galaxy S22 Ultra.
But what do these camera improvements mean for you? While we’re still in the process of reviewing the Galaxy S23 series and testing their photography prowess, we can go over all the cameras and standout photo and video features each phone has.
Every Galaxy S23 phone gets a new front-facing camera
Whether you are eyeing the $800 Galaxy S22, $1,000 Galaxy S22 Plus or $1,200 Galaxy S22 Ultra, all three phones come with a 12-megapixel selfie camera that you can use for taking selfies, recording video of yourself and video calls.
The 12-megapixel camera seems like an improvement on paper for the S23 and S23 Plus — their predecessors each sported a 10-megapixel selfie camera. As far as the Ultra is concerned, the new front camera may at first look like a downgrade, because the S22 has a 40-megapixel selfie camera. But fewer megapixels isn’t necessarily a bad thing. Samsung focused on making the new selfie camera better at separating subjects from their background more clearly.
My colleague Lisa Eadicicco found in tests for her S23 Ultra review that photos taken on the new front-facing camera are equivalent to last year’s device. However, she observed that selfie photos from the Galaxy S23 Ultra occasionally looked unnatural, exaggerating hair color, compared with photos taken with the selfie cameras on the Pixel 7 Pro and iPhone 14 Pro. She also said that the S23 Ultra’s selfie camera takes better night portraits over last year’s S22 Ultra.
The new camera also supports Super HDR, which enhances color, contrast and brightness for video recorded at 4K 60fps.
Speaking of video, all of the rear cameras across the S23 lineup can record video at 8K 30fps, up from 8K 24fps on last year’s Galaxy S22 lineup. In terms of frame rates, 30fps is widely supported in apps like YouTube, Instagram and TikTok. The 8K 30fps setting isn’t really aimed at everyday use. But 8K might come in handy if you intend on playing your videos on a larger screen that is compatible with 8K or if you’re recording footage for a film as Samsung frequently suggested during its announcement. It’s also worth noting that 8K videos typically take up more space than ones recorded in 4K or HD.
Samsung also increased the field of view on the Galaxy S23 Ultra’s camera when recording in 8K, which is great considering the crop was very severe on previous Galaxy S phones that support 8K. The S21 and S22 series made footage recorded in 8K on the main wide-angle camera look like it was taken on a telephoto lens.
Galaxy S23 and Galaxy S23 Plus’ three rear cameras
The triple rear-facing cameras on the Galaxy S23 and S23 Plus are pretty much the same as their predecessors, hardware-wise, but Samsung says it’s made behind-the-scenes improvements to elements like dynamic range and glare reduction. We haven’t tested the Galaxy S23 and S23 Plus yet, but these changes were certainly noticeable on the Galaxy S23 Ultra. Otherwise, Samsung removed the camera bump, giving the S23 and S23 Plus’ cameras a similar look as those found on the S23 Ultra.
So, what does each camera do?
Let’s start off with the main camera, which has a wide-angle lens and is positioned in the middle of the other two cameras. This will be your daily driver. The main camera gives you the option to shoot in 50-megapixels, however, full resolution images need to be taken under ideal lighting conditions to capture the best quality. You may have 50 million pixels to work with, but unlike new mirrorless cameras or DSLRs of yesteryear, phone sensors and their pixels are incredibly small, and don’t absorb as much light. This leads to more image noise and the need to use more noise reduction processing, which can make details look soft and your photo look bad.
Instead, Samsung’s camera app defaults to 12-megapixel photos, which combines groups of individual pixels to act as a single larger pixel. The process is called pixel binning and results in less image noise and higher-quality photos under medium- and low-light conditions (think inside a dark restaurant).
Learn more: What exactly is pixel-binning?
Next, you’ve got the 12-megapixel ultra wide camera at the top of the camera array, identical to the one on its predecessor. If you want to capture more of your surroundings, pinch in on your screen to switch to this camera and its 120-degree field of view. The ultra wide is ideal for capturing landscapes and its exaggerated look makes for dramatic looking videos. It’s a fun camera to use when you shoot in slow-mo.
Finally, you have the 10-megapixel telephoto camera, at the bottom of the array, with its 3x optical zoom lens. Telephoto cameras can better capture far-away objects, subjects and backgrounds. Zooming in can help remove distracting elements from your frame. It’s also the camera you’ll use for portrait mode shots.
And of course, you can use Single Shot mode to take photos from all three rear cameras simultaneously.
Galaxy S23 Ultra’s four rear cameras, include a 200-megapixel main camera
Samsung saved its biggest camera upgrades for its premium flagship Galaxy S23 Ultra. Unlike the other two S23 series phones, the Ultra features a quadruple rear camera system, annotated in the image below.
The S23 Ultra’s pièce de résistance is a new main camera that has a massive 200-megapixel sensor — nearly double the resolution offered by the Galaxy S22 Ultra. As mentioned in the previous section, you probably won’t need to shoot at the highest resolution, unless you plan on making large prints of photos. Like the S23 and S23 Plus, the Ultra’s main camera takes 12-megapixel photos by default using pixel binning. In the case of the Ultra, it just has more pixels that it can group together which results in better looking images that are brighter and have less image noise, even under low light.
The new sensor also has Super Quad Pixel, an improved autofocus system that uses 2×2 pixel groups to help the camera’s focus lock onto details like horizons or tree trunks even when it’s dim. The S23 Ultra also supports the Expert Raw app, which allows you to capture photos using Samsung’s computational algorithms and save your snap as a raw file to retains more image data and greater dynamic range. Raw files are typically larger than JPEG files but are more ideal for photo editing since they contain more image information and settings. Samsung’s Expert Raw app supports all of the S23 Ultra’s cameras, and when you install the app, its controls are added to the native camera app.
Along with the main camera, there’s also a 12-megapixel ultra wide camera, with a 120-degree field of view, and two telephoto cameras, instead of the one found on the S23 and S23 Plus. The first telephoto lens has a 3x optical zoom, while the second one has a 10x optical zoom. The second telephoto camera also has a 100x digital zoom, but the more you zoom in, the more noisy images look. If the 10x telephoto is anything like previous Galaxy Ultra phones, its digital zoom should take decent photos up to 25x to 30x magnification, which is well beyond what the Pixel 7 Pro or iPhone 14 Pro can manage.
Want to learn more about the Galaxy S23? Check out our review of the Galaxy S23 Ultra, how you can preorder the Galaxy S23 right now and why Samsung’s future premium phones may be more difficult to afford.
Technologies
Tubi App Goes Live in ChatGPT to Give You TV and Movie Recommendations
Like the ultra-customized feel of a Tubi rec? The streamer aims to make it even more personalized.
Tubi, the free streaming platform known for its vast library of cult classics and indie movies, has added an app to ChatGPT. You can now use the chatbot to find content recommendations for TV shows and movies on Tubi, the streamer announced on Tuesday.
You may already have your own search strategy when using Tubi, but the addition of the native app within ChatGPT allows you to strike up a conversation and ask for uber-specific, personalized title suggestions. If you see a film or show that captures your interest, you have the option to click «Watch on Tubi» to stream it on a mobile device or the web. In the mood for scary movies about yetis? Use @Tubi for your prompt in the chatbot and request something like, «horror movies with aggressive yetis» and expect to see a selection of titles that fit your wish list.
«Streaming should feel effortless, and as chatbots and AI agents are becoming a common way people navigate the internet, Tubi is expanding its discovery experience to meet viewers in the moment they’re expressing intent in their own words,» Mike Bidgoli, Tubi’s chief of product and technology, said in a statement.
ChatGPT opened its app store this past December. It currently includes apps for Apple Music, Zillow, Spotify and Canva, offering the ability to connect your accounts to search, design or ask for recommendations. Back in 2023, Tubi created its own AI-powered tool called Rabbit AI for mobile users to help audiences find content to watch. The company later shuttered the feature, which used Open AI’s Chat GPT-4. With today’s launch, it’s the first video streaming service to add an app within ChatGPT.
(Disclosure: Ziff Davis, CNET’s parent company, in April filed a lawsuit against OpenAI, alleging it infringed Ziff Davis copyrights in training and operating its AI systems.)
Technologies
PlayStation Plus Subscribers Can Play Tomb Raider and More All April Long
Subscribers can also explore a Soulslike game that just got a big update.

PlayStation Plus, which is Sony’s version of Xbox Game Pass, offers a large, constantly expanding library of games. Subscribers can choose from the Essential, Extra and Premium tiers, each with unique perks and benefits. Starting at $10 a month, the plans give subscribers access to games and rewards, and each month, all subscribers can play a handful of new games at no additional charge. And some people on Reddit are pretty excited for a few of the games Sony is offering subscribers throughout April.
One user wrote how they are «buzzing» for the remastered Tom Raider games, while another user is willing to replay the Soulslike game Lords of the Fallen. «April fools’ joke? Because they’re actually good,» a third user wrote.
If you’re a PlayStation Plus subscriber, you can play these games now until May 4.
Lords of the Fallen
If you played Elden Ring and thought, «I wish this game had even more grimdark elements to it, like Bloodborne,» Lords of the Fallen might be for you. Choose one of nine classes to play as while you traverse the lands of the living and the dead in order to overthrow the demon god Adyr. You’ll fight all manner of monstrosities along the way, like a colossal humanoid with an arm protruding from its mouth or a giant carrion crow that wears a human skull.
HexWorks, the gaming studio behind Lords of the Fallen, also released a patch for the game on April 3. The patch is intended to make co-op sessions feel more rewarding for hosts and guests, so you and your friends should have even more fun in this game.
Tomb Raider 1-3 Remastered
Experience these classic Tomb Raider games from the 90s all over again — or for the first time — with the remastered trilogy. You’ll explore jungles, solve puzzles in the desert and tackle mercenaries and monsters along the way. While you can enjoy the boosted graphics of the remastered edition, you can also enable low-poly mode to experience these games as you would have almost 30 years ago.
Sword Art Online Fractured Daydream
A system called Galaxia has been added to Alfheim Online, allowing players to relive the past. But the system has spun out of control, displacing players throughout time. To set things right, you’ll have to work with friends and foes alike in this co-op raid battle game. But if you want to go solo, you can play story mode as characters from across space and time confront the anomaly in the VR world.
For more on PlayStation Plus, here’s what to know about the service. You can also check out other games on PlayStation Plus and games on Xbox Game Pass.
Technologies
Get Organized for Just $28 With This 6-in-1 Baseus Charging Station Deal
Ditch the cluttered cables and upgrade to this sleek USB power strip while it’s on sale for a record-low price.
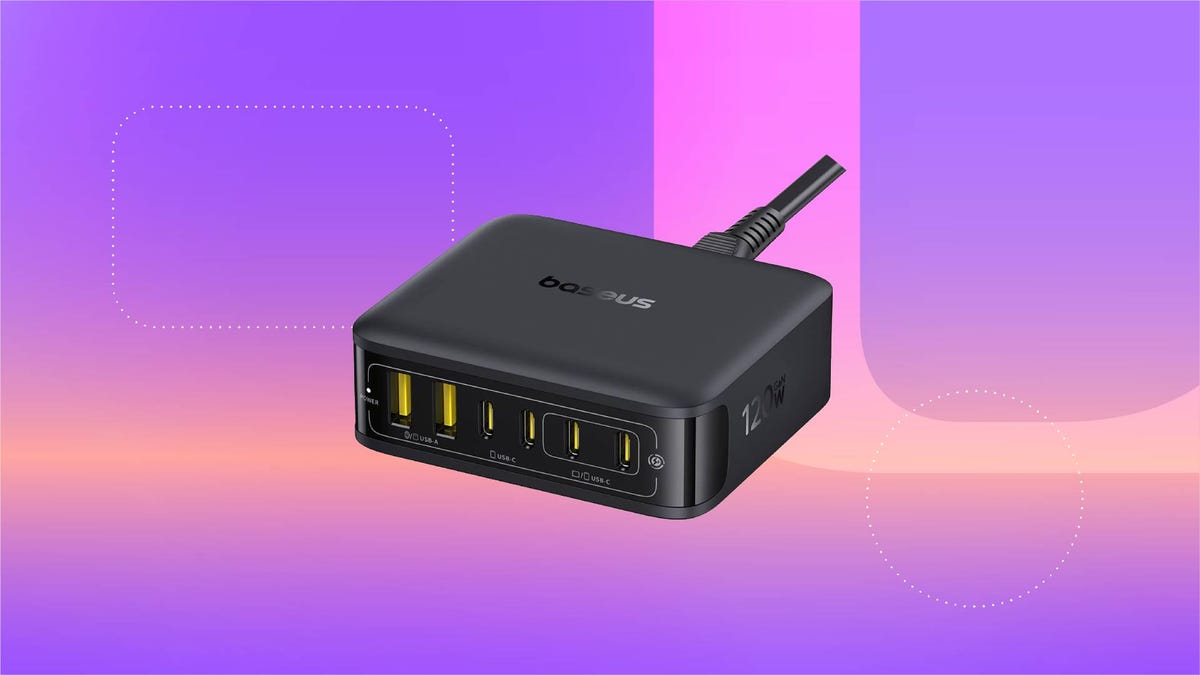
For just $28, this six-in-one Baseus charging station can help you keep your desk organized. That’s 20% off and the all-time lowest price we’ve seen for this 120-watt USB power strip. We don’t expect this limited-time deal to last for long, however, so you’ll want to get your order in sooner rather than later.
You can use this charging station for just about all of your devices, including phones, tablets, headphones and laptops. It’s equipped with four USB-C ports and two USB-A ports, so you can charge up to six devices at once. It also boasts a 65-watt single-port output, enough to fully recharge a MacBook Air in less than 2 hours. And at just 323 grams, it’s light enough to take on the go, making it a great buy for frequent travelers.
Why this deal matters
This sleek Baseus charging station can connect to up to six devices at once, and is still small enough that you can take it on the go. Plus, this is the all-time lowest price we’ve seen, making it a pretty great value.
-
 Technologies3 года ago
Tech Companies Need to Be Held Accountable for Security, Experts Say
-
 Technologies3 года ago
Best Handheld Game Console in 2023
-
 Technologies3 года ago
Tighten Up Your VR Game With the Best Head Straps for Quest 2
-
 Technologies4 года ago
Black Friday 2021: The best deals on TVs, headphones, kitchenware, and more
-
 Technologies5 лет ago
Google to require vaccinations as Silicon Valley rethinks return-to-office policies
-
 Technologies5 лет ago
Verum, Wickr and Threema: next generation secured messengers
-
 Technologies4 года ago
Olivia Harlan Dekker for Verum Messenger
-
 Technologies4 года ago
The number of Сrypto Bank customers increased by 10% in five days