Technologies
Why You Might Want to Blur Your House on Google Maps
It’s about privacy.
I’m old enough to remember when my parents used Thomas Guides street maps to navigate around Los Angeles. As my dad drove, my mom would use the spiral-bound book to get us to and from far-away locations.
Now we all have Google Maps on our smartphones. It’s so much more convenient to quickly get directions anywhere from the palm of our hands, but as is the case with technology sometimes, there are certain aspects that can be a bit invasive of our privacy.
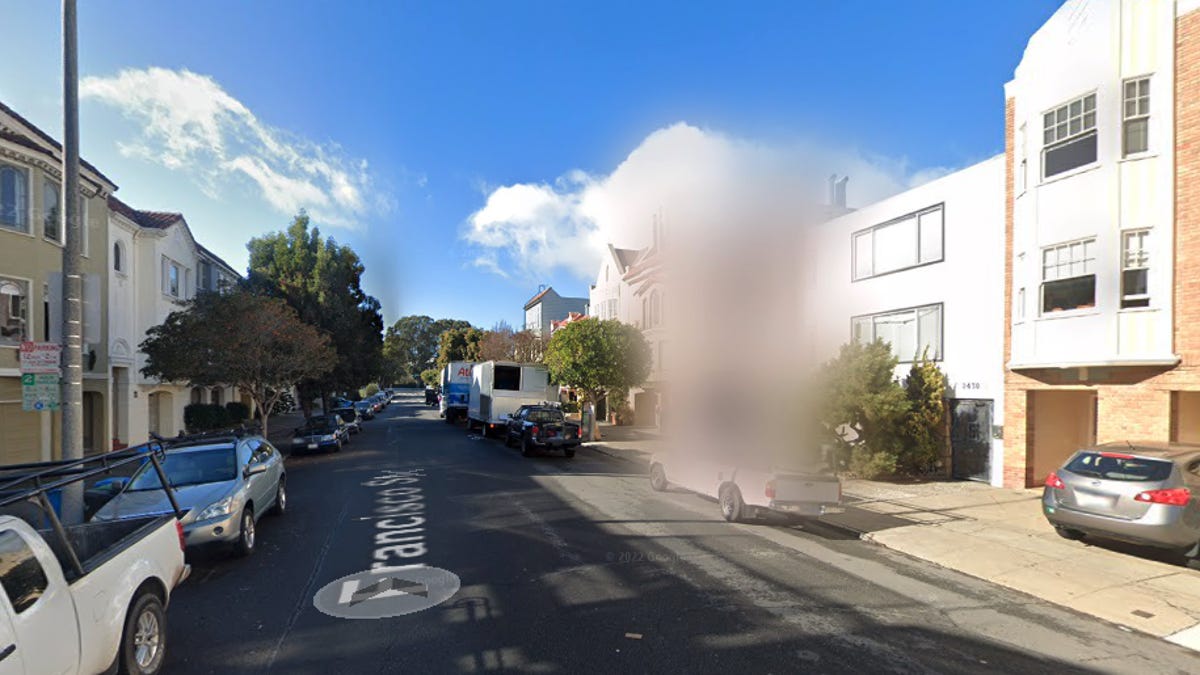
If you’ve ever used Street View, you know that you can enter almost any address into Google Maps and look at a recent image of that location, whether it’s a business, government land or a residence. And it’s useful for knowing what building or landmark to look for when you arrive, but this same feature also makes it easier for stalkers or criminals to plan their way inside your home.
Street View gives anyone a free ticket to examine your home on the internet — maybe they want to look for any cameras or even find a side window to pry open. And sure, anyone can walk or drive by your home and do this in person, but Google Maps makes this process much simpler. Anyone with a phone or computer can do it.
Fortunately, there is an easy way to blur your home on Google Maps and help prevent others from seeing too many details of where you live. Here’s how to do it.
For more, here are seven essential Google Maps tips for the holidays and how Google Maps can help you figure out dinner.
How to blur your home on Google Maps
You’ll need to do this on your computer, as the blurring feature isn’t available in the Google Maps application on iOS or Android, and while it is accessible through the web browser on your mobile device, it’s rather difficult to use, so use a trusted web browser on your Mac or PC instead.
At maps.google.com, enter your home address in the search bar at the top-right, hit return, then click the photo of your home that appears.
Next, you’ll see the Street View of your location. Click Report a Problem at the bottom-right. The text is super tiny, but it’s there.
Now, it’s up to you to choose what you want Google to blur. Using your mouse, adjust the view of the image so that your home and anything else you want to blur is all contained within the red and black box. Use your cursor to move around and the plus and minus buttons to zoom in and out, respectively.
Once you’re finished adjusting the image, choose what you’re requesting to blur underneath:
- A face
- My home
- My car/license plate
- A different object
You’ll be asked to give a bit more detail as to what exactly you want blurred, in case the image is busy with several cars, people and other objects.
Also, be completely sure that what you select is exactly what you want blurred. Google mentions that once you blur something on Street View, it’s blurred permanently.
Finally, enter your email (this is required), verify the captcha (if needed) and click Submit.
You should then receive an email from Google that says it’ll review your report and get back to you once the request is either denied or approved. You may receive more emails from Google asking for more information regarding your request. Google doesn’t offer any information on how long your request will take to process, so just keep an eye out for any further emails.
For more, here’s how Google Maps can help you avoid crowded public transit.
Technologies
If You Miss MTV and Dunkaroos, This Indie Game Is for You
Mixtape is an upcoming game about being a teenager when «everything meant the end of the world or the start of the world.»
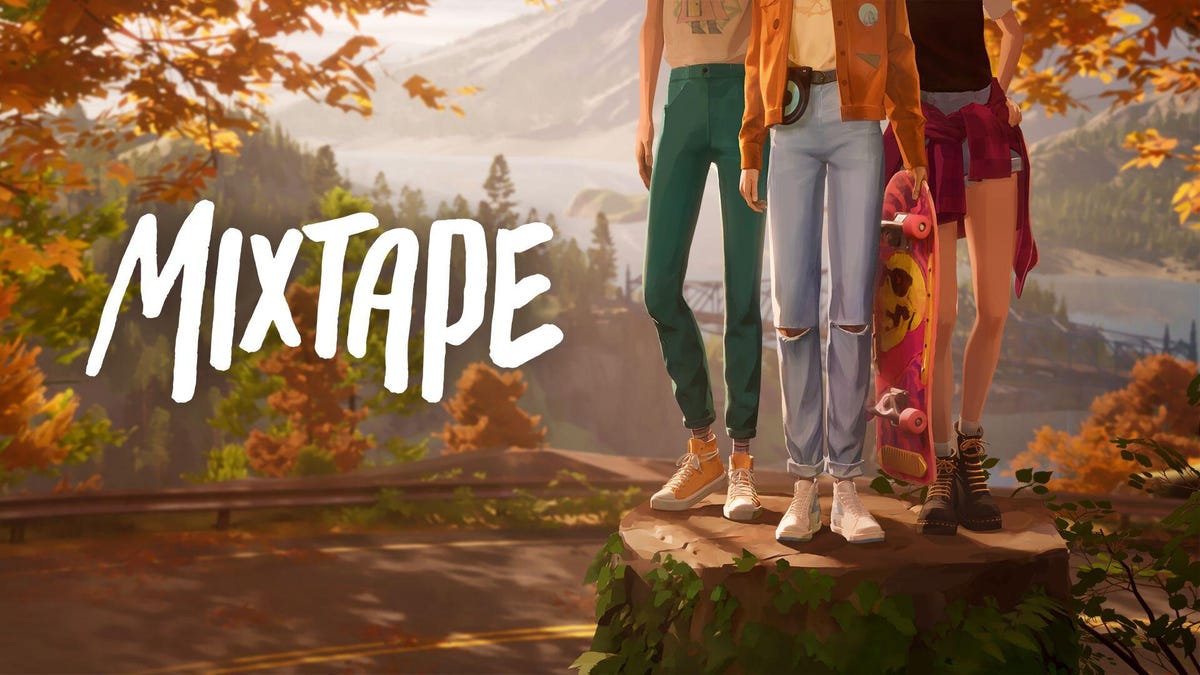
At a record store in northern Los Angeles, I walked past racks of albums, a DJ spinning records and a stack of Dunkaroos, a cookies and icing snack that was all the rage in ’90s America. It felt like stepping back into an earlier era, the same one backdropping the upcoming game Mixtape, a story about a group of self-mythologizing teens hanging out before life pulls them away from their suburban American town.
In an amusing twist of fate, the main brain behind the game is an Australian rocker who didn’t step foot in the US until his 30s. Johnny Galvatron (a stage name and lead singer of the band The Galvatrons), creative director at studio Beethoven & Dinosaur, dreamed up Mixtape based on a blend of American youth culture that was broadcast worldwide, along with his own upbringing loving music of the period and playing in bands.
In a recording room behind the record store, I chatted with Galvatron about why a man from the Antipodes would tackle American youth, nostalgia through the lens of music and analog audio tech, the earnest wrongness of being a teenager and why the US is like Middle-earth.
I also got to play a short slice of Mixtape ahead of the conversation, a demo I originally saw at Summer Game Fest last year (but with a couple extra scenes exclusive to this event). It opened up with the game’s older teen heroine, Stacy Rockford, skateboarding down a winding road with her friends, lazily pulling kickflips and calling out oncoming cars in the golden hour before twilight, a fitting start for a game about the last days before adulthood knocks.
From what I saw, there’s a bit of overlap with other nostalgia-laden narrative games about teens growing up, such as studio Don’t Nod’s Life is Strange series or last year’s Lost Records: Bloom and Rage. But Mixtape avoids the plotty drama of those games in favor of lionizing the humble wonder of teens killing time. And it does it in style, with kinetic editing and needle drops that immerse players in the MTV-drenched lives of kids whose rebellious days are numbered. It’s tonally different, reflecting Galvatron’s memories of being an earnest teen, liking music and tossing out strong opinions.
«There’s a lot of stories about teenagers where they’re portrayed as very shy and not confident. And that’s not really my experience of being a teenager,» Galvatron said. «I was very confident and wrong about things and about how I felt about music.»
Galvatron’s earnest teenagehood was in Australia, but setting the game there might have been too close to home. Plus, his favorite music and culture came from America. Despite not coming to the US until he was 32, he’s watched America every single day of his life, he said. Seeing it in person is like coming to a theme park, or a fantasy land: «To people who live in Western cultures, America is Middle-earth,» Galvatron said.
The game is split into chapters, each patterned after a carefully-chosen song. They all come together in the titular mixtape, the swan song of a cherished friend group, one last rock-out to tunes that speak to the moment. It was those songs that drove the creation of the emotional sequencing of Mixtape, Galvatron told me. Whereas most games start development by creating a «vertical slice» that represents the core loop of the game, Beethoven & Dinosaur made «a real shitty version of the whole game» and swapped around the songs to see what different stories the configurations told.
«We would play with that soundtrack until it seemed to have this cinematic flow to it, like a really lovely narrative that chained these songs together,» Galvatron said. «Once we had that right, we could put the story and the characters in.»
Picking the songs was a delicate process to find the right tone (and to ensure variety, as Galvatron joked he kept wanting more Devo songs, which the team vetoed and limited him to one). There’s a pivotal moment in the game where the main character Rockford is betrayed by her friend, and despite digging up the saddest songs they could think of, none worked. So they flipped the emotions to the other extreme, trying tunes evoking over-the-top happiness like Stuck In The Middle With You, and went with songs from the artist BJ Miller from the 1960s, «and that seemed to make it just all the more devastating,» Galvatron said.
I saw parts of 4-5 song chapters out of what Galvatron told me will be a total of 26 or 27. But each felt like a sublime snippet (in Pixar parlance, a core memory) that the player gets to control, from an embellished shopping cart escape from the cops to a flailing first kiss of awkward tongues to rocking out in the car on the way to a party. It sounds mundane, but these delightful moments hearken to a time in everyone’s lives when the people and the songs around you elevated the simple into the unforgettable.
«We don’t have skill trees, we don’t have (gameplay) loops. We have moments where mechanics, music, dialogue, narrative all meet and hit these crescendos,» Galvatron said, and emphasized the importance of their brevity. «Get in, deliver the mechanic, make it beautiful, make it a great experience. Don’t overstay your welcome.»
It’s undeniable that Mixtape reaches back into the past to evoke a feeling of place and time, specifically this moment in the American 90s where music was blasting from cassette tapes and CDs. There’s a warmth to this equipment, Galvatron noted, and to the music it produces. Moreover, the tactility lends itself very well to touching, spinning and clicking motions on game controllers, giving players a real feel for the music they’re playing on screen.
Yet when I asked how he felt the game fit amid our current era of nostalgia — which media like Stranger Things have built IP empires upon with period-appropriate references, fashion and songs — Galvatron asserts that the game has a different aim than prompting viewers to remember specific songs, CD players and Tamagotchis. «What I want people to remember is when you defined yourself by the singles you liked, by art, and I think that’s something naive and sweet,» he said.
If the rest of the game meets the bar set by the demo I saw, players will be pretty awestruck by the polished, electric delivery of moments from scene to scene. Mixtape feels intentionally designed, likely meticulously storyboarded, to land moments with camera angles and timing that make you feel along for the ride.
Beethoven & Dinosaur’s strengths are leaning into the grandness of cinematics and music, Galvatron said. «That’s how I remember being a teenager,» he said, «[it’s] something theatrical and fast, and everything meant the end of the world or the start of the world.»
Technologies
These MWC Phones and Gadgets Wowed Me, but Where Are They Now?
From AI hardware to wearable phones, these products promised a lot. So what happened to them?

Mobile World Congress sees the biggest and best tech companies, the world over, gather in Barcelona to show off their latest, greatest products. MWC 2026 runs March 2 to 5 and we expect to see several major phone launches, some wild concepts and a lot of tapas. But what about products we saw in prior years?
From Samsung’s flagship Galaxy S phones to incredible hardware from Xiaomi, we’ve seen some amazing devices in the years CNET has been attending the show. But we’ve also seen a lot of unusual products that have promised more than they’ve delivered.
From concept devices that are quickly forgotten to new gadgets that boast revolutionary functions, these are the MWC tech launches that arrived with a fanfare… but aren’t necessarily where you’d expect them to be today.
Humane AI pin
AI might still be the biggest buzzword in tech, thanks to every phone company cramming their devices with all kinds of bizarre AI functions. But at MWC 2024, one company wanted to take that further. The Humane AI pin was a wearable badge that you could talk to and ask questions about your schedule, the weather or things like sports results. It could read answers out and even project them onto your hand with a laser. Because everyone loves lasers.
Sounds fun, right? And the company’s rhetoric around how AI-based devices like this will replace phones sounded compelling. However, the product, well, sucked (just ask CNET’s Scott Stein, who spent extended time with it) and the company was eventually swallowed by HP, with the Pin itself ceasing to function in February last year. If you were one of the early adopters, do let us know what you’ve done with that $699(!) paperweight now.
Motorola Rizr
MWC is a great place to show off concepts that will excite technology nerds like us. Motorola has a good history of this at the show and the Rizr is one of my favorites. This phone didn’t just have a flexible display like we’ve seen on many of today’s foldable phones, its display could actually mechanically unroll at the push of a button, extending the top of the screen to give a more immersive display for watching videos or playing games.
It was amazing to see in person and it was certainly a different idea on how to use flexible displays. But that’s all it was; an idea. Motorola hasn’t deployed the Rizr’s mechanical unfurling into any of its products, with its upcoming Razr Fold launch being just a standard book-style foldable. The reason is obvious: The technology is likely expensive and probably fragile too. Three years on and Motorola hasn’t said a thing about this cool concept, but I’ll still keep my fingers crossed for this year.
Xiaomi SU7 EV
Xiaomi might be better known for its superb camera phones, but the Chinese firm has fingers in many pies, including scooters, vacuums, air fryers and, er, water pistols. It was no surprise then that during MWC 2024, the company showed off its first EV, the Xiaomi SU7. With sleek, sporty looks and a promised range of over 470 miles, I was excited.
I was excited again when the company showed off an even more performance-focused model at last year’s show, which had already delivered some blistering track times on the infamous Nürburgring. But I’ve yet to get behind the wheel. While Xiaomi is already producing and selling cars in its native China, the company has no plans to launch in the UK or wider Europe until at least 2027 and they almost certainly won’t sell in the US at all.
As a result, I feel like I’ve been teased somewhat with the promise of this slick, powerful EV that would have sat perfectly on my driveway. In reality, I still have a big wait ahead of me, if the SU7 European launch happens at all. Sales of the SU7 in China have surpassed those of the Tesla Model 3, according to a report by Car News China. Meanwhile, the same story shows that the SU7 Ultra’s sales have declined dramatically due to a number of controversies and lawsuits around the car and Xiaomi’s rollout.
Samsung Galaxy Ring
Samsung’s Galaxy Ring made for an interesting MWC in 2024. Here was a new type of wearable that promised advanced health and fitness tracking, while blending into your daily life by sitting unobtrusively on your finger. And that’s what it does, with CNET giving it a healthy 8.5 out of 10 in our full review.
But that was in 2024, and a full two years later, I’m left wondering what’s happening with the wonderful world of smart jewelry. Samsung has made no official comment around a follow-up, through rumors suggest we may see one in late 2026 or 2027. Smart ring manufacturer Oura, meanwhile, has filed a public lawsuit against Samsung and other smart ring companies claiming patent infringement. This is likely one of the reasons we’ll have to wait for a Galaxy Ring 2. While other smart rings do exist — like the Oura Ring 4 — it’s not a category that flourished after Samsung launched its ring.
There’s no Google Pixel Ring, no Apple iRing and not even an LED-infused Nothing Ring (1). Most other smart rings are made by smaller companies, such as Pebble’s recently announced $75 recyclable ring. Smart rings may have a place on our hands for a while yet, but Samsung’s lengthy delay in launching a follow-up might suggest that it’s not exactly a priority product.
Motorola wrist phone
I said that the aforementioned Moto Rizr was «one of» my favorite MWC concepts.That’s because the company’s flexible wrist phone from 2024 absolutely takes my top spot. This candybar-style Android phone had a fully flexible body that let you to wrap the whole thing around your wrist and wear it like something resembling Leela from Futurama’s wrist-mounted doodad.
I found it extremely intriguing. Here was a phone that doesn’t bulge out your skinny jeans when it’s in your pocket, but that’s also just a glance away like a smartwatch. And compared to the precision engineering required for the Rizr, the wrist phone’s technology seemed relatively achievable. After all, we already have flexible displays and this didn’t even require any specialized tiny motors — you just whack it onto your wrist like a ’90s slap bracelet.
But, like the Rizr, the wrist-mounted phone remained just a flight of fancy I experienced oh so briefly for a few days in Spain. And like any holiday romance, perhaps it’s best for me to simply remember it for what it was and not spend my days pining for what could have been.
With MWC 2026 just a few days away I’m excited to see new and wild products show their face, and I’m curious to see which of them will have staying power.
Technologies
What to Expect From Samsung Galaxy Unpacked | Tech Today
-

 Technologies3 года ago
Tech Companies Need to Be Held Accountable for Security, Experts Say
-

 Technologies3 года ago
Best Handheld Game Console in 2023
-

 Technologies3 года ago
Tighten Up Your VR Game With the Best Head Straps for Quest 2
-
 Technologies4 года ago
Black Friday 2021: The best deals on TVs, headphones, kitchenware, and more
-

 Technologies5 лет ago
Google to require vaccinations as Silicon Valley rethinks return-to-office policies
-
 Technologies5 лет ago
Verum, Wickr and Threema: next generation secured messengers
-

 Technologies4 года ago
Olivia Harlan Dekker for Verum Messenger
-
 Technologies4 года ago
iPhone 13 event: How to watch Apple’s big announcement tomorrow
