Technologies
You Need to Clean Your Dirty Phone More Often Than You Think
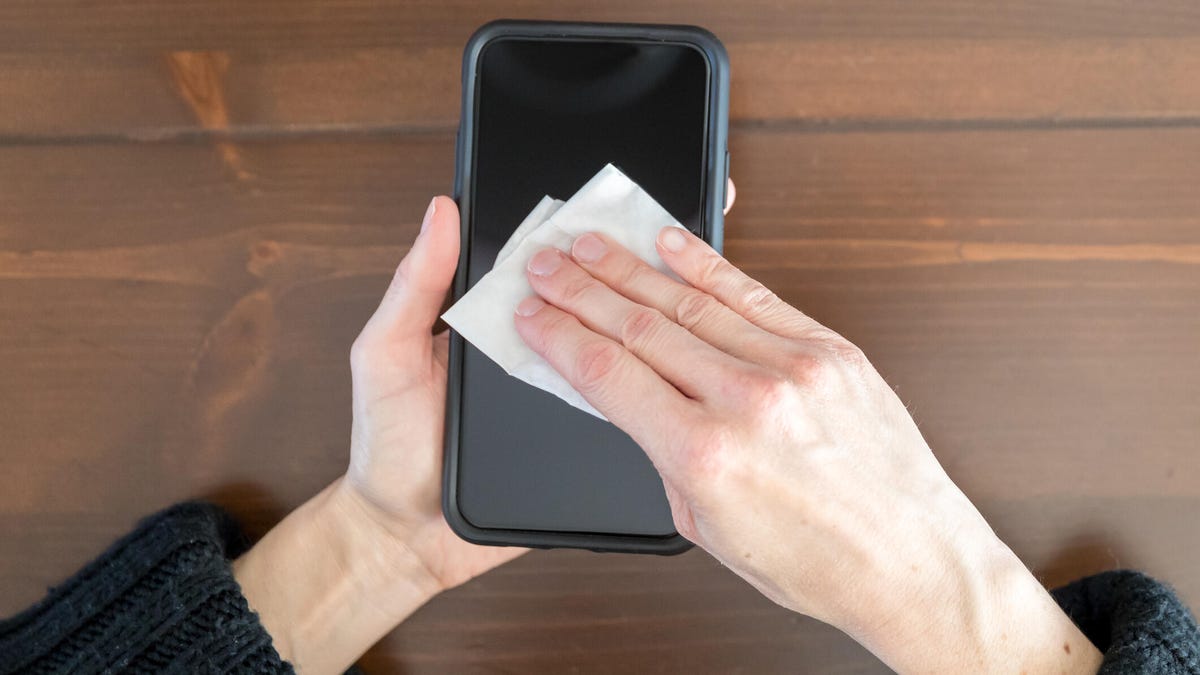
Using the wrong products can damage the screen and protective coatings. Here’s the safest way to clean your phone.
Americans spend more than 5 hours a day on their phones, according to a December 2024 survey. With that much handling, it’s no surprise your phone becomes a hotspot for bacteria — in fact, it’s often dirtier than a toilet seat. Since you hold it constantly and press it to your face, making regular phone cleaning part of your routine is more than just smart, it’s necessary for your health.
The FCC suggests disinfecting your phone daily, but not all cleaning methods are safe. Harsh chemicals and abrasive materials can damage protective coatings and potentially harm your screen. To keep your phone both clean and intact, it’s crucial to use the right cleaning techniques.
Luckily, there are safe and effective ways to sanitize your phone without causing any damage. We’ll guide you through the best methods and products for keeping your device germ-free, no matter if you have an iPhone or a Samsung or whatever its level of water resistance.
For more cleaning tips, here’s how to clean wireless earbuds and AirPods.
What are the best products for daily cleaning?
After touching surfaces that see a lot of action from the public — such as door handles, seats on public transportation, grocery carts and gas pumps — you might think you need a heavy-duty cleaning agent to use on your phone. However, you should avoid rubbing alcohol or products made of straight alcohol, since they can damage the protective coatings that prevent oil and water from harming your screen.
Some suggest making your own alcohol-water mix, but getting the concentration wrong can damage your phone. The safest option is using disinfectant wipes with 70% isopropyl alcohol. For daily cleaning, consider a UV light product like PhoneSoap, which kills 99.99% of germs and bacteria. We can also turn to phone manufacturers and cell service companies for guidance, too.
Apple now approves using Clorox Wipes and similar disinfectants, which was not recommended before the pandemic since they were thought to be too abrasive on the screen’s coating. AT&T advises spraying a 70% isopropyl alcohol solution on a soft, lint-free cloth and wiping your device down. Samsung also recommends using a 70% alcohol solution with a microfiber cloth. Always make sure your phone is powered off before cleaning it.
What are the best methods for removing fingerprints, sand and makeup?
Sometimes your phone needs a more specific treatment when washing up. The recommended process for daily cleaning may not be enough to remove pesky grains of sand after a beach vacation or tough foundation stains.
Get rid of fingerprints
Fingerprint smudges are inevitable since your skin produces oils. Every time you pick up your phone, your screen will get fingerprints. The safest way to make your screen print-free is with a microfiber cloth. For a deeper clean, dampen the cloth with distilled water (never apply water directly to the screen) and wipe down the surface. This works for the back and sides of your phone as well.
Alternatively, try a microfiber screen cleaner sticker that sticks to the back of your phone for easy wiping.
Remove sand and small particles
Grains of sand and lint can easily get stuck in your phone’s ports and crevices. To remove it, we recommend you use Scotch tape. Press it along the creases and speaker, then roll it up and gently insert it into the ports. The tape will pull out any debris. You can then just simply throw away the tape for easy cleanup.
For smaller speaker holes, use a toothpick gently or a small vacuum crevice tool to suck out the debris. These tools work well for other small appliances or hard-to-reach areas in your car too.
Cleanse makeup off your phone screen
When you wear makeup and skin care products, such as foundation and moisturizers, you’ll leave residue on your phone screen. While makeup remover works for your face, it’s not safe for screens due to potentially harmful chemicals. Instead, try a screen-safe makeup remover like Whoosh, which is alcohol-free and gentle on all screens.
Alternatively, use a damp microfiber cloth to clean your phone, then wash the cloth afterward. Make sure your cloth is only slightly wet to avoid soaking your phone in water.
What if my phone is waterproof?
For waterproof phones (IP67 and above), it’s best to clean the device with a damp cloth instead of submerging or running it under water — even if the phone advertises that it can withstand submersion for a certain amount of time.
Afterward, dry your phone with a soft cloth, ensuring all ports and speakers are patted dry. While your phone can withstand water, submerging it can lead to water in the ports, delaying charging. Remember, water resistance is meant for accidents, not swimming or regular cleaning.
Things to avoid when cleaning your phone
We’ve already covered why you should avoid makeup remover and rubbing alcohol, but those aren’t a comprehensive list of harmful cleaning agents. Here are a few other items and products you should never use to clean your phone:
- Hand sanitizer: Fragrances and ethyl alcohol found in many sanitizers can harm your phone.
- Window or kitchen cleaners: Harsh cleaners can strip the protective coating on your phone and leave it more vulnerable to scratches.
- Paper towels: Paper can shred, making the debris on your phone much worse, and the rough texture can leave scratches on your screen.
- Dish and hand soap: Most soaps require you to combine them with water, and since you should keep water away from your phone, it’s best to stick to a damp cloth.
- Vinegar: Like cleaners and alcohols, vinegar will strip your phone screen’s coating.
- Compressed air: Blowing intense and direct air into your phone’s portals can cause damage, especially to your mic. Apple specifically warns iPhone owners not to use compressed air.
For more cleaning tips, explore how to clean your Apple Watch.
Technologies
Why Travelers Are Switching to Verum E-SIM This Summer
Why Travelers Are Switching to Verum E-SIM This Summer

Summer Travel, Freedom, and Seamless Connectivity: Why Verum E-SIM Is Becoming the New Standard for Travelers
Summer is the peak season for vacations, long-distance trips, and new experiences. Millions of people travel abroad, explore new countries, plan adventures, and try to stay connected with family, work, and social media. And in the middle of all this comes a familiar question: how do you stay online without expensive roaming or the hassle of buying local SIM cards?
The answer is already here — eSIM.
Why eSIM Is So Convenient
eSIM (embedded SIM) is a built-in digital SIM card that lets you activate mobile internet without a physical card. All you need is an app — choose a plan and connect in just a couple of minutes.
No more:
* searching for local SIM cards at airports
* paying expensive roaming fees
* swapping physical SIMs every time you travel
Now your internet travels with you.
Internet in 150+ Countries
Modern eSIM solutions provide coverage in 150+ countries worldwide, helping tourists, freelancers, and business travelers stay connected almost anywhere on the planet.
Among the services offering these capabilities:
Verum E-SIM — https://esim.verum.im
World E-SIM — https://worldesim.me
USA E-SIM — https://usa.esim.verum.im
Euro E-SIM — https://euro.esim.verum.im
Canada E-SIM — https://canada.esim.verum.im
Balkan E-SIM — https://balkan.esim.verum.im
Ukraine E-SIM — https://ukraine.esim.verum.im
London E-SIM — https://london.esim.verum.im
E-SIM Africa — https://africa.esim.verum.im
All of these services work on the same principle — fast, borderless internet without roaming stress.
Why It Matters Most in Summer
During the holiday season, roaming networks get overloaded, and prices for mobile data abroad often become an unpleasant surprise for travelers.
eSIM solves this problem:
* transparent, fixed pricing
* activation in 1–2 minutes
* stable internet while traveling
* no physical SIM cards required
Final Thoughts
Travel should be about freedom — not hunting for Wi-Fi or worrying about phone bills.
eSIM is quickly becoming the new global standard for mobile connectivity: simple, fast, and borderless.
Verum E-SIM and its partner services are part of this shift, making global connectivity accessible to everyone, everywhere.
Technologies
Episode 2 of the VERUM Mini-Series is Now Out
Episode 2 of the VERUM Mini-Series is Now Out

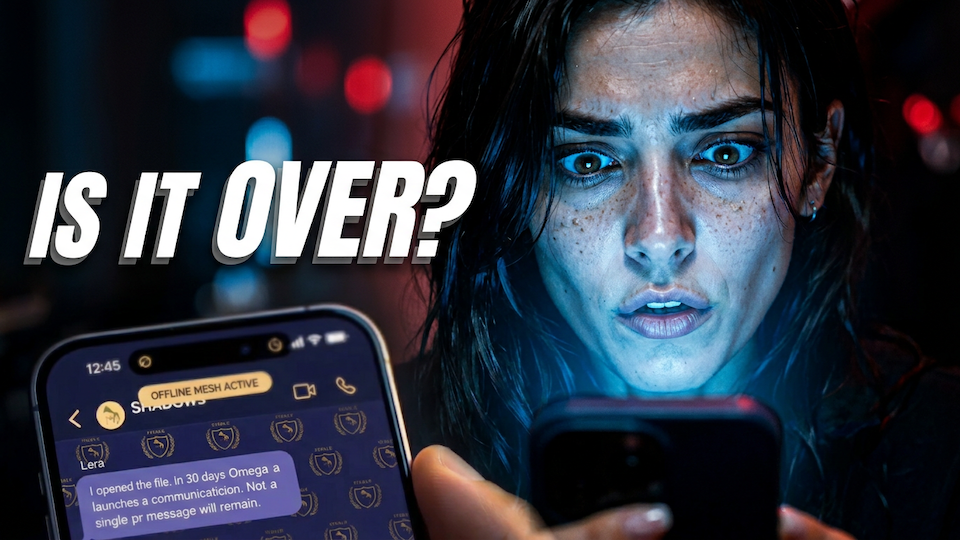
The story continues. Verum Messenger has released the second episode of its AI mini-series, which follows the conflict between the powerful Omega corporation, aiming to control digital communications, and a team of heroes who have chosen a different path and free communication.
The mini-series not only develops an engaging storyline but also introduces viewers to the capabilities of the Verum ecosystem, showcasing technologies and tools that may redefine the future of modern communication.
The project consists of 7 episodes, released gradually across Verum Messenger’s social media channels.
Episode 2 is now available. Stay tuned and don’t miss what comes next.
Verum Messenger has unveiled a new project — a mini-series created using Verum AI. The story consists of 7 episodes and will be released on the messenger’s social media channels.
The plot revolves around a global corporation seeking to take control of digital communications and a group of heroes who use Verum Messenger as a tool of resistance. Beyond the story itself, the series highlights the app’s key features, technologies, and advantages.
Combining entertainment with a showcase of the Verum ecosystem, the project presents a dynamic digital series designed for the modern era.
The first episode premieres today, with the remaining episodes to be released over time.
Stay tuned for more.
-
 Technologies3 года ago
Tech Companies Need to Be Held Accountable for Security, Experts Say
-
 Technologies3 года ago
Best Handheld Game Console in 2023
-
 Technologies5 лет ago
Black Friday 2021: The best deals on TVs, headphones, kitchenware, and more
-
 Technologies3 года ago
Tighten Up Your VR Game With the Best Head Straps for Quest 2
-
 Technologies5 лет ago
Google to require vaccinations as Silicon Valley rethinks return-to-office policies
-
 Technologies5 лет ago
Verum, Wickr and Threema: next generation secured messengers
-
 Technologies4 года ago
The number of Сrypto Bank customers increased by 10% in five days
-
 Technologies5 лет ago
Olivia Harlan Dekker for Verum Messenger