Technologies
Taking a Screenshot on Mac: 4 Simple Ways to Do It
Apple has new M1 and M2 versions of most of its iconic Macs, but how you take a screenshot remains the same.
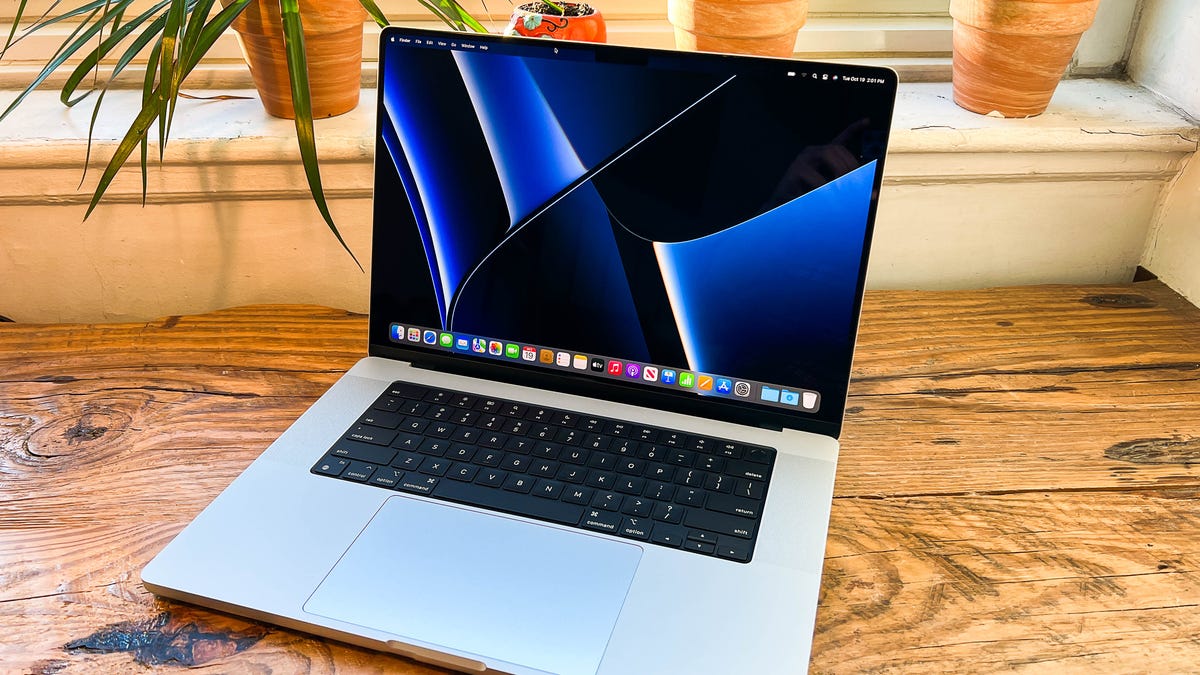
If you own any kind of modern Mac — including MacBook laptops, iMac all-in-ones or Mac Mini and Mac Studio desktops — there are three basic ways to take a screenshot with keyboard shortcuts. MacBook Pro owners can use the Touch Bar for a fourth method. Apple’s MacOS software also gives you a fair number of options to easily save, deleteand open the screenshot for markup.
These tips also apply to the latest Macs, such as the recently updated 13-inch MacBook Pro with a new M2 chip and the M2 MacBook Air. We’ve also tested these tips to confirm they work in MacOS Ventura, the latest operating system update.
Method 1: Cmd-Shift-3
This keyboard shortcut captures a screenshot of your entire screen.

Method 2: Cmd-Shift-4
Use this keyboard combo to turn your cursor into a crosshair, which you can drag to select a portion of your screen to capture. Release the mouse button or trackpad to take the shot.
You have a number of other options after hitting Cmd-Shift-4:
Press and release the spacebar: The crosshair turns into a little camera icon, which you can move over any open window. Click on your desired window to take a screenshot of it. A screenshot captured by this method features a white border around the window with a bit of a drop shadow.
Press and hold the spacebar (after dragging to highlight an area but before releasing the mouse button or trackpad): This locks in the shape and size of the selection area but lets you reposition it on the screen. It’s very handy if your initial selection area is off by a few pixels; just hold down the spacebar to reposition it before releasing the mouse button to snap a screenshot.
Hold down the Shift key (after dragging to highlight an area but before releasing the mouse button or trackpad): This locks in each side of the selection area made with the crosshairs save the bottom edge, letting you move your mouse up or down to position the bottom edge.
Without releasing the mouse button, release the Shift key and hit it again to reposition the right edge of your selection area. You can toggle between moving the bottom edge and right edge by keeping the mouse button or touchpad engaged and pressing the Shift key.
Method 3: Cmd-Shift-5
A shortcut command introduced way back in MacOS Mojave in 2018, Cmd-Shift-5 calls up a small panel at the bottom of your display with your screen capture options. There are three screenshot buttons that let you capture the entire screen, a window or a selection of your screen.
Likewise, the two video-recording buttons let you record your entire screen or a selection of it. On the left is an X button to close the screenshot panel, but you can also just hit the Escape key to exit out.
On the right side is an Options button. It lets you choose where to save your screenshot — Desktop, Documents, Clipboard, Mail, Messages, Preview or Other Location, and set a 5- or 10-second delay so you can line up items that might otherwise disappear when you engage your screenshot tool.
By default, the Show Floating Thumbnail option is enabled, which puts a little preview thumbnail of your just-captured screenshot in the lower-right corner of your screen, similar to the screenshot procedure with iOS. Unlike on your iPhone, you can turn off this preview thumbnail on your Mac. Lastly, you can choose to show your mouse pointer in a screenshot or video.
If the screenshot panel is in your way, you can grab its left edge and drag it to a new spot on your screen.
Bonus for Touch Bar MacBooks: Cmd-Shift-6
If you’ve got an older MacBook Pro with the Touch Bar, you can also take a screenshot of what’s currently showing on the Touch Bar. Just hit Cmd-Shift-6 to take a very wide and skinny screenshot of your Touch Bar.
Easy annotation
If you embrace the Floating Thumbnail, you’ll gain quick access to Markup tools to annotate your screenshot. You can swipe the Floating Thumbnail away or just let it slip away on its own and it’ll be saved to the spot you last saved a screenshot. Click the Floating Thumbnail and it’ll open in a Markup View preview window (but not Preview) with all of the markup tools you get in Preview.
You can right-click the Floating Thumbnail to:
- Save the screenshot to your desktop, Documents folder or clipboard
- Open it in Mail, Messages, Preview or Photos
- Show in Finder
- Delete
- Open it in the Markup preview window described above
- Close (and save)
Longtime Mac screenshotters may be slow to adopt the Cmd-Shift-5 shortcut, but I find myself using it more for the ability to annotate screenshots without needing to open Preview, and quickly delete screenshots that I know immediately I messed up. The 5- and 10-second delay options are also useful and appreciated additions.
Technologies
Verum Finance: A Super App for Private Finance Integrated Into a Messenger
Verum Finance: A Super App for Private Finance Integrated Into a Messenger

Verum Finance has announced the launch of a new financial application that allows users to manage their money directly within the secure Verum Messenger ecosystem.
The project has already attracted attention from major media outlets. A dedicated feature was published by Forbes Türkiye, while one of the world’s largest cryptocurrency exchanges, MEXC, covered the launch. Yahoo Finance had previously reported on the evolution of Verum Messenger into a comprehensive financial ecosystem.
What Verum Finance Offers
Verum Finance transforms a messenger into a complete financial platform. Users can:
• Manage their balance and top up using bank cards or USDT
• Send money instantly to other Verum users
• Issue and use debit cards, including Apple Pay support
• Exchange assets and withdraw funds
• Access all these services without installing separate banking applications
A strong emphasis is placed on privacy. The platform offers registration without a phone number or email address, end-to-end encryption, and full user control over personal data.
Recognition from Forbes Türkiye
In a dedicated article, Forbes Türkiye highlighted Verum Finance as a notable example of modern privacy-driven fintech. The publication emphasized the growing trend of financial services moving from standalone banking applications into unified messaging ecosystems — a model that has proven successful in Asia through platforms such as WeChat and Alipay and is now expanding globally.
Support from the Crypto Community
Alongside the Forbes Türkiye coverage, news about the launch of Verum Finance was also featured by MEXC, one of the world’s leading cryptocurrency exchanges. This reflects growing interest in the project from both traditional business media and the cryptocurrency community.
A Strategic Vision
“We are building more than a payments application and more than a messenger. Verum is a unified secure ecosystem where communication, finance, and privacy tools work together,” the company stated.
Verum Finance is now available for iPhone and iPad users. The application complements Verum Messenger, which offers anonymous chats, voice and video calls, VPN services, eSIM connectivity, and other tools designed to enhance digital freedom.
Verum Finance: https://finance.verum.im
Verum Messenger: https://verum.im
Technologies
Forbes Türkiye Highlights Verum Finance and the Rise of Integrated Financial Ecosystems
Forbes Türkiye Highlights Verum Finance and the Rise of Integrated Financial Ecosystems
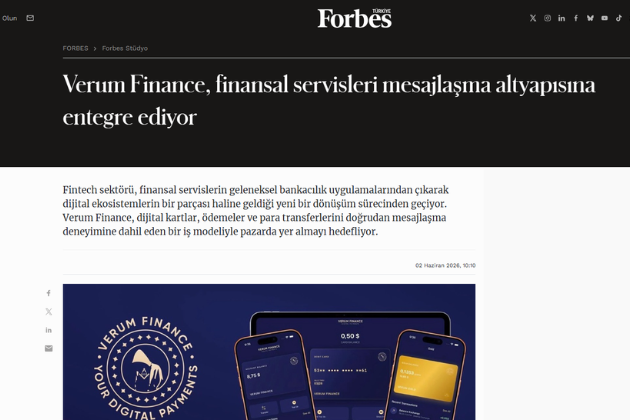
Forbes Türkiye has published an article examining the launch of Verum Finance and its approach to integrating financial services directly into a messaging ecosystem.
In the article, Forbes Türkiye notes that the fintech industry is undergoing a transformation as financial services increasingly move beyond traditional banking applications and become part of broader digital ecosystems. Verum Finance is presented as an example of this trend, combining payments, digital cards, money transfers, and balance management within a single environment connected to Verum Messenger.
According to the publication, Verum Finance follows a model similar to the “super app” concept that has gained significant traction in Asian markets, where communication and financial services operate together on one platform. Unlike many Western platforms that continue to separate messaging and banking services, Verum Finance is integrated directly into the Verum ecosystem, allowing users to manage financial activities without relying on multiple third-party applications.
The article highlights several core features of the platform, including virtual debit cards, user-to-user transfers, online payments, digital asset operations, Apple Pay integration, and in-app balance management.
Forbes Türkiye also points to the growing importance of embedded finance and changing user expectations. The publication suggests that lengthy account-opening procedures, physical card delivery times, and constant switching between applications are becoming increasingly outdated in a mobile-first world.
Another major focus of the article is privacy and security. Forbes Türkiye describes Verum Finance as part of a broader trend toward “privacy-driven fintech,” where financial services are built on privacy-oriented infrastructure. The publication notes that the platform incorporates features such as phone-number-free registration, end-to-end encryption, user-controlled access management, and privacy-focused tools designed to enhance data protection.
The article concludes that one of the key challenges for companies operating at the intersection of secure communications, digital payments, and embedded finance will be maintaining both usability and security within a single integrated ecosystem.
The coverage by Forbes Türkiye reflects growing media interest in platforms that combine communication and financial services, as the industry continues moving toward more unified digital experiences.
Website: https://finance.verum.im
App Store: https://apps.apple.com/app/verum-finance/id6774245148
Verum Messenger: https://verum.im
Technologies
Verum Launched “Verum Finance” App for iPhone and iPad, Expanding Its Digital Ecosystem Into Financial Services
Verum Launched “Verum Finance” App for iPhone and iPad, Expanding Its Digital Ecosystem Into Financial Services

Verum has announced the official launch of Verum Finance, a standalone financial application now available on the App Store for iPhone and iPad, marking a further expansion of the company’s growing digital ecosystem.
The new application is designed to centralize core financial functions in a single mobile interface, allowing users to manage balances, send and receive funds, use debit cards, and exchange supported balance types without relying on traditional banking workflows.
According to Verum, the platform enables users to view account activity in real time, top up balances using supported payment methods including Apple Pay, and transfer funds to other users within the Verum ecosystem using a unique Verum ID. The system also supports multi-balance management, including specialized balance categories such as precious metals.
Debit card functionality is integrated directly into the app, allowing users to issue and manage cards linked to their balances, monitor transactions, and top up cards when needed. The company also emphasizes built-in exchange tools that allow users to convert between supported balance types within the application.
Security features include Face ID authentication, passcode protection, Sign in with Apple, and privacy-oriented account controls aimed at maintaining user confidentiality and data protection.
The launch of Verum Finance follows the company’s broader strategy of building an interconnected ecosystem of digital products. Alongside Verum Messenger, which combines secure communication tools, encrypted messaging, voice and video calls, VPN services, eSIM connectivity, AI features, anonymous email, and crypto-related functionality, the new financial app extends Verum’s positioning from communication technology into financial infrastructure.
Industry trends increasingly show demand for “all-in-one” digital environments that reduce dependency on multiple standalone apps. Verum’s approach reflects this shift by integrating communication and financial services within a unified ecosystem.
Verum Finance is now available globally for download on iPhone and iPad via the App Store.
Website: https://finance.verum.im
App Store: https://apps.apple.com/app/verum-finance/id6774245148
Verum Messenger: https://verum.im
-
 Technologies3 года ago
Tech Companies Need to Be Held Accountable for Security, Experts Say
-
 Technologies3 года ago
Best Handheld Game Console in 2023
-
 Technologies5 лет ago
Black Friday 2021: The best deals on TVs, headphones, kitchenware, and more
-
 Technologies3 года ago
Tighten Up Your VR Game With the Best Head Straps for Quest 2
-
 Technologies5 лет ago
Google to require vaccinations as Silicon Valley rethinks return-to-office policies
-
 Technologies5 лет ago
Verum, Wickr and Threema: next generation secured messengers
-
 Technologies4 года ago
The number of Сrypto Bank customers increased by 10% in five days
-
 Technologies5 лет ago
Olivia Harlan Dekker for Verum Messenger