Technologies
404 and 503 decoded: Here’s what those pesky internet error fails really mean
You can’t load a webpage you want, but those error codes are trying to tell you something. We’ll help you figure out what to do next.
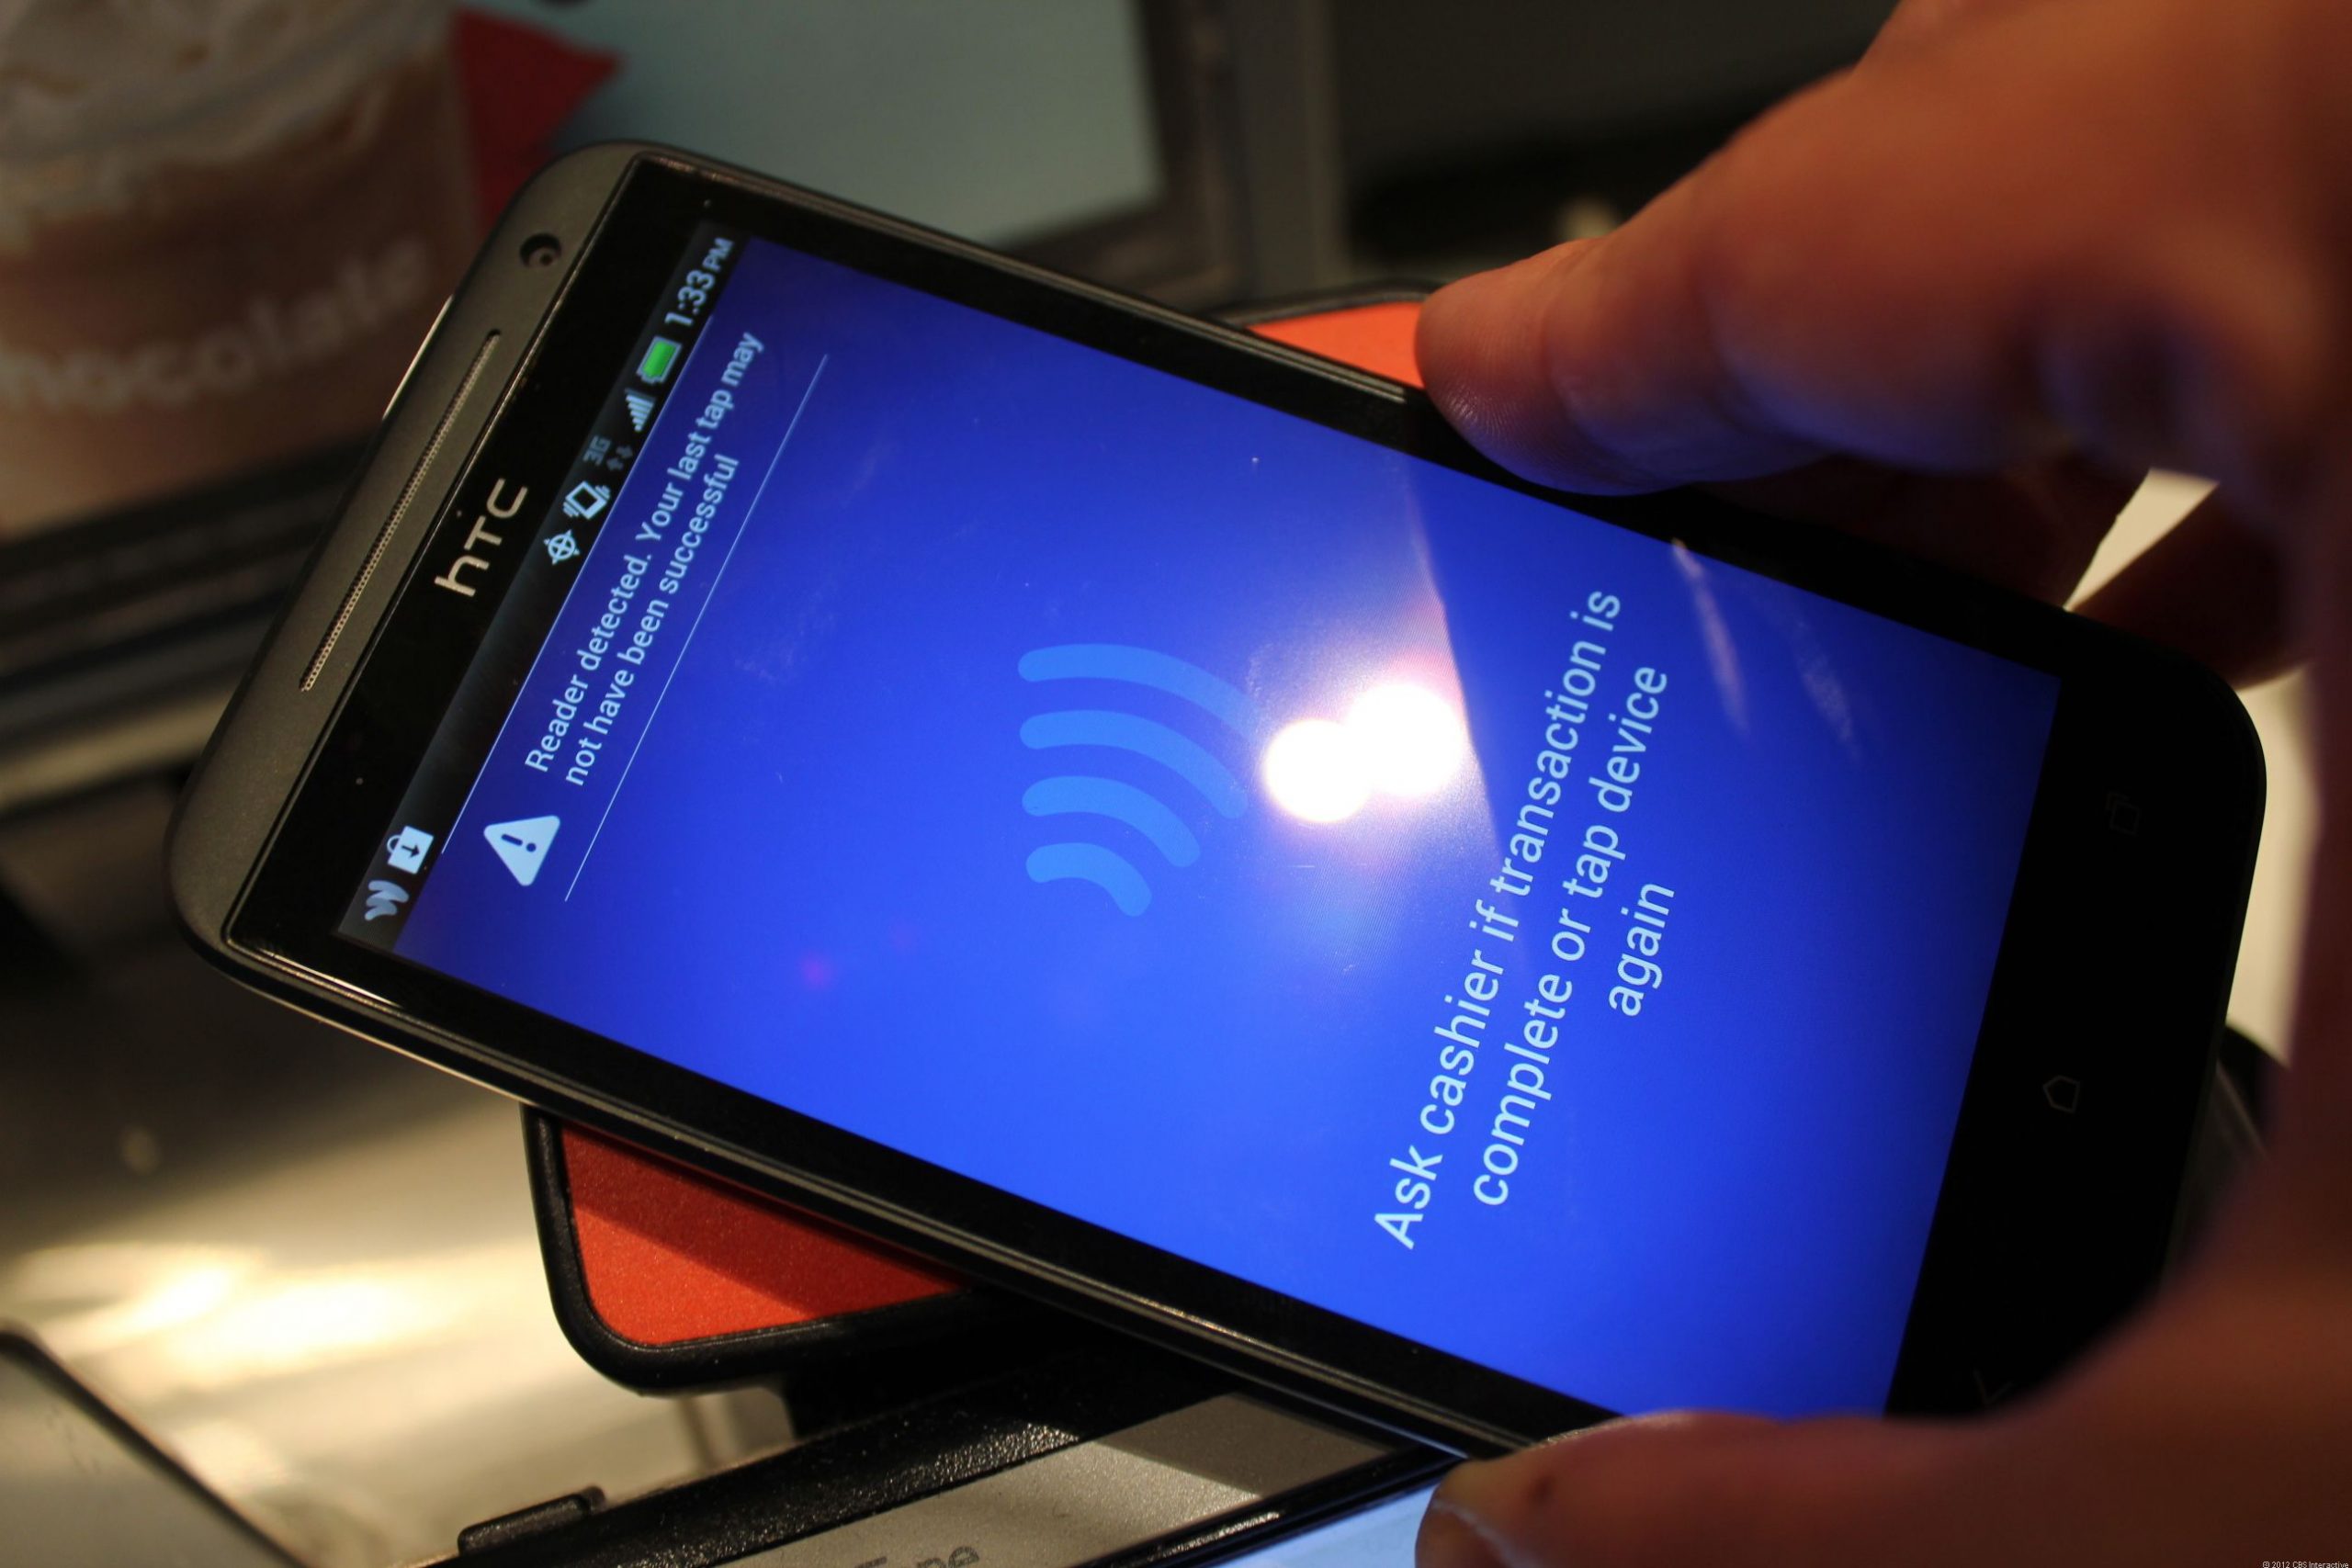
It was Feb. 16 and I had two alarms set on my phone for Beyoncé’s Formation tour tickets. As they were bound to sell out in minutes, I was on the website, ready to refresh the page as soon as the clock struck 10 a.m. But when the critical moment came, the page only showed an ominous message: «503? Service requested is unavailable?» I refreshed the page frantically. What if I couldn’t get the tickets? Who knew when Beyoncé would tour again? But I got the same error over and over again.
I picked up my phone hoping to have more luck there, but I got the same message. Finally, after what felt like a bazillion refreshes and clicks, I was able to get through. There they were — the tickets I had been waiting months for. Whew! The purchase confirmation screen appeared and the nightmare ended. But I kept asking myself where that message came from. Was it something I did, or was the website just borked?
Those random-seeming website error numbers like 404, 503 and 301 you sometimes see after typing a URL can throw you off your groove or worse, ruin an urgent task (like buying Beyoncé tickets). Sometimes, like if you mistyped the URL, a simple text change can put you back in business. Other times, there may be a bigger issue — the server is down or there’s an internet outage.
To help you understand what to do the next time you see one of these online uh-ohs, I’ll break down the basics of those strange codes — even the ones that you might not be able to crack on your own. And if you’re fascinated by all of the code-lingo, you can always dig in deeper with a coding course for beginners.
404s and other common website errors: What they mean
Some website error codes are your fault (oops), but others are because of problems with the server that only the website’s administrator can fix. Chances are, you’ll see them with every refresh — it might help keep your annoyance at bay to understand why (but I doubt it).
404: One of the most common errors you’ll see, it means the page cannot be found. Nowadays, some sites will design its error code pages with cute puppies, links to other pages or a funny illustration to lighten your no doubt frustrated mood. Double-check the URL for typos and try again. If you’re typing the correct URL and you still have no luck, the page has been moved or deleted.
301: You may have heard of a «301 redirect,» but probably have never seen this code displayed on a site. Think of it as a smooth transition from one old URL to a new one, sort of like forwarding your mail. You should still see the webpage you wanted when this happens, but it likely has a different URL than the one you entered. It’s a permanent move, and even if you use the old URL, you’ll still be automatically routed to the new one. Bookmark the new URL for future reference.
400: This one is best known as a «bad request» for the user. On Google Chrome, you’ll get the message, «This page isn’t working at the moment» along with some guidance about contacting the website administrator. Usually, it’s caused by an error on your end. There may be a typo in the URL, the server may not understand your request, or the file you’re trying to upload is too big. Try clearing your cache and checking the URL for typos. If you have no luck, take Google’s advice.
410: This is the «Gone» status. You may see a message like, «This page does not exist,» or «Page deleted or gone.» There’s no problem on your end — you’ve got the right page, but the website administrator may have deleted it for good.
451: This code blocks you from seeing a URL for various legal reasons. According to a developer resource page from Mozilla (the maker of the Firefox browser), a person or organization may have made a legal demand to remove the content or the page may be blocked because of government censorship. You should see the legal reason on the page with the status code, but it’s not always guaranteed. If you’re determined to see the content, you may be able to get there with a few tech-savvy tactics — like a VPN or proxy server that acts as a tool to bypass the server’s restrictions.
503: You’ll likely see the message, «503 Service unavailable,» when a website’s server is down, so you won’t be able to access the site until it’s fixed. Reason being, the site’s server could be down for maintenance, too many people may be causing the site to overload, the site could have a bug or someone looking to cause trouble has taken the site offline. You won’t be able to access the site until it’s fixed so it’s best to try again later to see if the server issue is resolved.
200: This code you won’t see because it means that everything is OK. The site, its server and your browser are all working fine, so there’s no need to alert you there’s not a problem. The only place you’ll likely see it is in the code (or back end). In fact, most codes that start with a 2 are a good sign that the communication channel between your browser and the company’s server is working.
How can I fix website codes with images and videos?
It can be frustrating if you’re trying to play a video, upload or download media, but see error codes instead. More often than not it’s a user error, and it’s up to you to fix the problem. Sometimes you’ll see a small icon that looks like a picture in place of the video or image you’d hope to see. In that case, you’ll know something’s wrong.
If you get status code 415, it’s a red flag that the server doesn’t recognize the file type you’re using. Popular photo- and video-sharing sites will list the file types they support, typically on the Support page (here’s the list for YouTube). If yours isn’t listed, try converting the file to one of the approved formats before uploading it again.
Front end developer Allan Hernandez says that most common supported types are .mp3 and .mp4 for videos and .jpeg, .png, .svg and .web for images. If you’re uploading a video or image using one of the correct file formats, he says, it should be easy and error-free.
Another common problem occurs when you try to upload files that are too big for the server, also known as status code 413. In this case, it’s best to reduce the file size before uploading again.
Here are a few other common error codes you may come across with media and what they mean.
- 404: The media file has been moved or deleted.
- 403: The server cannot access your image or video — possibly because the firewall is blocking it.
- 429: You may have sent too many requests without giving the server time to process them. So, if you’ve clicked «upload» a bazillion times, you may get this code.
Are any errors my fault that I can fix?
Yes, there are two types of code errors: client and server. Most client errors start with a 4. You’ll need to fix something on your end before continuing. For example, the 403 code may mean the page is forbidden, or the web administrator restricts access to that page. You’ll need to go to another page or site.
Usually, if there’s an error, you’ll need to do one of these things.
1. Restart your computer, modem or router.
2. Check the URL for typos.
3. Visit a different URL.
Sometimes, other actions may be required, such as you need to pay to see gated content or, if you’ve clicked a button constantly, you just need to wait patiently because the request isn’t processing fast enough.
If an error starts with a 5, it’s the server’s problem and there may not be much you can do. Try contacting the website’s support to let them know you’re getting a server error.
Technologies
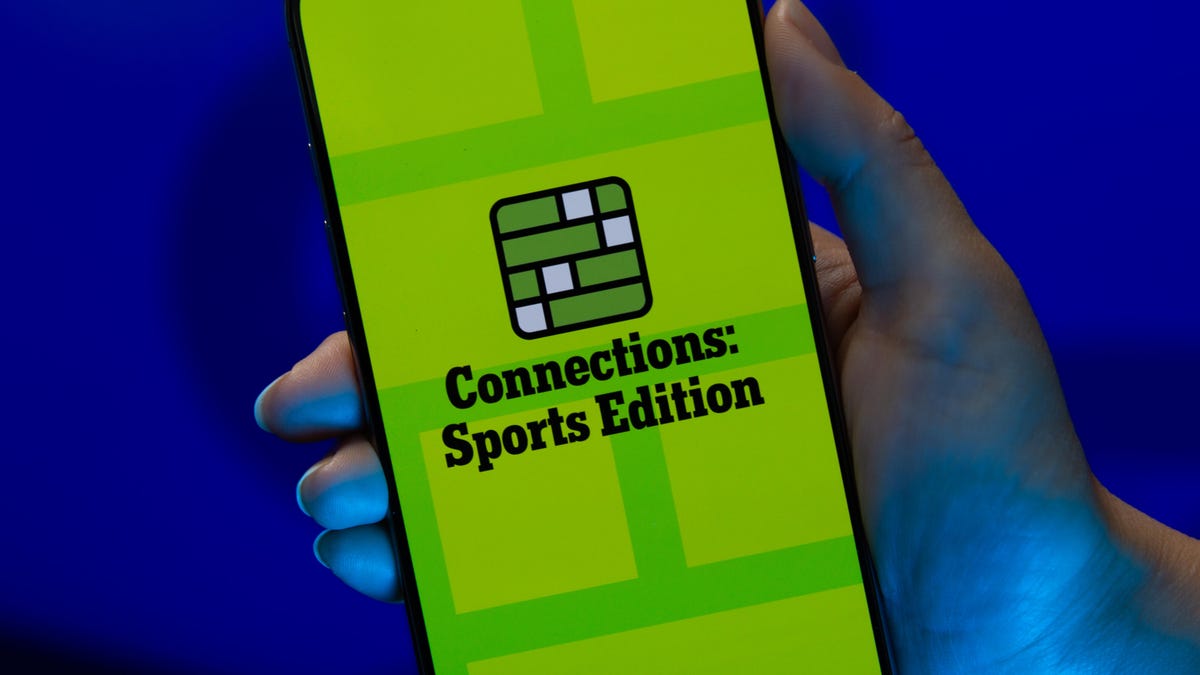
Today’s NYT Connections: Sports Edition Hints and Answers for April 8, #562
Here are hints and the answers for the NYT Connections: Sports Edition puzzle for April 8 No. 562.
Looking for the most recent regular Connections answers? Click here for today’s Connections hints, as well as our daily answers and hints for The New York Times Mini Crossword, Wordle and Strands puzzles.
Today’s Connections: Sports Edition is a tough one. If you’re struggling with today’s puzzle but still want to solve it, read on for hints and the answers.
Connections: Sports Edition is published by The Athletic, the subscription-based sports journalism site owned by The Times. It doesn’t appear in the NYT Games app, but it does in The Athletic’s own app. Or you can play it for free online.
Read more: NYT Connections: Sports Edition Puzzle Comes Out of Beta
Hints for today’s Connections: Sports Edition groups
Here are four hints for the groupings in today’s Connections: Sports Edition puzzle, ranked from the easiest yellow group to the tough (and sometimes bizarre) purple group.
Yellow group hint: Working out.
Green group hint: Cover your face.
Blue group hint: NFL players.
Purple group hint: Leap.
Answers for today’s Connections: Sports Edition groups
Yellow group: Exercises in singular form.
Green group: Sporting jobs that require masks.
Blue group: Hall of Fame defensive ends.
Purple group: ____ jump.
Read more: Wordle Cheat Sheet: Here Are the Most Popular Letters Used in English Words
What are today’s Connections: Sports Edition answers?
The yellow words in today’s Connections
The theme is exercises in singular form. The four answers are crunch, plank, situp and squat.
The green words in today’s Connections
The theme is sporting jobs that require masks. The four answers are catcher, fencer, football player and goaltender.
The blue words in today’s Connections
The theme is Hall of Fame defensive ends. The four answers are Dent, Peppers, Strahan and Youngblood.
The purple words in today’s Connections
The theme is ____ jump. The four answers are broad, high, long and triple.
Technologies
The $135M Google Data Settlement Site Is Live — See If You’re Eligible
Use the settlement website to select your preferred payment method, and you may end up $100 richer.
You can now file a claim in the $135 million Google data settlement. The case centers on claims that Android devices transmitted user data without consent. Specifically, the class action lawsuit Taylor v. Google LLC contends that Google’s Android devices passively transferred cellular data to Google without user permission, even when the devices were idle. While not admitting fault, Google reached a preliminary settlement in January, agreeing to pay $135 million to about 100 million US Android phone users.
The official settlement website for the lawsuit is now live. The final approval hearing won’t occur until June 23, when the court will consider whether Google’s settlement is fair and listen to objections. After that, the court will decide whether to approve the $135 million settlement.
In the meantime, if you qualify and want to be paid as part of the settlement, you can select your preferred payment method on the official website. There, you can find information on speaking at the June 23 court hearing and on how to exclude yourself or write to the court to object by May 29.
As part of the settlement, Google will update its Google Play terms of service to clarify that certain data transfers do occur passively even when you’re not using your Android device, and that cellular data may be relied upon when not connected to Wi-Fi. This can’t always be disabled, but users will be asked to consent to it when setting up their device.
Google will also fully stop collecting data when its «allow background data usage» option is toggled off.
Who can be part of the settlement?
In order to join the Taylor v. Google LLC settlement, you must meet four qualifications:
- Be a living, individual human being in the US.
- Have used an Android mobile device with a cellular data plan.
- Have used the aforementioned device at any time from Nov. 12, 2017, to the date when the settlement receives final approval.
- You’re not a class member in the Csupo v. Google LLC lawsuit, which is similar but specifically for California residents.
The final approval hearing is on June 23, so you can add your payment method until then. The hearing’s date and time may change, and any updates will be posted on the settlement website.
If you choose to do nothing, you will still be issued a settlement payment, but you may not receive it if you don’t select a payment method.
How much will I get paid?
It’s not currently known exactly how much each settlement class member will receive, but the cap is $100. Payments will be distributed after final court approval and after any appeals are resolved.
After all administrative, tax and attorney costs are paid, the settlement administrator will attempt to pay each member an equal amount. If any funds remain after payments are sent, and it’s economically feasible, they will be redistributed to members who were previously and successfully paid. If it’s not economically feasible, the funds will go to an organization approved by the court.
Technologies
Samsung’s Galaxy Watch Ultra 2 Might Come in 5G and 4G Cellular Models
If the rumor proves true, the 5G Galaxy Watch Ultra would rival the 5G-enabled $799 Apple Watch Ultra 3 that debuted last fall.

Samsung’s next high-end Galaxy Watch could support faster 5G speeds, but if this leak is true, it will depend on where you live. The rumored Samsung Galaxy Watch Ultra 2 might come in 5G and 4G cellular models, with availability for each smartwatch depending on the country.
According to the Dutch website Galaxy Club (and spotted by SamMobile), Samsung’s servers may have revealed a series of model numbers that point to 5G, 4G and Wi-Fi-enabled editions of the next Galaxy Watch Ultra, which would succeed the original model that debuted in 2024.
A representative for Samsung did not immediately respond to a request for comment.
The Galaxy Club website speculates that the 5G edition would be sold in the US and Korean markets, while the 4G edition would sell in the rest of the world. In the US, a 5G version of the Galaxy Watch Ultra would rival the 5G-enabled $799 Apple Watch Ultra 3, which debuted last fall. The 4G edition would have broader compatibility worldwide, since the earlier network is far more established.
It will likely be a few months until we hear anything official about the Galaxy Watch Ultra 2. Samsung typically unveils its new watches in the summer alongside its Galaxy Z Fold and Z Flip foldable phones. Last year, Samsung unveiled the Galaxy Watch 8 and the Galaxy Watch 8 Classic, but otherwise left the prior 2024 Ultra in the lineup for those looking for a larger 47mm smartwatch.
-
 Technologies3 года ago
Tech Companies Need to Be Held Accountable for Security, Experts Say
-
 Technologies3 года ago
Best Handheld Game Console in 2023
-
 Technologies3 года ago
Tighten Up Your VR Game With the Best Head Straps for Quest 2
-
 Technologies4 года ago
Black Friday 2021: The best deals on TVs, headphones, kitchenware, and more
-
 Technologies5 лет ago
Google to require vaccinations as Silicon Valley rethinks return-to-office policies
-
 Technologies5 лет ago
Verum, Wickr and Threema: next generation secured messengers
-
 Technologies4 года ago
Olivia Harlan Dekker for Verum Messenger
-
 Technologies4 года ago
The number of Сrypto Bank customers increased by 10% in five days